Note : If you would like to read part I from III of this post series, have a look at
- How to customize xrdp install & login screen on Ubuntu 12.10 – Part I
- How to customize xrdp install & login screen on Ubuntu 12.10 – Part II
- How to customize xrdp install & login screen on Ubuntu 12.10 – Part III
Hello World,
In this serie related to xrdp package, we will show you how you can customize a little bit the login screen presented to you by the xrdp software solution. In order to achieve this goal, we need to install the latest version of the xrdp package. This means that you have to install and compile the xrdp packages from source and avoiding the use of the xrdp package available in the ubuntu repository.
In Part I, we have spend some time explaining how you could manually install and compile xrdp package from source and have a working solution. There are quite a lot of steps to perform in order to have a running xrdp solution even if the installation process is not complex at all.
Some people might want to have a more automated way to perform such installation. If you remember, in this post, I was mentioning that I had found an interesting link that would provide a great amount of information about xrdp. I visited back this web site and I’ve found that the guy had developed a nice little utility that can help automate the installation of xrdp packages.
In this post, we will be using this utililty which is called X11rd-o-Matic & RDPsesconfig
Ready… so let’s go !
Reminder
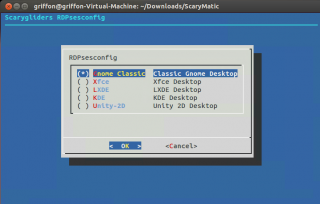
We remind you that when using xrdp solution against a ubuntu 12.10 operating system, you will not be able to access the unity desktop. You will need to configure an alternate desktop solution. This process has been explained in this post
Automating the xrdp installation using X11rd-o-matic & RDPSesconfig script
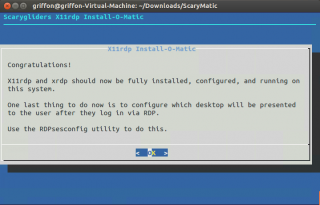
We have seen how we could perform a manual installation here. However, you want to have a easier and more automated way to perform a custom installation of the xrdp package. This is where the utility called X11rd-o-Matic & RDPsesconfig can help us. To automate the xrdp installation, perform the following operations :
Step 1 – So, the first step would consist of downloading the utility. You can get it from this location
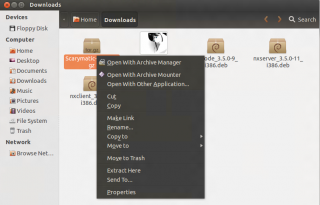
Step 2 – Go to the folder where you have downloaded the X11rd-o-matic package (in my case /home/griffon/Downloads), right-click on the package and select on extract here.
Click picture for better resolution
Click picture for better resolution
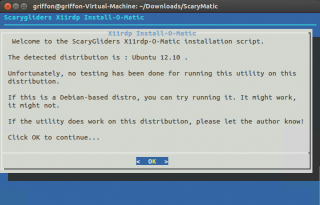
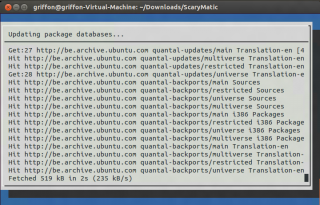
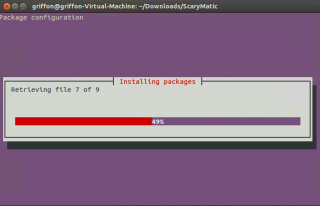
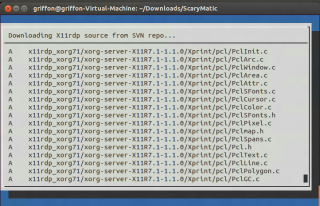
Step 4 – From there, locate the script X11rdp-o-matic.sh file. This is the script that you will have to launch in order to have an automated installation of xrdp and related dependencies packages. To start the script, you will need to type the following command
- sudo ./X11rdp-o-matic.sh
Click picture for better resolution
Click picture for better resolution
Click picture for better resolution
Click picture for better resolution
Click picture for better resolution
Click picture for better resolution
Click picture for better resolution
Click picture for better resolution
Final notes
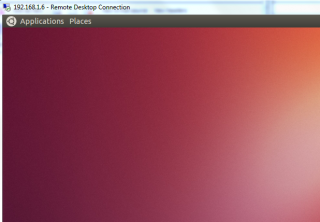
And voila ! Again, you have succesfully completed a custom xrdp installation. In Part I, we have seen how to perform the manual installation. In Part II, this post we have shown you how to use the really good X11rdp-o-matic script. Now, It’s up to you to choose which method best fits your needs. In Part III (which is on the way), we will finally show you how to customize your xrdp logon experience.
Do not expect fancy customization given that xrdp offers only a limited set of options
Till next time
See ya

