Hello World,
In Part 1, 2 and 3, we have setup our PROXMOX VE infrastructure. It’s time to create our first virtual machine. With Proxmox, you know that you can create KVM virtual machines or OpenVZ container. In this last part, we will show you how to create virtual machines (KVM or OpenVz Container). After this post, you should be able to run a virtualized infrastructure. So far, we have done basic configuration. In a next series of post, we will try to dive a little bit deeper into the product. Of course, we will try to update this information based on new releases of the proxmox ve team.
Let’s create our virtual machines !!
Creating Fully Virtualized Machines (KVM technology)
We will first demonstrate how to create a windows 2003 Virtual machine with PROXMOX VE Technology
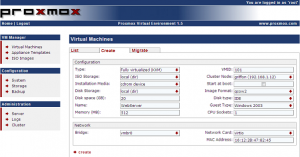
As you probably know (by now), you will need to login to the web interface. From the Home Page, on the left menu, click on the link Virtual machines. On the main pane, click on the create tab. You will be presented with the following web page
In the configuration section, ensure that the type option is set to “Fully Virtualized (KVM). Then you simply need to provide the hardware characteristics of your virtual machine. Within this form, you can specify the disk size, the RAM and the guest OS type you want to use. You can also specify where to store your disk. At the moment, we are just using local storage but if you have an ISCSI infrastructure, you could store your Virtual machines over there.
In the network section, I selected as network Card the Virtio. You will need to install additional drivers within the Windows 2003 Operating System. When you are ready, you can press Create. You will see output information similar to this one
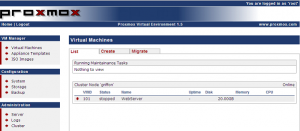
When the machine is created, you will see in the Virtual machines page that your newly virtual machine has been created.
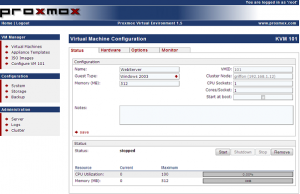
If you click on one of your virtual machine (listed here), you will be redirected to the Virtual Machine configuration page where you can start/stop, monitor and change some of the hardware settings as required.
If you click on the Status tab, you are provided with general information about the Virtual machine (see screenshot below)
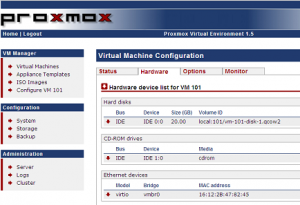
If you click on the Hardware Tab, you will see your hardware configuration. From here, you can add hard disks, add network card and load iso file into your CDROM Driver.
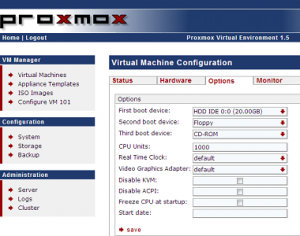
In the options tab, you can specify the boot order and define some more advanced setting such as Real Time Clock, video graphics Adapter,….
The Monitor tab will give you access to a qemu console where you can monitor your virtual machine.
That’s it !! You have created your virtual machine but there is no Operating system loaded on it. To have a running Windows 2003 Virtual machine, we will need to perform the installation of the Operating system. We will need to upload the ISO image on the PROXMOX VE server. Not a problem, again the PROXMOX VE team has provided a clean web interface to do that.
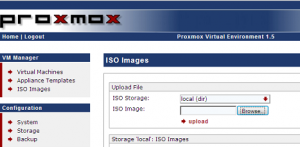
On the navigation menu, in the VM manager Section click on the ISO Images. You will be presented with the following screen
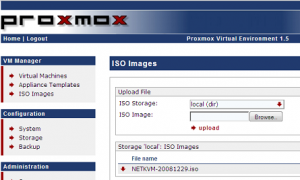
Simply, Press the Browse button and specify the location where you have stored your ISO images. Then click on the Upload link. When the upload is completed, at the bottom of the page, you can list the ISO Files that have been loaded
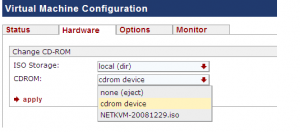
Go back to your virtual machine list, click on your virtual machine. Then click on the hardware tab. In the list, click on the CDROM drive entry. You will then be able access to attach you ISO File to the CDROM Drive. Press Apply
Going back to the Status tab, You can now click on the start Button. You will notice that a new hyperlink will be displayed as well. (something called Open VNC Console)
Click on this link in order to have access to the console for the virtual machine. Perform your installation. After your setup has completed, you will have a running virtual machine that you can manage and connect to through any compatible web browser.
Because we have chosen Virtio as network card when we have created our virtual machine, the Windows Virtual machine will need some drivers in order to install a network card. Special paravirtualized network drivers are available for Windows Guests. These drivers simply improve network performance. You can download the latest version from the KVM project web page or following this link kvm-guest-drivers-windows-2
After downloading the iso file, you can upload it through the web interface (Go to Virtual Manager -> click on ISO Images then on the page, push the browse button and locate the iso file. When this is done, press “upload”). Then Go back to your virtual machine and attach the KVM-Guest-Drivers to the CDROM. Within Windows Operating System, you will double-click the installer and your are done.(You will need to reboot the machine)
Do not forget to assign an IP address and enable remote desktop within Windows Guest OS.
A Useful Tip
When working with Windows Operating system, you can enable remote desktop and you can use the remote desktop client to connect directly into your guest machines without using the Web Browser. Using the Tsmmc.msc console, you can create a centralized access point to all your virtual machines. The Tsmmc.msc console is not installed by default on windows system. You need to install the adminpak software.
Creating Container Virtual Machines (OpenVZ technology)
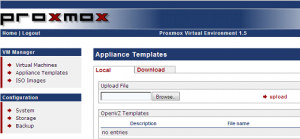
Now, we will quickly build up a wordpress OpenVZ container. To create such virtual machine, we will click on the Appliance templates
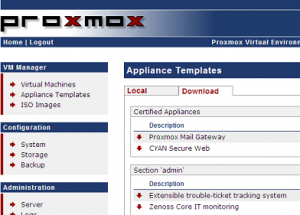
I do not have created any appliance yet. So we will click on the Download tab and download the wordpress appliance available from the PROXMOX VE Repository
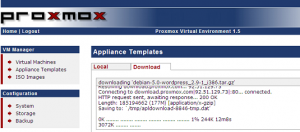
After clicking on the red arrow (next to the wordpress appliance) and having clicked on the download link, a progress window will be displayed on the web page
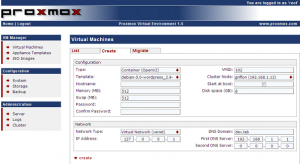
You can monitor the progress of the download. When the download is completed, you can click on the virtual machines link (in the VM Manager) Section and select Container(OpenVz) in the Type drop down box
In the configuration section, you can specify the hostname, password disk size and size of the memory to be used. In the network section, leave the default for the network type, assign an IP address and check your DNS settings. When you are happy with your configuration, click on the Create link.
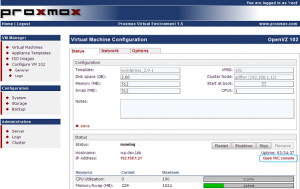
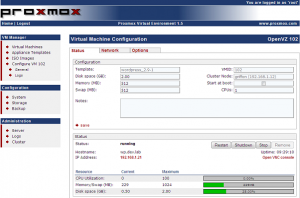
And voila, you have created your OpenVZ virtual machine. Here, you do not need to perform an installation. The WordPress software is already installed and can be used immediately. If click on the Virtual machines link (in the VM Manager), you will see your newly created virtual machine. Click on it and you will be redirected to the Virtual machine configuration page (as below)
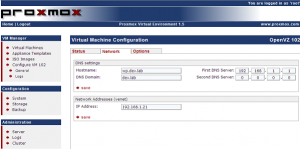
From here, you can start/stop, monitor and connect through the VNC Console to your Appliance. If you click on the network tab, you will be able to adjust your network settings
Final Words
With this last post, you should be able to setup a basic PROXMOX Virtual infrastructure and create some virtual machines (even if you have only one capable server). As you can see, the product is really easy to use and the management is centralized. PROXMOX VE is not finalized yet. Some operations still need to be performed from command line. You will need some extra tools such as putty to have full control of your Virtual infrastructure.
Your journey has just begun ! You have a basic understanding of the PROXMOX VE Infrastructure. In future posts, we will try to explain the network model and storage model that can be implemented with PROXMOX VE software.
Till then
Stay tuned !


One thought on “Setup your ProxMox VE Infrastructure – Part 4 – Creating Virtual Machines”