Hello World,
Today, we will be speaking about WSUS or Windows Server Update Service. WSUS helps administrators to deploy hotfixes and updates to your IT infrastructure. By using WSUS server and configuring your group policies accordingly, you can protect and keep all the computer presented on your network up to date. You can also decide which updates or hotfix you want to deploy within your infrastructure. Microsoft offers other options to keep your infrastructure up to date (i.e. SCCM 2012) but this one come at no cost.
This post will focus on WSUS 4.0 which come as a Windows 2012 Server role and not anymore as a separate downloadable package. WSUS 4.0 is not a revolution but more an evolution of the existing product. The principle and concepts have not really changed. However, WSUS 4.0 provides some nice improvements compared to the previous version WSUS 3.2. One of the best thing is that you will be able to use powershell to automate your patch management process. Another nice thing (not directly related to WSUS) is the new Cluster aware update feature provided by Windows 2012 Server which ease the update process for cluster.
In this post, we will see how to perform a basic installation of the windows Update server role. In the future (I do not know when), we will explain how you can perform a migration from WSUS 3.2 to version WSUS 4.0. The migration process will be based on a side by side migration strategy. Finally, we will have a look at how the Cluster Aware Update Feature works and how you can use it in your environment.
But for the moment, let’s focus on the installation process of the new and fresh WSUS 4.0 server roles; Let’s go !
Installing the Server Role
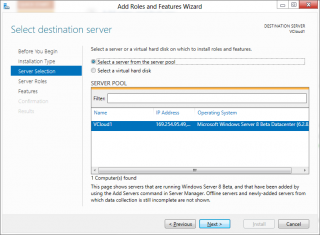
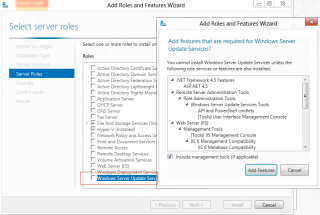
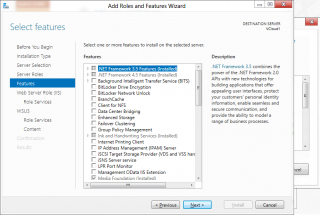
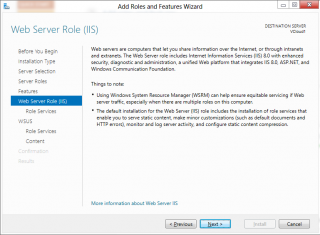
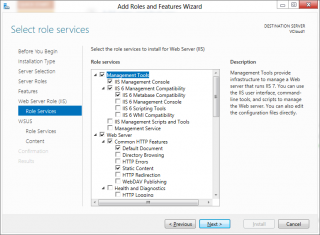
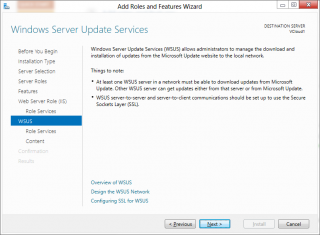
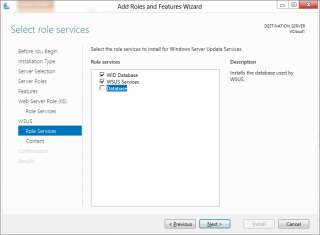
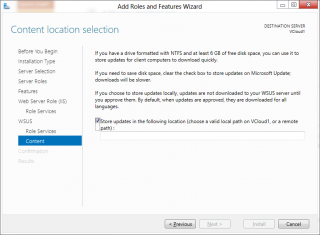
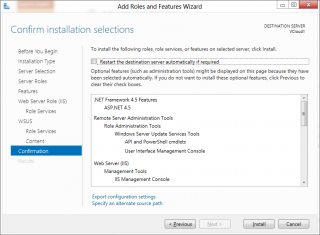
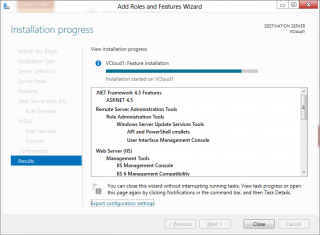
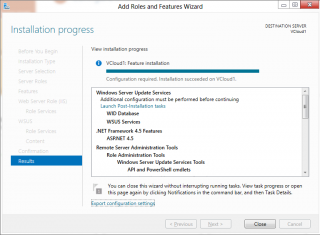
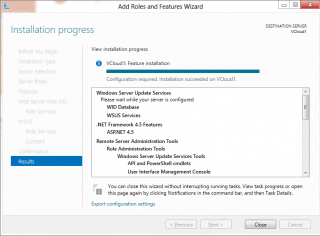
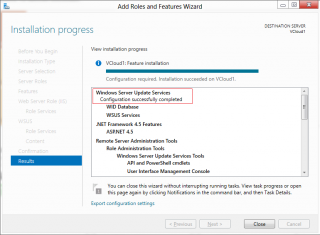
Since Windows 2008, the Wsus server is defined as a Server role and can be installed directly from the server Manager console. If you open your Server Manager Console, Click on the Add/remove Server Roles, this will start the wizard.
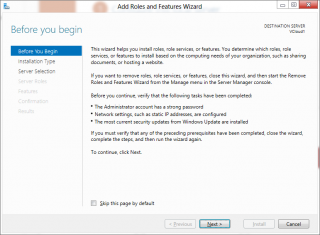
In the before you begin page, Press Next
click on picture for better resolution
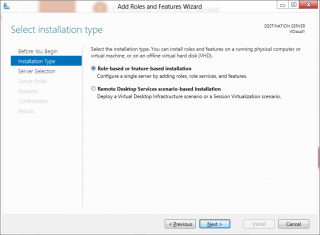
In the Select installation type page, select the role based installation option and press Next
click on picture for better resolution
click on picture for better resolution
click on picture for better resolution
click on picture for better resolution
click on picture for better resolution
click on picture for better resolution
click on picture for better resolution
click on picture for better resolution
click on picture for better resolution
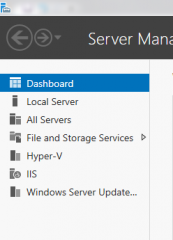
If you open your server manager console, you will see that an additional link has been added on the left side menu. Click on the WSUS link. In the WSUS Server manager page, right-click on the WSUS server object and select Windows Server Update Services. This will open the Initial Configuration Wizard for WSUS.
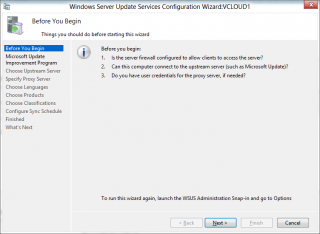
In the Before you Begin page of the WSUS Wizard, Press Next
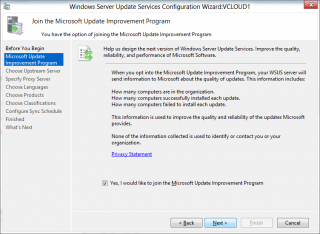
In the Join Improvement Program Page, select the appropriate option and Press Next
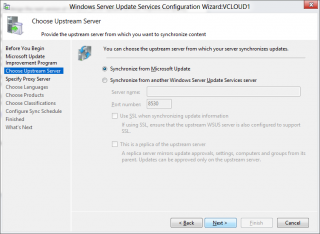
In the Choose Upstream Server, Select the appropriate Option (This will depends on your deployment scenario)
click on picture for better resolution
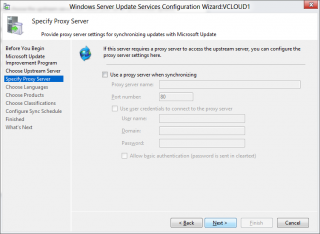
In the Specify a Proxy Server Page, Select the appropriate option based on your network and Press Next
click on picture for better resolution
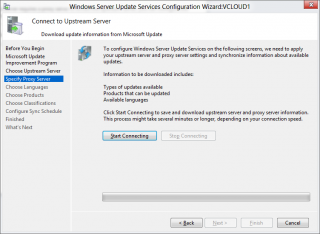
In the Connect to Upstrean Server, Click on the Start Connecting. Wait for completion
click on picture for better resolution
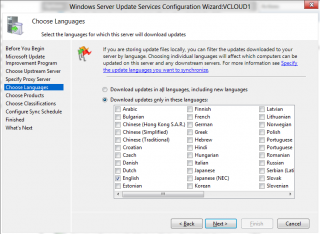
In the Choose Language Page, Select the language you need and Press Next. In my environment, everything is set to english
click on picture for better resolution
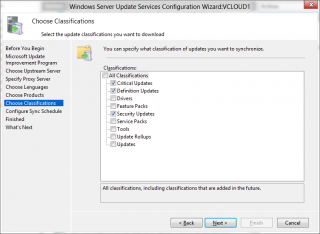
In Classification Page, Select which type of update you want to deploy using WSUS. When your selection is done, Press Next
click on picture for better resolution
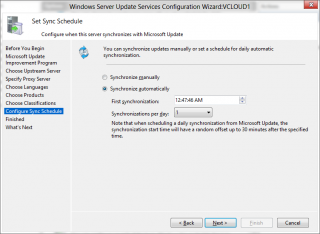
In the Set Sync Schedule, adjust your options and Press Next
click on picture for better resolution
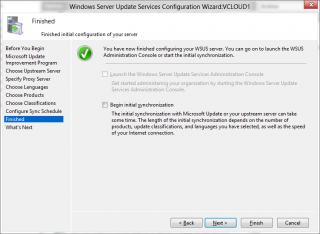
Note : Here, We have been using the Wizard. You can perform the same configuration by opening the WSUS console and start specifying your configuration stetings.
Overview WSUS MMC Console
The WSUS option is available since Windows 2003 and this version has not changed dramatically. If you are used to work with WSUS server, you will see that this version does not change much from the version available in Windows 2008 R2.
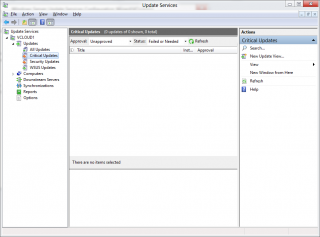
In the following screenshot, you can see how the WSUS console look like.
click on picture for better resolution
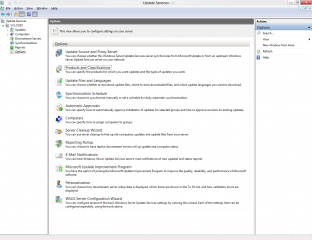
In order to configure your WSUS server settings, on the left pane, you can click on the Options link and you will see the following console. All the options you have selected using the Configuration Wizard can be set/changed through this page as well.
click on picture for better resolution
As you can see from the screenshot, you can configure a bunch of stuff. You can
- start the configuration Wizard
- Configure schedule sync
- Configure Languages
- Configure Classifications
- Configure Products
- Configure Computers
- Configure Automatic Approval
- Perform a Server Cleanup (using the Server Wizard Cleanup)
- ….
We will have a look at these configuration options in another post (if I have time : -p).
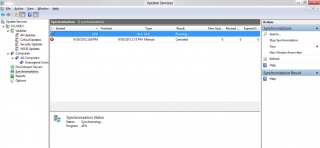
During the configuration wizard, we did not start the synch process. From the left pane, if you click on the Synchronization node, you will be able to manually start your download.
click on picture for better resolution
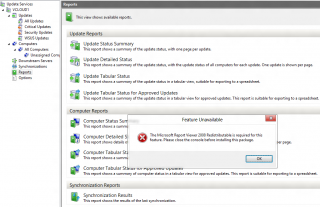
Finally, If you click on the reports node, you will see that you can generate a bunch of reports related. However, before being able to generate them, do not forget (like I did) to install the MS Report Viewer component first.
click on picture for better resolution
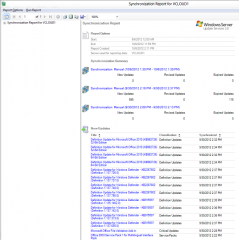
When the component is installed, you will be able to generate some nice reports.
Click on Picture for Better Resolution
Final Notes
Voila ! That’s it for this post ! The installation process has changed a little bit compared to the previous version but as you have seen the way of working and the MMC console have not really changed. With this post, we have performed an installation from scratch of WSUS. We have seen also how to perform the initial configuration. Because there is a lot of people out there using WSUS 3.2, the next post might be more useful as we will be describing the migration process from WSUS 3.2 to WSUS 4.0
Till next time
See ya
For more information, please have a look at http://technet.microsoft.com/en-us/library/hh852340.aspx
