Hello World,
It has been some time since I didn’t blog about MDT 2012. By the way, you should be aware that the final version of MDT 2012 Update 1 is available for download. We will post something about this new version and see how it provide support for deploying Windows 8/2012 operating system within your infrastructure.
Today’s post will be quite simple. We will show you what happens when you deploy an operating system through MDT 2012. In the next part of this series, we will explain how you can customize the deployment process…
Let’s go !
Note : If you would like to read part I from IV of this post series, have a look at
- Part I : Installing MDT
- Part II : MDT Deployment Share
- Part III : Deploying OS with MDT
- Part IV : Adding PXE Capabilities to MDT
Deploying Windows OS using MDT 2012 solution
Loading the Winpe environment
If you have read the 4 previous parts of this series, you should have your “stand alone” infrastructure up and running and you should be ready to deploy your OS via the network. On the target machine (where installation has to be performed), you will start up the machine and ensure that you boot from the network interface. Follow the instructions on the screen, you might need to press F12 button on your screen in order to start the deployment process
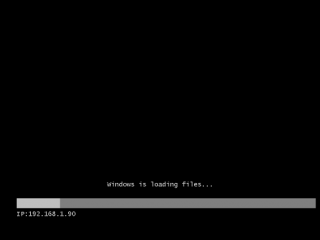
If everything is configured correctly, you should see on the screen that the client is downloading some windows files (the windows preinstallation environment is being download on the machine)
Click on picture for better resolution
Working with the Deployment Wizard
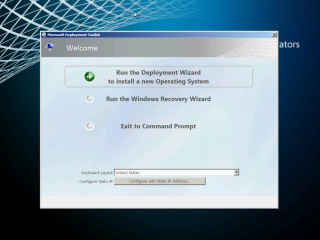
When the WinPE environment is loaded, you will see the Welcome page displayed to you. From this welcome page, at the bottom, you could configure a static IP Address (if needed) and configure the keyboard layout to use. When you have performed this initial configuration, you can decide to
- start the deployment wizard or
- start the recovery environment or
- Exit to command prompt
Because we want to deploy an operating system, we will select the first option starting the Deployment Wizard
Click on picture for better resolution
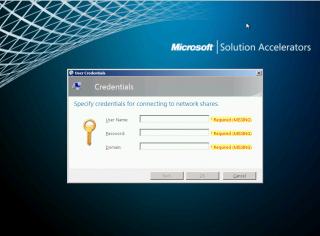
After clicking on the Deployment option, you will be prompted for credentials. Provide credentials of an account have access to your standalone MDT server. Press OK
Click on picture for better resolution
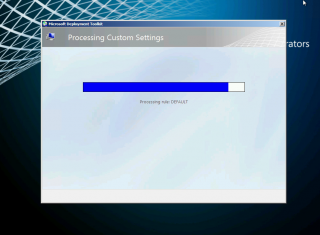
If the credentials provided are correct, you will see that the deployment wizard will start preparing your environment.
Click on picture for better resolution
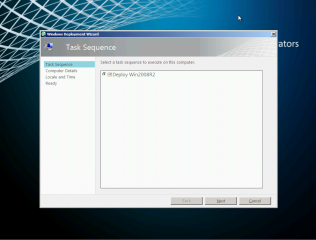
After reading the configuration of MDT Server, you will be presented with the Task Sequence page. In the screenshot, you see only 1 task sequence but obviously, you will be able to create more tasks based on your requirements. In this screen, simply select a task sequence and press next
Click on picture for better resolution
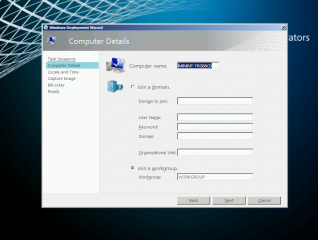
In the computer details, Provide a name and you can decide to join this machine into the domain or to a workgroup. Choose the appropriate option and press Next.
Click on picture for better resolution
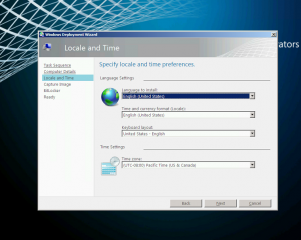
In the local and time page, specify the appropriate information and press Next
Click on picture for better resolution
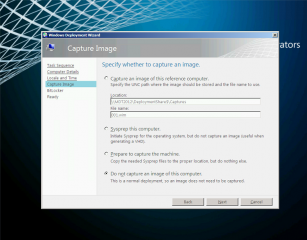
In the Capture image page, specify if you want to capture an image. In this scenario, we are performing a clean installation so there is no need to perform a capture. Press Next
Click on picture for better resolution
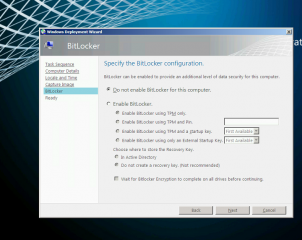
In the Bitlocker page, specify if you want to use or not Bitlocker. In this example, we will not use bitlocker. Press Next.
Click on picture for better resolution
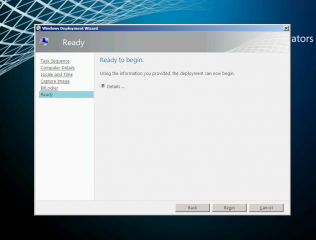
In the Ready page, you can review your settings. Press the begin button
Click on picture for better resolution
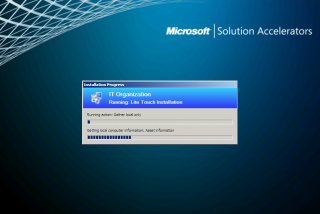
After pressing the button, you will see the deployment process starting. You can see the progress bard popup box that will provide you some information about the deployment process
Click on picture for better resolution
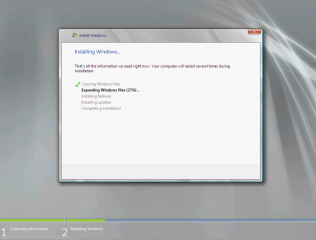
The machine will reboot as required and perform the installation of the operating system as defined in the task sequence. During the installation of the operating system, you will not be prompted for information. Again, the information needed have been provided within the task sequence and the installation proceed in an unattended way
Click on picture for better resolution
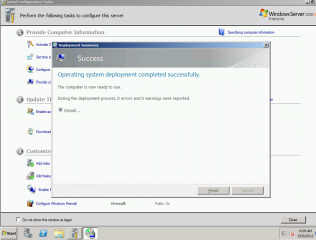
At the end of the process, you should see a screen similar to the following stating that the installation has been completed successfully.
Click on picture for better resolution
Final Notes
As you can see the deployment is quite straight forward when using the MDT solution. However, you have also noticed that you need to provide quite a lot of information through the deployment wizard. This might be acceptable if you have only a few computers where an operating system has to be deployed. If you are performing a mass deployment, this can become cumbersome. In MDT, there is a way to minimize the number of screens you will be presented during the deployment Wizard. You could also have no screens presented to you and have the installation proceeding in a real unanttended mode.
This will be one of the topic of the next post for this series. In the next post, we will try to explain how you can customize your MDT infrastructure in order to provide a corporate look and feel to your deployment process as well.
This is it for this post ! Stay tuned for the next part….
Till next time
See ya
Thanks for sharing MDT 2012 configuration in detail. Its very usefull.
Hello,
Thank you for the comments and your visit…
I’m happy to see that this blog is providing still useful informatioin
Till Next Time
See ya