In one of my previous post, if you remember, I was presenting some “Linux”/Open source Operating System (ubuntu). You might wonder why bother with Open source software ? I’m interested in Open source software because it’s free and it’s legal to use on any machine you want. This is a good way to ensure that you remain legal when using software. Using Open Source software, you do not need to download cracked version of software or use keygen.
If you search for, you will see that a lot (not all) of common windows (and licensed) software have a Linux/open source counterpart (which might be free or less expensive than the market leader product). On the other hand, I’ve noticed that in server rooms and data centers you start to see more and more Linux servers or appliance running a Linux Kernel. So, getting interested in Linux and open source community might bring added value to your work. Finally, I want to show that Linux has made great progress and that’s not as difficult as you would think to install and run an Linux Operating system at your location (Home, Office, on a netbook,…)
So let’s start !
Note : I’m providing in this post a quick and dirty setup guide for installing ubuntu. If you perform a search with google, you will see plenty of guides on how to install Ubuntu on your machine
Deploying Ubuntu on your workstation (physical or virtual)
Note : You can run Ubuntu in a virtual machine in order to test and experiment with it.
In these series of posts, we will be using Ubuntu 9.10 Desktop Edition. It’s the easiest to get started with. So, you go to the Ubuntu web site and you download the ubuntu ISO file. You can burn the ISO to a CDRom or if you want to spare one, you can use the unetbootin.exe to create a bootable USB drive
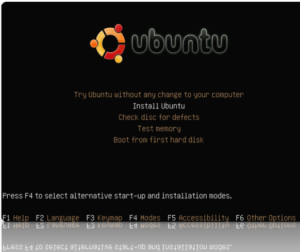
You boot your system and ensure that the first bootable device is your CDRom (or you USB stick if you are using a bootable USB stick as installation media) . You will see the following screen. Select the option Install Ubuntu
Wait until the graphical Setup wizard starts. You will see that the Wizard is quite straight forward (only 6 screens to go through).
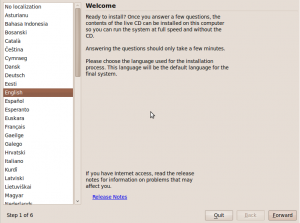
On the Welcome Page, select your language for installation and press Forward
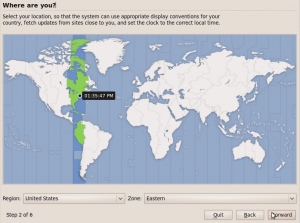
On the Where are you page ?, select your location and time zone and press Forward
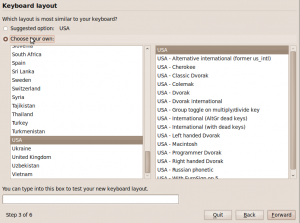
On the Keyboard Layout page, select your own and press Forward
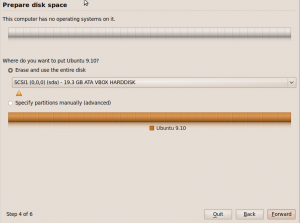
On the Prepare Disk space page, select erase and use entire disk if there is no Operating sytem already installed or if you do not want to configure dual boot on the system, then press Forward
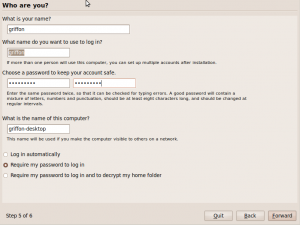
On the Who are you ? page, enter you username and your password and for security reason, select the option require my password to log in option. Press Forward. Remember your username and password as you need this information in order to log into your linux system
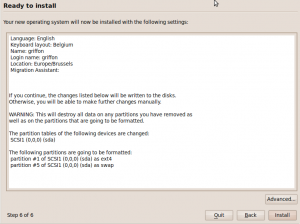
On the Ready to Install page, review your settings and press Install
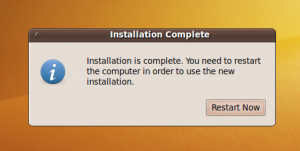
Wait for the Wizard to perform the installation. At the end of the procedure, you will be prompted for a reboot. Press Restart Now button
You will get a command screen where the wizard ask you to remove any media (CD or USB) and press Enter to reboot your machine and startup the Operating system
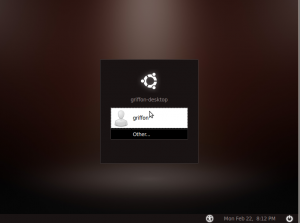
Like in a windows environement, you will see a login box, enter your username and password in order to login
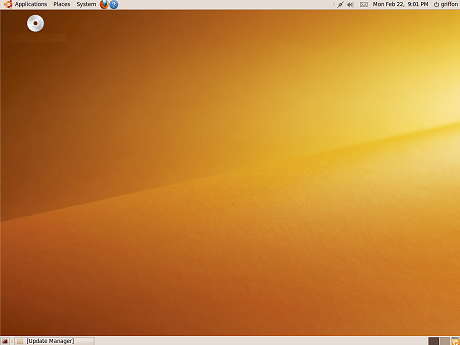
At the end of the process, you will have access to your desktop. This one will look something like this. (see screenshot below). It’s not really sexy but in the next post we will show you how to customize your desktop.
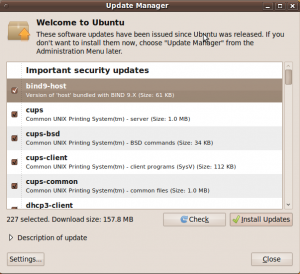
You might also meet the Update Manager utility. Similar to the Windows Update, the system will check for updates and ask you if you want to install them. To complete your installation, we recommend you to perform these updates.
That’s it ! You have a running workstation with Ubuntu. That’s was not too difficult huuh ! . The look’n Feel of the standard Ubuntu is clean but not really sexy. Following posts will try to show you how “easy” it is to customize your working environment and have a more appealing look
Till then
see ya
