Hello World;
In our previous post, we have taken advantage of the snap technology, developed by Canonical, to deploy “Nextcloud” instance on top of Ubuntu 22.04. At time of writing, Nextcloud was not supporting PHP 8.1 and the snap technology helped us in overcoming this limitation. However, begin of May 2022, Nextcloud 24 has been released and include support for PHP8.1. Since Ubuntu 22.04 ships by default with PHP 8.1, this means that, we can how quickly describe a traditional Nextcloud installation on top of Ubuntu 22.04 and see how it compares with snap installation.
Let’s do this
Step by Step Guide
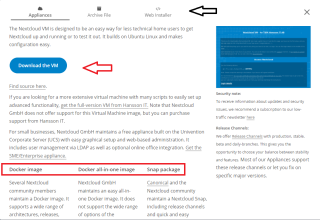
Nextcloud offer multiple options when it comes to installation method. As mentioned earlier, you can get a snap package, a docker image, a web installer, a virtual machine or a basic archive files (.tar or zip file).
Click on picture for better resolution
In this post, we will use the archive files and perform and ‘traditional’ installation. However, before installing Nextcloud software, we will need to get some pre-requisites installed which are
- a web server => we will be using Apache server
- a database server => we will go for Maria DB
- PHP & Modules => we will use the version shipping with Ubuntu 22.04 i.e. PHP 8.1
- Redis 6 (which seems to be used for memory caching purposes when installed with NextCloud software solution
- Some additional pre-configuration actions
Step 1 – Set Hostname & FQDN
Before performing Nextcloud installation, we will configure proper naming conventions for our computer. So, in our example, we will use the following hostname
cloud.c-nergy.vlab
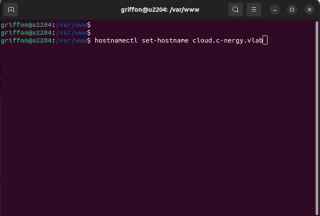
To perform this configuration, you can open a Terminal Console and issue the following command
sudo hostnamectl set-hostname <%YourFQDN%>
(example sudo hostnamectl set-hostname cloud.c-nergy.vlab)
Click on picture for better resolution
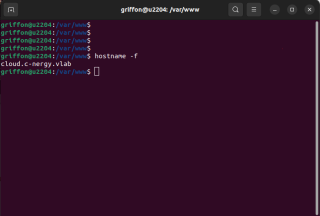
You can check that the value has been set accordingly by issuing the following command
hostname -f
Click on picture for better resolution
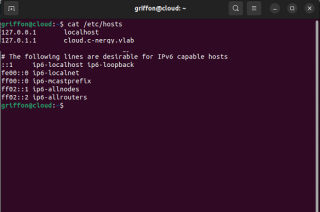
Then, you will also edit the /etc/hosts file and change (or add a line) to include ip address and FQDN of the Ubuntu machine you have chosen. To edit the file, you can issue the following command
sudo nano /etc/hosts
You can see an example configuration that we have used in our Scenario. We have mapped 127.0.0.1 to our FQDN i.e. cloud.c-nergy.vlab
Click on picture for better resolution
Step 2 – Installing Apache Web Server
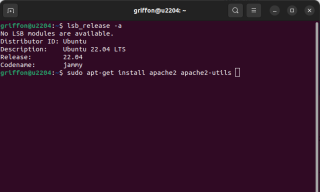
We need to have a web server in order to host the NextCloud application. In our scenario, we will be installing Apache Web server. To perform such installation, you will need to execute the following command
sudo apt-get install apache2
You might be prompted for a password. Provide it and wait for the installation to complete. We have also installed apache2-utils package in our installation process
Click on picture for better resolution
Step 3 – Installing Database server using Maria Db
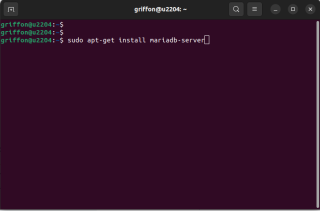
To install the database backend infrastructure, we will be installing the Maria db server. To perform the installation, you will need to execute the following command
sudo apt-get install mariadb-server
Click on picture for better resolution
Step 4 – Installing Additional modules for Apache and PHP
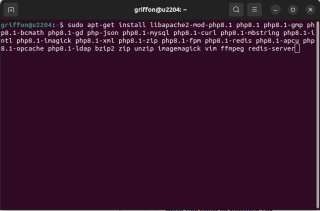
To get a successful Nextcloud installation, we will need to install also a certain number of modules and software component related to the web server, the php framework and more.. To install all the needed module, you will need to execute the following command in a terminal console
sudo apt-get install libapache2-mod-php8.1 php8.1 php8.1-gmp php8.1-bcmath php8.1-gd php-json \
php8.1-mysql php8.1-curl php8.1-mbstring php8.1-intl php8.1-imagick php8.1-xml php8.1-zip \
php8.1-fpm php8.1-redis php8.1-apcu php8.1-opcache php8.1-ldap bzip2 zip unzip imagemagick \
vim ffmpeg redis-server
Click on picture for better resolution
Step 5 – Additional Configuration
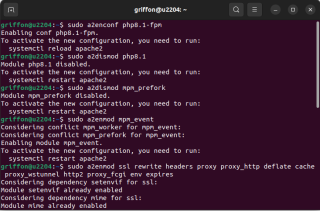
Since we have installed some additional modules related to PHP and Apache server, we will need to configure the Web server accordingly. To perform these extra configuration steps, we will need to issue the following commands
sudo a2enconf php8.1-fpm
sudo a2dismod php8.1
sudo a2dismod mpm_prefork
sudo a2enmod mpm_event
sudo a2enmod ssl rewrite headers proxy proxy_http deflate cache proxy_wstunnel http2 proxy_fcgi env expires env dir mime setenvif
Click on picture for better resolution
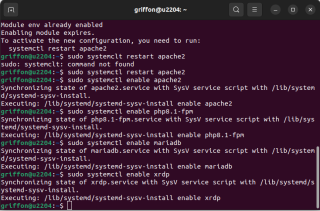
Since we have installed all these modules, we need to restart the apache web server to have the changes applied accordingly. To do that, simply issue the following command
sudo systemctl restart apache2
To be sure that the services will be persistent between reboot, it’s recommended to ensure that your services are enabled at boot time. Again, the easiest way to perform this is to issue the following command line.
sudo systemctl enable apache2
sudo systemctl enable php8.1-fpm
sudo systemctl enable mariadb
Click on picture for better resolution
Step 6 – Securing Maria Database Server
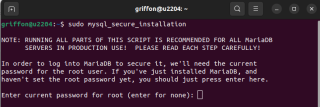
We have installed Maria db server but we need to run a post script installation in order to make it more secure. To perform this activity, you will need to issue the following command
sudo mysql_secure_installation
Click on picture for better resolution
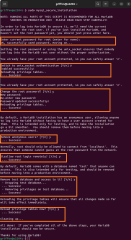
A list of question will be displayed. Accept the default and proceed accordingly.
Click on picture for better resolution
Note : The first question ask for a password. Since this is a new installation, there no password defined yet. Simply press enter and proceed to the next question.
Step 7 – Setup Nextcloud Database
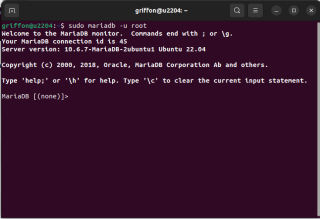
It’s time to create the database to host Nextcloud configuration and data. You will need to connect first to your database using one of the following command
sudo mariadb -u root   (you do not need to provide password)
or
mysql -u root -p       (You will need to provide password you have set in the previous section)
Click on picture for better resolution
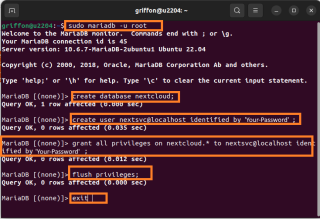
Once connected to the database console, you can start executing the following commands in order to create the necessary database and set proper access rights. You will need this information afterward during the setup of Nextcloud through the web interface, so please save this information accordingly
create database nextcloud;
create user nextsvc@localhost identified by 'your-password';
grant all privileges on nextcloud.* to nextsvc@localhost identified by 'your-password';
flush privileges;
exit
Note: Change the value in red accordingly to your infrastructure
Click on picture for better resolution
Step 8 – Download Nextcloud source files
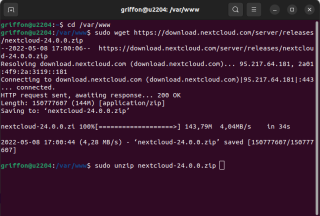
Preparation work is almost done ! It’s time to download the Nextcloud files. To do that, you will perform the following commands
cd /var/www
sudo wget https://download.nextcloud.com/server/releases/nextcloud-24.0.0.zip
Unzip the downloaded files
sudo unzip nextcloud-24.0.0.zip
Click on picture for better resolution
Step 9 – Create an Apache Virtual Host for Nextcloud
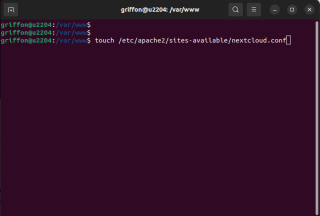
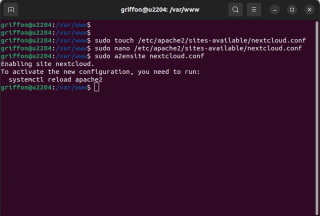
It’s time to create the virtual host for NextCloud through Apache configuration file. To create this virtual host, you will need to issue the following command
sudo touch /etc/apache2/sites-available/nextcloud.conf
Click on picture for better resolution
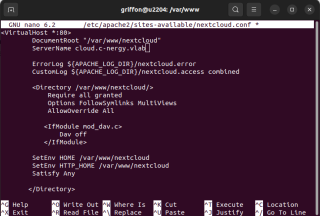
Open the file you have just created and copy the content below into it
sudo nano /etc/apache2/sites-available/nextcloud.conf<VirtualHost *:80> DocumentRoot "/var/www/nextcloud" ServerName cloud.c-nergy.vlab ErrorLog ${APACHE_LOG_DIR}/nextcloud.error CustomLog ${APACHE_LOG_DIR}/nextcloud.access combined <Directory /var/www/nextcloud/> Require all granted Options FollowSymlinks MultiViews AllowOverride All <IfModule mod_dav.c> Dav off </IfModule> SetEnv HOME /var/www/nextcloud SetEnv HTTP_HOME /var/www/nextcloud Satisfy Any </Directory> </VirtualHost>
Note: Change the value in red accordingly to your infrastructure
Click on picture for better resolution
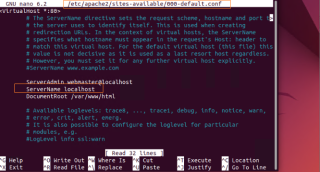
In order to ensure that you are redirected to the correct Virtual hosts (at this stage, we are using the same port and same IP address), you will also need to modify the /etc/apache2/sites-availables/000-default.conf file
You will need to add in the <VirtualHost> Section, the line ServerName localhost. You can see a screenshot of our configuration hereafter
Click on picture for better resolution
Then enable this virtual host.
sudo a2ensite nextcloud.conf
Click on picture for better resolution
Run the following command to enable required Apache modules.
sudo systemctl reload apache2
Then test Apache configuration.
sudo apache2ctl -t
If the syntax is OK, reload Apache for the changes to take effect.
sudo systemctl restart apache2
Step 10 – Change permissions on the web folder
Finally, we will need to change the permissions on the folder
/var/www/nextcloud
in order to be able to perform the post configuration installation via the browser.
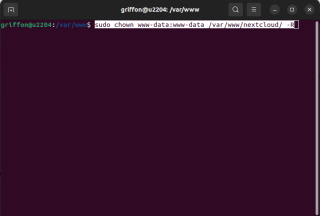
To change the permissions, you will need to issue the following command
sudo chown www-data:www-data /var/www/nextcloud/ -R
Note: Change the value in red accordingly to your infrastructure
Click on picture for better resolution
Step 11 – Post configuration Nextcloud
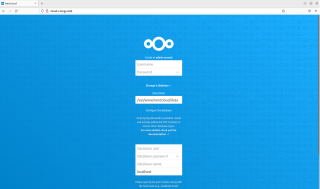
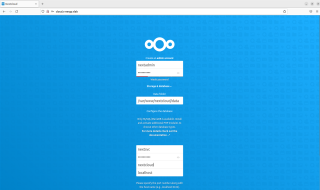
Everything should be ready to move the final stage which is installation of the Nextcloud software on top of your Ubuntu machine. To do that, you will open your favorite browser and provide the url where to connect
http://cloud.c-nergy.vlab/ (adapt the url to reflect your infrastructure)
Click on picture for better resolution
You will need to create your Nextcloud admin account and password. You will then need to specify the information you have provided when you have created the database.
Click on picture for better resolution
When you are ready, scroll down and click on the install button…. The wizard will then perform the installation
Click on picture for better resolution
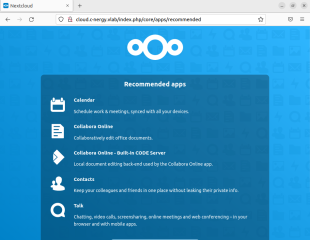
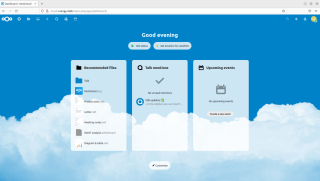
Wait for the installation to process. You will also see a small presentation/introduction slides. You can either go through or close the slides and you will finally reach the NextCloud Dashboard
Click on picture for better resolution
Final Notes
This is it for this post ! At this stage, we have simply performed a basic installation of the Nextcloud software on top of our Ubuntu 22.04 machine. Compared to the snap installation, traditional installation is a little bit more complex as you can see. You will have to install a lot of pre-reqs before being able to access your Nextcloud Dashboard. Moreover, since we have simply performed (so far) a simple installation, there are some post-configuration activities that are needed in order to have a performant, secure and fully functional implementation. Nextcloud is really a nice solution quite complete but can be seen also as quite complex. At this stage, you can play around with the installation, do a quick tour, see what’s working, see which apps can be added….
This post start to be quite long. So, we will stop here. However, we think that we will need another post to go through the post configuration actions, customization and enable Office document integration. So, Stay Tuned
Till next time
See ya
References
To be able to write this post, I have used a lot of information from Internet and the Nextcloud documentation web site and big thank to Linuxbabe.com website which helped us a lot in providing consistent instructions for this post.

