Hello World,
Ubuntu 14.10 final beta has been made available and it’s ready to be tested. At this stage, there is a freeze in addition new features so we assume that what we see in the final beta version would be what will be released in about one month. Reading about Ubuntu 14.10 on internet, it seems that this version is just a more polished version of the previous one where no major changes have been made.
Canonical, the company behind Ubuntu, seems to focus mainly on the Ubuntu Touch (the ubuntu phone) and also in the Cloud infrastructure while the desktop division does not seem to be anymore center of the attention. While we can understand the interest and focus on the Cloud and phone market, we hope that the desktop offer will not be discontinued like the Ubuntu One solution. We do not think that will be the case but the fact (or the impression) that no more effort are put in the desktop solution might lead to desertion of people on one of the most popular Desktop linux distribution.
In this post, we will perform the traditional step by step installation process of this new release.
Step by Step Installation Guide – Ubuntu 14.10 – Fresh Install
Note 1 :
We are using for this post the beta version of Ubuntu 14.10. Note also that we have performed the installation as a virtual machine on an Hyper-V server.
Note 2 :
We are performing a fresh installation of the Operating System. It’s possible to upgrade a previous installation to the latest one. We are not covering the upgrade process in this post.
Step 1 – You first need to download the latest source files from http://www.ubuntu.com/download/desktop
Step 2 – When you have downloaded the iso, you can decide to burn the iso or to perform the install from a usb stick (preferred method). When you are ready, you can start your installation process.
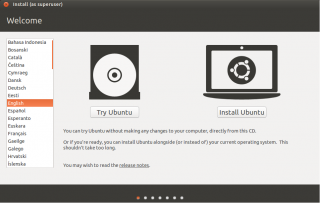
Step 3 – in the Welcome Page, select the install ubuntu option
Click on picture for better Resolution
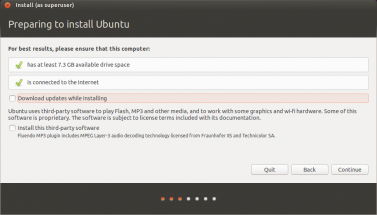
Step 4 – In the preparing to install, you can simply press continue or you can tick the check-boxes to download the updates and codec (if you have internet connectivity)
Click on picture for better Resolution
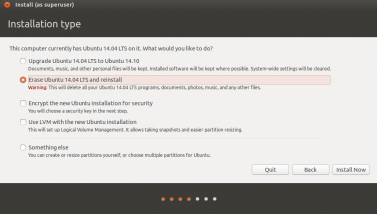
Step 5 – In the installation type, select your installation type. When you have selected your options, Press Continue
Click on picture for better Resolution
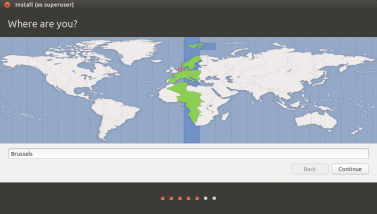
Step 6 – In the Where are you ? page, the wizard will try to detect your location. If this is not correct, locate your location on the map. Press Continue
Click on picture for better Resolution
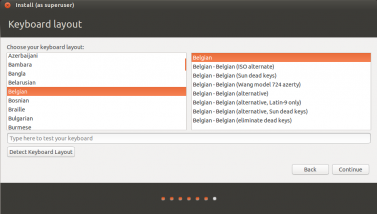
Step 7 – In the keyboard layout, select your keyboard and Press Continue.
Click on picture for better Resolution
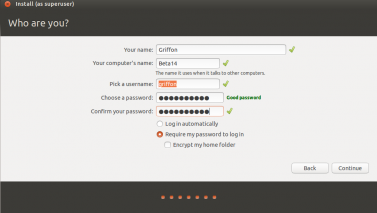
Step 8 – In the Who are you ? page, provide the requested information (computername,username,password). You can also decide to encrypt the disk if needed
Click on picture for better Resolution
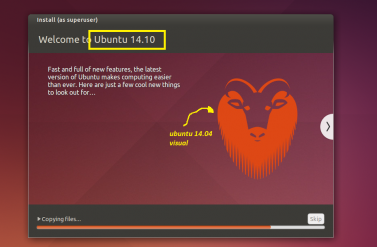
Step 10 – The installation process will start. wait for completion
Note : You can see that i’m using a beta version, the Ubuntu 14.10 mascot is still displayed on the dialog box
Click on picture for better Resolution
Step 11 – When installation is complete, you will see the prompt asking you to reboot the machine
Click on picture for better Resolution
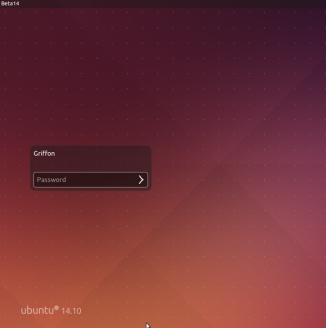
Step 12 – After the reboot, you should see the login page for Ubuntu 14.10
Click on picture for better Resolution
Final Notes
Voila ! You have performed a basic installation of Ubuntu 14.10. As you have seen, the installation is quite simple and straight forward. If you are used to perform Ubuntu installation, there is basically no changes in the setup process compared to the previous versions.
As in the previous version, the nice login interface page is still present and the unity interface is also there. An important point to note here is that the MIR display server is not part of this release. Some months ago, the inclusion of the MIR display server was announced by Canonical but now it’s seems that the MIR server will not be availabe before the version Ubuntu 16.04 or 16.10.
If you look at this situation on the positive side, this means that we can still use the xrdp package to perform remote desktop to your Ubuntu server and Desktop infrastructure. It seems that xrdp and MIR display server are not compatible with each other. This give a little bit more time to the team behind xrdp package to update their solution and to have it working with Unity and maybe with the new Mir Display server (or Wayland) or any other X server of the future.
Next post will be dedicated to Xrdp in Ubuntu 14.10… We will check that the solution is still working and we are preparing some little new post related to xrdp and ubuntu 14.10..
Stay tuned
Till Next Time
See ya
