*********************************************************************************************************
Updated Info : There is apparently a bug that does not allow to install ESX 3.5 from a USB stick. The tips still works for previous versions but not for ESX 3.5. See here for more info
**********************************************************************************************************
Hello World,
Back from a business trip in Greece, I have some time left (after a hard working day) to quickly demonstrate how to create a bootable USB Drive containing ESX 3.5 software.
In my current project, we are deploying ESX 3.5. on HP equipment. I was ready to insert the CDROM into the machine and noticed that no built-in (or usb cdrom drive) was present on the servers.
No panic ! We can still perform the installation from a USB Stick. But we need to create our ESX USB bootable drive. Luckily, there is a tool that will help create quickly your USB Bootable drive for ESX. The toot is called unetbootin.exe.
Note:
The idea of this post came from a discussion with one of my collegue. I was busy creating an ESX bootable usb drive manually and we started talking about this unetbootin.exe utility. Then, i started thinking well, ESX is a Linux Operating system, maybe i can use this utility to easily create my ESX Bootable USB Drive.
So i decided to try. I followed the following steps in order to create my bootable ESX usb drive
Step 1 : Download your ESX 3.x ISO File
Step 2 : Download the unetbootin.exe utility. The utility is a self-executable, there is no installation required
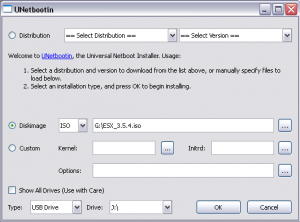
Step 3 : Double-click on the unetbootin.exe file and the following screen should be displayed. Specify the location of your ESX ISO File and ensure that you have selected the correct usb drive (at the bottom of the page)
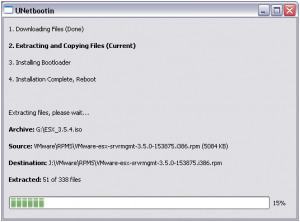
Step 4 : Press OK and your USB DRIVE will be created
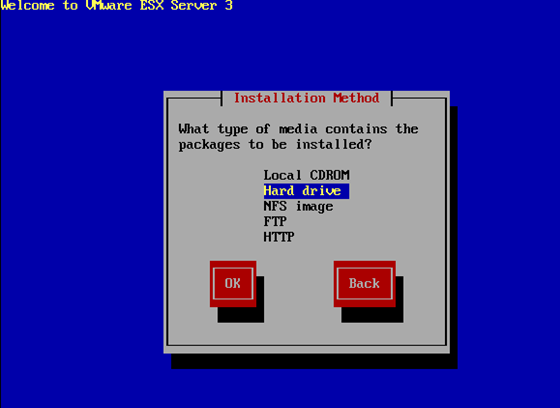
I thought that my stick was ready to be used. I plugged the stick into the usb connector and start the server. The ESX installer was bootable indeed. The problem occurs when the ESX installation wizard asked me to select from which location i wanted to perform the installation. I selected Hard disk (see below) and then selected the correct device (in my case /dev/sdc – your device might be different)
In this wizard page, you need to specify the location of the directory holding the image. Simply type / in this field.
There is the trick !!
To have a working bootable usb stick, you need to copy the ESX 3.x ISO File on the root of your USB Drive. If you do not place the file, the wizard will not proceed.
In summary, in order to have a ESX 3.5 USB Installer drive,
-
you use the unetbootin.exe utility to make to USB drive bootable,
-
you simply copy the iso file on the root of your USB drive.
-
As an additional step, you can edit your syslinux.cfg file and modify append line entries. you should add the word usb at the end of each append line and have something like this
label ubnentry1
menu label esx
kernel /images/pxeboot/vmlinuz
append initrd=/images/pxeboot/initrd.img usb
-
To spare disk space on your usb stick, you can delete the VMWARE folder located on the root of your USB stick (given that you will be using the ISO File)
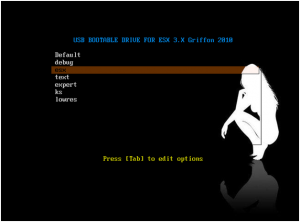
And Finally, if you want to have a really nice ESX USB bootable device, you can also change the splash image you see when you boot from your stick. Have a look to mine…nice
That concludes this post. As a next step, it would be nice to integrate a unattended file into this stick and have an automated installation performed… Maybe for the next time
Till then
see ya
