Hello World,
In this post, we have seen how to install Ubuntu 11.10 . This post will show you how to easily change the background image of your login screen. In the past, we have made a similar post about how to change the login screen in ubuntu 10.4. This was not complex operation but still not as easy as it is now.
Let’s go !
What we wanna do
The new login screen of Ubuntu 11.10 is already nice but if you want to customize your system you can easily change the background image using a tool called Simple-lightDM-Manager.
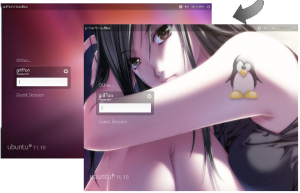
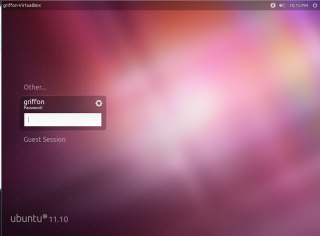
We want to go from this classical and default login screen
Click on image for better resolution
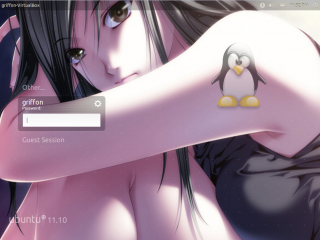
to a login screen that would look like this one
Click on image for better resolution
In order to perform this change, I was expecting to edit some config file and change information about the picture. You can still do that but there is an easier way. You simply download and install the Simple-lightDM-Manager tool and you will have a nice GUI interface that let you perform this operation.
The catch is that the software is not available by default in the repository. If you use the Software Center and search for the utility, you will get no results. You will first need to get the software repository and then you will be able to install the software. You can perform the operation from the command line or from the GUI.
Installing the Simple-LightDM-Manager utility
Installing from the command line
You can perform the following from the command line
Step 1 : Add repository holding the utility
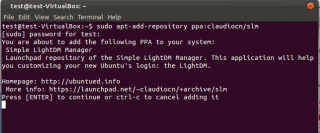
From a terminal session, type sudo apt-add-repository ppa:claudiocn/slm
Click on image for better resolution
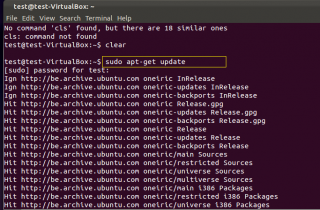
Step 2 : Update your information
Then type sudo apt-get update
Click on image for better resolution
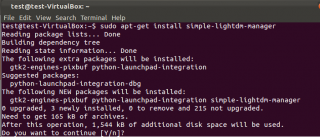
Step 3 : Install the software
and finally sudo apt-get install simple-lightdm-manager
Click on image for better resolution
Installing from the Software Center
You can also perform the installation from the GUI. Open your Software Center application (use the search button on your favorite desktop interface – Unity or Gnome Shell)
Step 1 – Adding repository for the utility
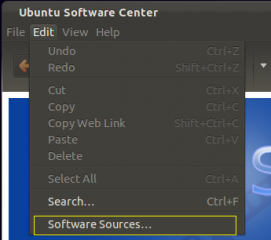
In the Software center, on the menu, click on edit and then select Software Sources….
Click on image for better resolution
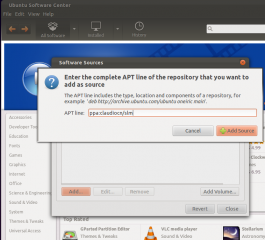
In the Software Sources, click on the tab Other Softwares. In the Other Software dialog box page, click the add button. In the Add APT Line input box, type the following ppa:claudiocn/slm. When Done, Click on Press Add Sources
Click on image for better resolution
Step 2 – Install the Software
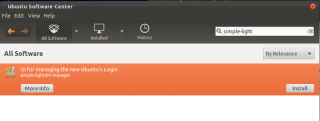
In the ubuntu Software Center, type simple-lightdm-manager in the search box and you should see the package you need to install
Click on image for better resolution
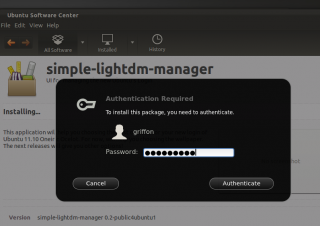
Click on the Install button. You might be asked to provide some credentials in order to perform the installation
Click on image for better resolution
Using the Simple-LightDM-Manager utility
This is the easy part. From your desktop interface, you type in the search box simple-lightdm-manager and you will be able to locate the application. The search box is visible when you click on activities in gnome or in the Dash button in Unity.
Click on image for better resolution
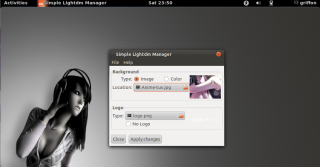
Click on it to launch it. You will get a really simple utility. You select the image you want to use, you close the application and you check the results. As simple as that
Click on image for better resolution
Final Notes
This is it !. Now you know how to customize and change the background image of your login screen. In the next post, I will show you how to install the Gnome Desktop.You will see this is also really easy.
Till next Time
See ya
