Hello world,
In our previous posts, we have quickly introduced the Keeweb software solution that provide a really good password management solution for personal use. We are quite new to the software but we really like the fact that it’s using modern technology and has a really nice looking interface. We have demonstrated how to install Keeweb software on either Ubuntu or windows and start using it.
The tool is great for personal use. However, we have seen more and more people using such software solution in corporate environment because the software is free, easy to use and does not rely on a cloud based service. The most classical way to deploy Keeweb in working environment consist of deploying the Keeweb software on multiple workstations and store the Keepass database on a network share or to install the software on a management server and have multiple users accessing it (through remote desktop) and thus the password management solutoin.
A better way would to be host the Keeweb software on web server and simply allow users to access the software through a simple browser. No local software installation needed in this scenario. This post will explain how to perform such setup on a Windows web server (IIS)
Let’s do this !
Overview
In this post, we will explain how to deploy the Keeweb software within a corporate organization and host the software on a Windows web server (IIS). You could use any other web server software but in our specific case, the customer was running most of the infrastructure on Windows platform. Moreover, we have noticed that this setup does not seems to have been described in detailed on internet.
This post will explain how to perform such configuration…
Step 1 – Installing IIS software on Windows 2016 or later
We assume that you already have a windows machine up and running on your network. The machine we were using was joined to the Active Directory domain. At this stage, we want to install the web server software. We can do that using Powershell or GUI. In this post, we will go through the Add/remove Server roles Wizard.
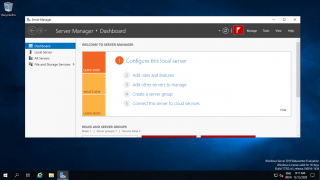
In server manager, click on the Add Roles and Features
Click on Picture for better Resolution
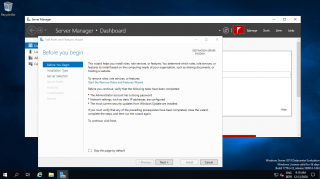
In the before you begin page, Press Next
Click on Picture for better Resolution
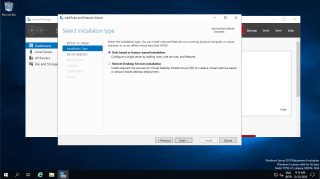
In the Select Installation Page, select Role option
Click on Picture for better Resolution
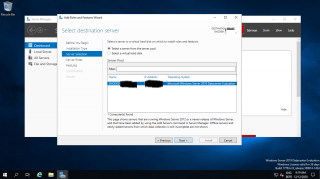
In the Select server Page, select Role option
Click on Picture for better Resolution
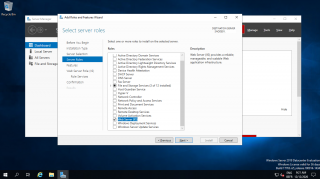
In the Server Role Selection Page, select the Web server Role option
Click on Picture for better Resolution
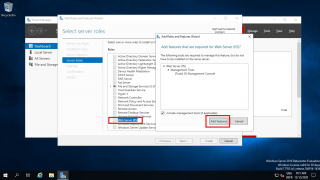
The Add Feature dialog box will be displayed when selecting the option, Press add Features
Click on Picture for better Resolution
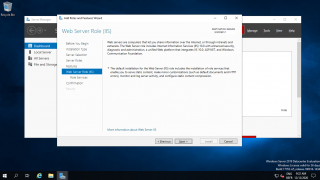
In the Web Server Role (IIS) Page, Press Next
Click on Picture for better Resolution
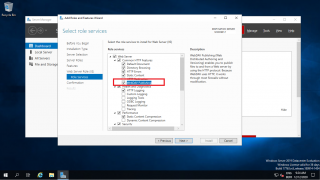
In the Role Services Page, Ensure that the WebDav Publishing option is selected
Click on Picture for better Resolution
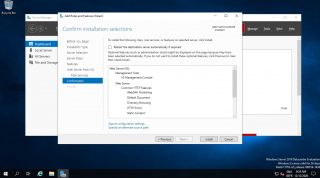
In the confirmation Selection page, Press Install
Click on Picture for better Resolution
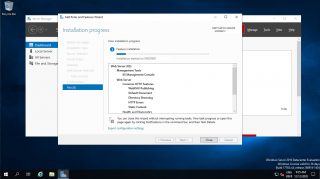
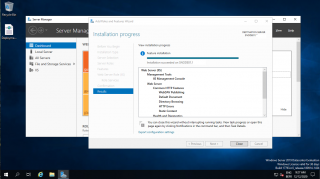
In the Installation progress page, wait for the completion
Click on Picture for better Resolution
Ensure that installation is successful then you can press the Close Button
Click on Picture for better Resolution
Step 2 – Configuring the Web Server
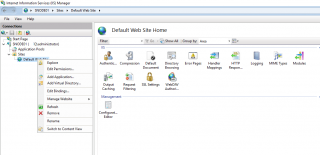
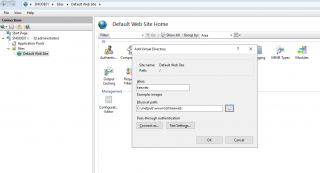
When the Web server is installed, we will need to configure the web server in order to host the necessary keeweb files and serve web pages to the users. We will first create a virtual directory on the web server. To do this, open the Web server mmc console, expand Sites > Default Web Site. Right-click on it and select the appropriate option (we have selected Add Application option)
Click on Picture for better Resolution
In the Add application Dialog Box, specify the alias name you want to use (i.e. keeweb in our case) and where to store the files (we have selected the default location but recommendation is to use a different location). We have created the folder called Keeweb. This folder will host the necessary keeweb files that will provide us the web interface.
Click on Picture for better Resolution
Step 3 – Copy Keeweb files to the Web server
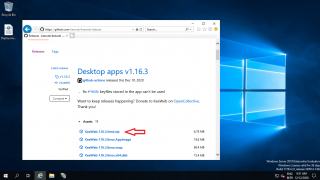
You will go to the keeweb github page and you will find the latest release available. Be sure to select the html files and download them to your web server.
Click on Picture for better Resolution
From you Download location, extract the files and copy them to the location of your virtual directory that you have created in the previous steps. So, in our example, we would copy the file in the following location c:\inetup\www\keeweb
Click on Picture for better Resolution
Step 4 – Enabling and Configuring WebDav Features
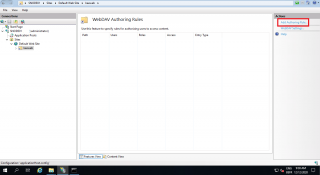
At this stage, we are ready to enable webdav feature on the web server. Going back to our web server mmc console, we will again browse to the Default Web Site Node. From the center pane; we click on the Webdav Authoring Rules features
Click on Picture for better Resolution
In the WebDav Authoring Rules page, on the right pane, click on the Enable WebDav
Click on Picture for better Resolution
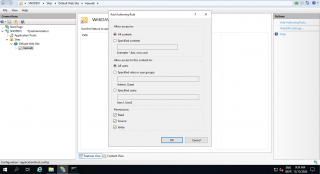
Browse to the virtual directory you have created (i.e. keeweb). Click on it. In the central pane, click on the Webdav Authoring rules option. In the WebDav Authoring rules page, in the right pane, click on the Add Authoring Rules
Click on Picture for better Resolution
In the dialog box, configure your rules accordingly. Ensure that in permissions section all the options are selected. As you can see on the screenshot, you can restrict access to specific users or to specific content. So, we could imagine to bring more strict access to our password management database by allowing only certain people to access it…
Click on Picture for better Resolution
If you try to access the web page, you will probably end up some errors related to webcrypto not supported as depicted in the screenshot below
Click on Picture for better Resolution
To overcome this error, you will need to configure Secure access to your web page (SSL connection). You will need to obtain a certificate for the web server and deploy it through your network.
Step 5 – Self signed Certificate for IIS
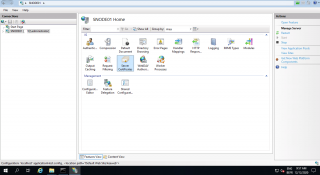
In this example, we will create a self signed certificate using the IIS capability. If your organization has a PKI infrastructure or a commercial certificate, you can use it at well and configure your web server to use it accordingly. To generate a self signed certificate in IIS, open the mmc console, click on the server node and in the center pane, select the option Server Certificates
Click on Picture for better Resolution
In the Server Certificates page, on the right pane, click on the option Create Self-signed Certificate
Click on Picture for better Resolution
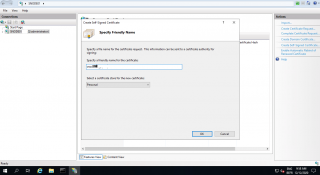
In the specify friendly name, enter the FQN that will be used as url to access the web server. For example, it could be something like vault.c-nergy.lab
Click on Picture for better Resolution
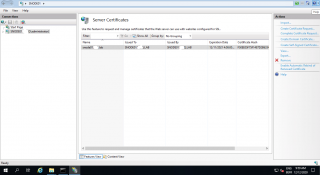
Pressing OK, you will be redirected to the Server Certificate page and you can see that your self-signed certificate has been created
Click on Picture for better Resolution
Step 6 – Binding SSL Certificates
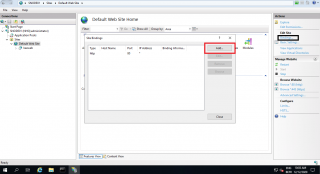
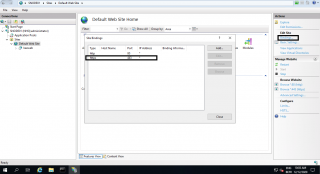
Almost there….Now, we have to configure the Binding Settings. Click on the Default Web Site node, on the right-pane, click on Bindings. In the Binding page, click on Add button
Click on Picture for better Resolution
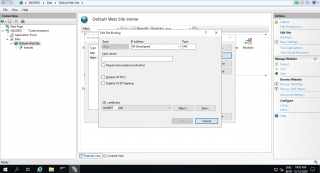
In the Edit Binding page, ensure that https protocol is selected and choose your self signed certificate in the drop down box. When done, Press OK
Click on Picture for better Resolution
In the Add Binding page, you should see something like this. Press OK to close the dialog box.
Click on Picture for better Resolution
Step 7 – Test your Setup
Time to test the setup. Go to another machine, fire up your favorite and modern browser (Internet Explorer 11 does not seems to work properly), type in the url for the web server you have just configured (in our example, it would be something like https://vault.c-nergy.lab/keeweb) and you should see the following screen
Click on Picture for better Resolution
Final Notes
Voila ! This is it for this post. As you can see, it’s really not complicated to setup a web server on Windows and have the keeweb password management software self hosted on premises. Now, your users can access password software solution centrally through a simple web browser. Obviously, you need to ensure that high security standard are met and you should restrict access to this web interface to only authorized users…
So far, we have only configured the access through web interface. Now, we need to configure the Keeweb software to take advantage of WebDav infrastructure. This will be the topic of the next part
Till next time
See ya

