Hello World,
While waiting for Ubuntu 20.04 LTS release, we are continuing our journey in the virtualization world in Linux. The most widely used option for virtualization in Linux world is the KVM virtualization technology. When enabling KVM virtualization on a Linux box, the most common used management interface tool will be the Virt-Manager because it’s offer quite a lot of configuration options and because it’s available to most of the Linux Distributions. However, Other options exists
Our previous post was focusing on Gnome Boxes, an easy to use virtualization solution mainly used on top of Linux Desktop Operating system. Gnome Boxes depends on kvm technology but offer a really simplified management interface that most of the average users will be able to work with. Gnome Boxes could be a good alternative to virtualbox software or VMWare Player on Linux Desktop environment. Choice is up to you (as also with Linux)
Today, we will briefly explain how to install and configure the Kimchi Project 3.0.0 on Ubuntu 19.10 Operating System. Kimchi is providing an HTML5 web interface that will help you managing your virtual machine infrastructure through a web browser. Again, Kimchi might not offer all the options available in Virt-Manager but can meet requirements of certain scenario. Th Web interface can be access from anywhere and it’s quite easy to use.
So, let’s have a quick look at how to enable this web management interface….
Step by Step instructions
Kimchi Release 3.0.0
In Januray 2020, the Kimchi project team has released the latest version of Kimchi which is set to 3.0.0. This release is an important one as the software has been re-written to support python 3. Previous version of Kimchi (2.5.0) could be installed on Ubuntu 16.04 and later but because of some dependencies discrepancies, there was a need to manually update some configuration files. This is something of the past. The new release is really easy to install on Ubuntu 19.10 as you will see
Install dependencies
As a first step, you would ensure that your Ubuntu Operating system is up to date. When this is ok, we can start installing the Kimchi dependencies (including kvm 🙂 ).
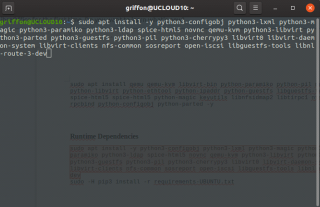
From a Terminal console, type the following command
sudo apt install -y python3-configobj python3-lxml python3-magic python3-paramiko python3-ldap spice-html5 novnc qemu-kvm python3-libvirt python3-parted python3-guestfs python3-pil python3-cherrypy3 libvirt0 libvirt-daemon-system libvirt-clients nfs-common sosreport open-iscsi libguestfs-tools libnl-route-3-dev
Click on Picture for Better Resolution
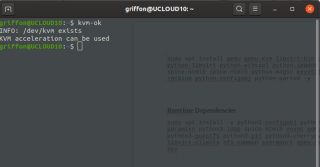
Let’s check that kvm is installed and that your system support virtualization technology by issuing the following command in the terminal console
kvm-ok
Click on Picture for Better Resolution
As you need a web server to host a web management interface, we will install the nginx webserver by issuing the following command
sudo apt install nginx -y
Click on Picture for Better Resolution
Install wok components
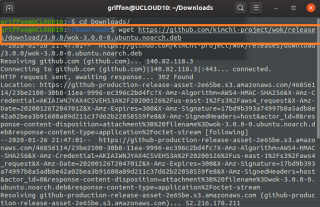
At this stage, we have the basic infrastructure ready and we can start focusing on the Kimchi installation software. First, we will need to download the wok components as Kimchi is built on top of it. Then, we can perform the installation. Perform the following actions from a terminal console
wget https://github.com/kimchi-project/wok/releases/download/3.0.0/wok-3.0.0-0.ubuntu.noarch.deb
Click on Picture for Better Resolution
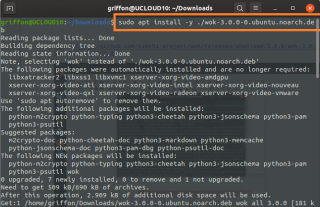
Once the package downloaded, go to the directory where the package is located and execute the following command
sudo apt install -y ./wok-3.0.0-0.ubuntu.noarch.deb
Click on Picture for Better Resolution
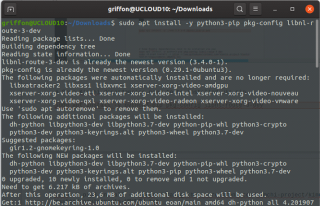
On the release page, there is a mention that some Kimchi dependencies need to be installed via pip. We are not sure if this is indeed needed but we will execute these commands in order to ensure that we meet all the requirements
sudo apt install -y python3-pip pkg-config libnl-route-3-dev
Click on Picture for Better Resolution
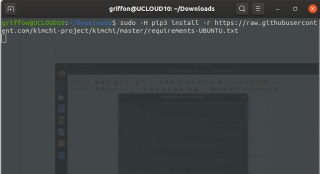
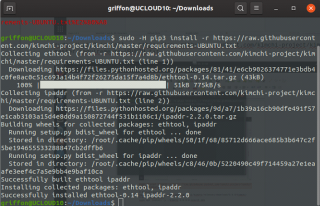
Then, you will need to install some additional requirements (contained in the txt file). Issuing this command will install these requirements (ethtool and ipaddr)
sudo -H pip3 install -r https://raw.githubusercontent.com/kimchi-project/kimchi/master/requirements-UBUNTU.txt
Click on Picture for Better Resolution
Install Kimchi
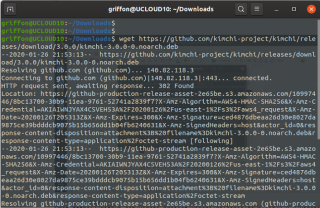
Finally, we are ready to download Kimchi package and perform the installation. Again, we will do everything from the command line as this is quite straight forward. So, issue the following commands in the Terminal Console
wget https://github.com/kimchi-project/kimchi/releases/download/3.0.0/kimchi-3.0.0-0.noarch.deb
Click on Picture for Better Resolution
When package is downloaded, we can start the installation process
sudo apt install -y ./kimchi-3.0.0-0.noarch.deb
Click on Picture for Better Resolution
Install Virt-Manager (Optional)
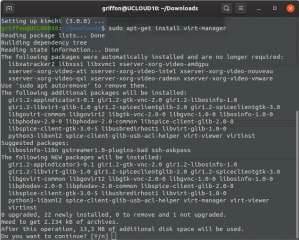
It’s recommended to install Virt-Manager as this management interface offer a wide range of configuration options that Kimchi might not offer. Kimchi seems to be a really good web interface management for KVM Virtual machines but we have noticed indeed that not all the configuration options are exposed. So, it might be useful to have virt-manager installed beforehand so we can adopt more quickly if there is a need.
sudo apt-get install virt-manager
Click on Picture for Better Resolution
Validating your installation
To validate your installation, you simply needs to open your browser and try to access the following url
https://localhost:8001
Note : Some times, the page is redirected from https://localhost:8010 instead of https://localhost:8001 which result in a failed login page….So, ensure that the port 8001 is indeed selected….
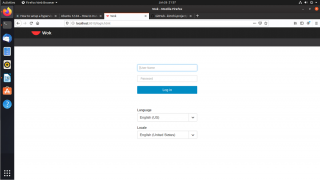
If everything went fine with the installation, you should see the following login page but we are not yet there. To login, you simply needs to use your user name and password because Kimchi is using PAM module for authentication process
Click on Picture for Better Resolution
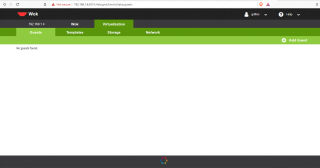
After your login, if you see something like this, where a virtualization tab is visible and accessible, you have successfully performed your installation of Kimchi. Under the virtualization tab, you can see that you have everything you need to create virtual machines, manage storage and networking settings from your web interface….
Click on Picture for Better Resolution
If you see a page like the one below where there is no Virtualization tab, this means we have a problem… We had the issue and this was most of the time related to the fact that the BIOS/UEFI Virtualization feature where not enabled.
Click on Picture for Better Resolution
Note :
if you still have the missing virtualization tab, you should try to execute the following steps in order to find some hints (see here for detailed info : https://github.com/kimchi-project/kimchi) You can get more details about it when running wok with --environment=dev
sudo systemctl stop wokd
sudo python3 /usr/bin/wokd --environment=dev
These commands should provide you more information about what’s really missing and you can try to adjust and fix your installation
Final Notes
Since the release of Kimchi 3.0.0, the installation process is really straight forward and easy to perform. With the previous version, installation was not complex but there was a need to modify config file manually and tweak a little bit your system to have it running properly. This post is obviously only the begin of our journey. We have simply described how to perform the installation but we didn’t create yet any virtual machines and we didn’t test all the possible configurations possibilities and limitations offered by the tool….
This might be the topic of a coming post
Till next time
See ya
Detailed info about how to install Kimchi 3.0.0 can be found at : https://github.com/kimchi-project/kimchi

Works perfect!
Thanks
@Didac,
Thanks for visiting our blog and provide positive comments… When time permit, we would like to provide more info about Kimchi project
Till next time
See ya
Wok web server starts, then fails. Any solutions?
@Miguel,
are you running Kimchi on Ubuntu 19.10 or Ubuntu 20.04 ? Ubuntu 19.10 is out of support and there are known issues with Ubuntu 20.04 and Kimchi.
As far as i know, we have not seen a fix for this issue
Hope this help
Till next time
See ya
i’m runing 20LTS. Are ther any equivalent web interfaces for creating a VM? I can’tremember trying one a few years ago, but can’t remember at all what it was called :-/ .
I can use Virt-manager to create them, and them run through through cockpit, in the meantime.
Plase forgive typos, everyone
@Michael
Sorry the late answer… There should a be a plethora of solution that could be used to create vMS through web interface… I think that one quite known is the Cockpit interface
VMDashboard is also probably a good alternative to Kimchi . You can probably find an alternative through this page (https://www.linux-kvm.org/page/Management_Tools) which lists a lot of options. Double-check as the list also includes Fat client or command line tools
Hope this help
Till next time
See ya
Fails at:
sudo apt install -y ./wok-3.0.0-0.ubuntu.noarch.deb
Reading package lists… Done
Building dependency tree
Reading state information… Done
Note, selecting ‘wok’ instead of ‘./wok-3.0.0-0.ubuntu.noarch.deb’
Some packages could not be installed. This may mean that you have
requested an impossible situation or if you are using the unstable
distribution that some required packages have not yet been created
or been moved out of Incoming.
The following information may help to resolve the situation:
The following packages have unmet dependencies:
wok : Depends: python-m2crypto but it is not installable
E: Unable to correct problems, you have held broken packages.
@ChromeFinch,
Thank for visiting our blog and provide some feedback. As far as we know Ubuntu 19.10 has reach end of life and should not be used. If you are using Ubuntu 20.04, this is an expected results. A update version of Kimchi is being prepared. When ready, you will be able to deploy kimchi on your system
hope this help
Till next time
See ya
Great article. thanks! any idea how to configure guest video? I’m seeing limited resolution and want to expand to 1920×1080. This is for windows VM
Thanks!
@mkrichman,
never checked this one…. have you changed the resolution inside the VM ? Change resolution in your windows and see if this fix your issue.
If you have virt-manager, check also from the flat client to see if this is working….
Hope this help
Till next time
Not sure.. Did you install the virt-manager ? Can you check first from there if you can change screen resolution and check if you get the correct resolution at your vm
If this is working… go back to Kimchi interface and give it a try…