Hello World,
As mentioned in our previous post, we have been quite busy lately tackling multiple activities. As we are moving forward through the year, we start having a little bit more time for publishing some new great how to guides and technical information through our blog. Today, we will speak about Gnome Boxes. Gnome boxes is a front-end application that allows you to create and run virtual machines. The software does not seems to have much attraction compared to other well established products (such as VirtualBox or VMWare Player)
As a matter of fact, we never used Gnome Boxes. The reason behind is that we normally work indeed with more main stream software like Esxi, Hyper-V, Proxmox VE, KVM, XenServer….Secondly, when it comes to Desktop Operating System, we usually use VirtualBox because we are familiar with the product.
However, It’s time to get out of our comfort zone and try something new. This is why we have decided to install Gnome Boxes and try to understand if this would be a good alternative to other well known virtualization software. Keep reading to discover our findings…
Overview
As we are transitioning to new hardware (and software) platform, we have been able to refurbish some workstations and some servers that will be introduced in our test lab infrastructure. Usually, in a test lab (or if you need to create a test environment), you would typically rely on virtualization software solution which allows you to create multiple virtual machines and perform the necessary tests you would need to perform. Instead of installing the classical VirtualBox virtualization software, we have decided to give it a try to Gnome Boxes
What’s Gnome Boxes ?
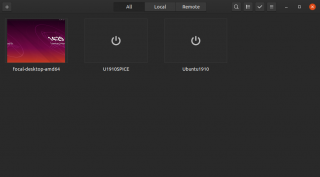
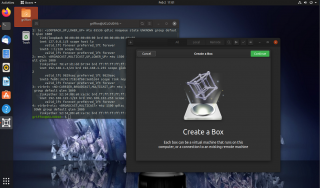
So, what’s Gnome Boxes ? Gnome boxes is simply providing an easy to use front-end interface that can be used to create virtual machines which relies on the kvm virtualization technology layer available by default into the Linux Kernel. Gnome Boxes can be seen as a Gnome Software alternative to Virtual Box and VMWare Player software. Gnome Boxes would integrate nicely on top of the Gnome Desktop Environment. It looks really sexy 🙂
Click on Picture for Better Resolution
Hardware & Software Requirements
Gnome Boxes relies on KVM Opensource virtualization technology. To be able to run KVM virtualization layer, your hardware needs to have capable CPU that support either the Intel VT-x or AMD-V hardware virtualization extensions. You will need to check that these extensions are enabled at the BIOS or UEFI level. If you do not have these extensions, Gnome Boxes will not work and you can switch back to VirtualBox as alternative….
Obviously, Gnome Boxes also requires a Linux operating system and would integrate smoothly with the Gnome Desktop Interface.
Installing Gnome Boxes
Step by Step installation Process
Installing Gnome Boxes is quite straight forward. You can use the command line or GUI to perform the installation. This post will be using GUI installation mode. Perform the following actions in order to install Gnome Boxes on your system.
Step 1 – Check that your system can run KVM virtualization layer.
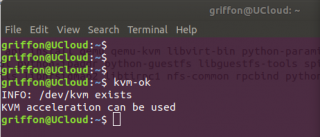
The easiest way to test this is by opening a Terminal console and issue the following command
kvm-ok
If you see a similar result as the one shown on the screenshot, we can proceed and perform the installation of Gnome Boxes
Click on Picture for Better Resolution
Step 2 – Open Software Center and search for Gnome Boxes
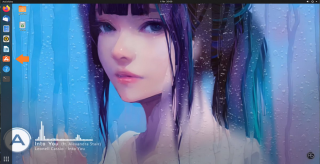
In the dockbar, click on Ubuntu Software Center Icon
Click on Picture for Better Resolution
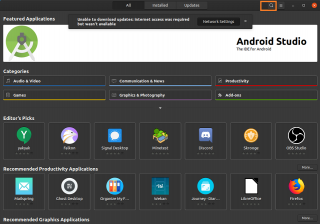
the Software Center app opens, click on the Search button and type Gnome boxes
Click on Picture for Better Resolution
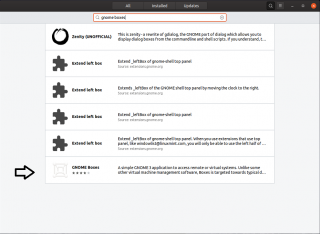
the Result page shows you at the bottom, the gnome Boxes software to be installed… Click on it
Click on Picture for Better Resolution
Step 3 – Installing Gnome Boxes
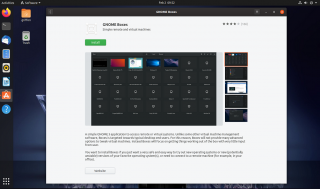
In the Details installation page, click on the Install Button. Wait for install completion
Click on Picture for Better Resolution
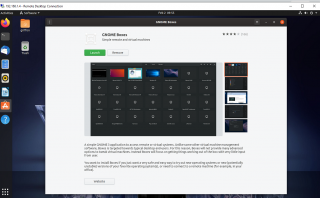
When install is completed, you can click on the Launch Button
Click on Picture for Better Resolution
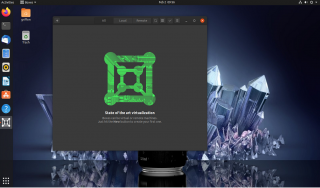
The Gnome Boxes interface will be displayed to you and you can start creating your virtual machines
Click on Picture for Better Resolution
Creating a Virtual machine
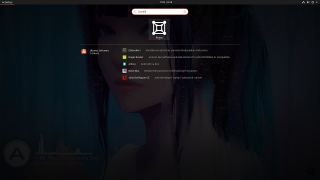
We have installed the Gnome Boxes software. It’s time to create our first virtual machine. Open Activities and type Boxes. You should see the Gnome Boxes Software listed. Click on it
Click on Picture for Better Resolution
This will open the Gnome Boxes Interface. As you can see the interface is really minimal. On the Left side Up, you have the + icon that will be be used to create new virtual machines. On the right side, you have the 3 dots that will shows you some actions that can be performed on a virtual machine and the properties of the selected virtual machine. You have also some other options/button that will be checked later on. For the moment, simply click on the + icon
Click on Picture for Better Resolution
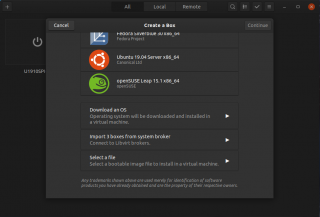
A wizard to create the virtual machine will start. You can select one of the template available, or you can download an OS or you can select a iso file that you have already downloaded on your computer. In our Scenario, we will click on select a File
Click on Picture for Better Resolution
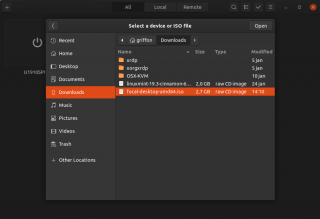
We will be able to select the ISO File that we want to use. For this exercise, we have downloaded Daily Build of Ubuntu 20.04 and we will be creating a virtual machine from it. After locating our ISO file, we simply press open
Click on Picture for Better Resolution
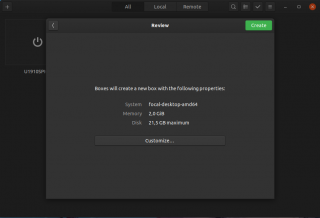
We are then redirected to this screen where we see a summary of the virtual machine properties. As you can see, this is quite basic information. You can click on the customize button if you want to change some of the settings
Click on Picture for Better Resolution
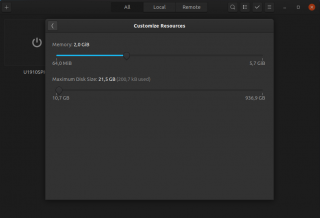
If you click on the customize button, you will realize that you can only change Memory usage and Disk size. Nothing else
Click on Picture for Better Resolution
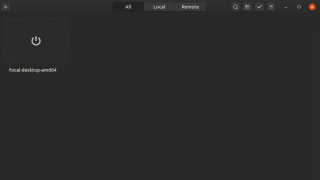
Press on the arrow in the customize page to go back to the Create Box page. Click on the Create Button to have your virtual machine created. In the Gnome Boxes console, you should see your Virtual machine instance ready.
Click on Picture for Better Resolution
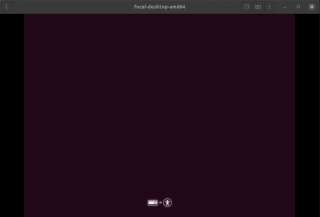
Click on the VM icon to start it and you will see that the VM will start and that you can perform the installation of the operating system of your choice.
Click on Picture for Better Resolution
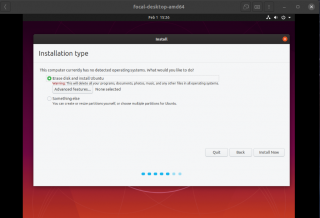
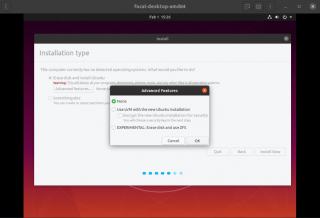
In our example, we have deployed daily Build of Ubuntu 20.04 and these are some screenshot of the Installer with some minor changes introduced already….
Click on Picture for Better Resolution
Click on Picture for Better Resolution
Managing Virtual machine
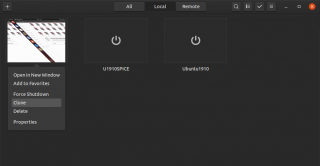
As you can see the interface is really minimal and only a few configuration options are available to you. If you right-click on one of the Virtual machine, you should see a list of options that will be displayed. Click on Properties
Click on Picture for Better Resolution
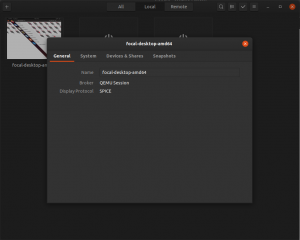
On the general page, you can see the basic information about your virtual machine.
Click on Picture for Better Resolution
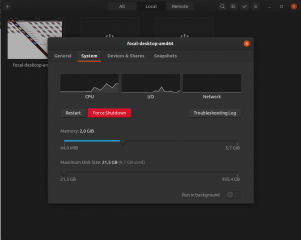
On the System page, you can see the VM performance, you can restart or shutdown the machine. You can access the logs as well and you can change Memory and Disk settings through this page
Click on Picture for Better Resolution
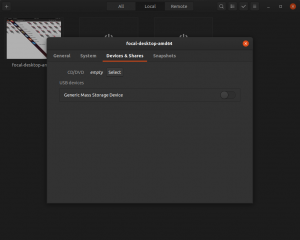
On devices and Shares Page, you can see Disk information and you can mount iso files if needed by your virtual machine
Click on Picture for Better Resolution
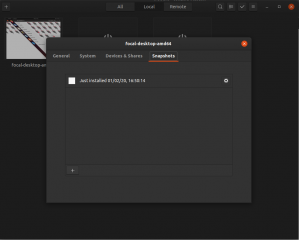
In the Snapshots page, you can create snapshots of your virtual machines before making major changes which will offer you a way to revert back the changes you’ve made
Click on Picture for Better Resolution
Networking and Connectivity
So far, we can say that Boxes is really user friendly, sexy, easy to use and basically provides most requested feature a desktop user would ask when working with virtualization software. You can easily create a virtual machine, you can take snapshots an you even have the option to clone virtual machines. This should be more that enough to perform tests and validation. However, it’s seems that one feature is missing… There is no network configuration options available through the Gnome Boxes interface.
Gnome boxes is basically using by default NAT configuration for virtual networks. Using NAT, a virtual machine can access internet but the host were the VM is running will not be able to access the virtual machine. Actually, reading and searching a little bit more, when installing Gnome Boxes, a network bridge will be created (see screenshot below). The network bridge span the network 192.168.122.x and basically allows communication between Host and virtual machines.
Click on Picture for Better Resolution
This is a limitations that might prevent you to publish these virtual machines through your infrastructure network. The recommended way to tackle this situation is to install the Virt-Manager software and to customize the Virtual machine as requested. Virt-Manager offers much more configuration options than Gnome Boxes
Final Notes
This is it for this post !
Gnome Boxes is definitely not the most known virtualization software available out there but it does a pretty good job if you need really basic virtualization capabilities. Gnome Boxes aims to be used by average users on top of your Desktop Operating system. Gnome Boxes integrate nicely with the Gnome Desktop, provide a modern and fresh interface and it’s really easy to use. The software can be a really good alternative to most “complicated” software such as VirtualBox or VMWare Player (complicated because it offers simply more configuration options…)
However, Gnome Boxes strength (which is simplicity) comes also with important limitations. Gnome boxes offers only a limited set of configuration options which might a blocking factor for wide adoption. Another important limitation of Gnome Boxes reside in the fact that networking model is limited to NAT technology. Virtual machines can connect only between them on the same hosts. Gnome Boxes create a network bridge which allows the host to connect to the virtual machines as well. However, if a remote machine needs to access the VM, this will not be possible. These limitations can be unlocked when using the Virt-manager software which simply offer a bunch of configurations options that are much larger than the one offered by Gnome Boxes…This would not be optimal….
Interestingly, we have noticed another issue with Gnome Boxes… If you are remotely connected to the Host machine through xRDP software, it seems not possible to start any of the virtual machines through the Gnome Boxes interface. The interface complains about virtualization extensions. However, if we are using Virt-Manager interface, virtual machines can be started within the xRDP session and you can work on your virtual machines…
Hope you enjoy this quick overview of Gnome Boxes
Till next time
See ya

