Hello World,
This post will quickly describe how to create an ISCSI infrastructure based on the software that has been released to the public by Microsoft: The Microsoft software ISCSI Target 3.3.
This software was part of the Windows 2008 Storage family and only available through OEM. Microsoft moved away from this approach and with this free version, you can now quickly create a ISCSI infrastructure using a simple Windows 2008R2 server box full of disks.
Let’ start the process so you can quickly get your iscsi infrastructure ready !
Check Prerequisites, grab the Software and Install it
As mentioned in this post, the Microsoft software ISCSI Target 3.3 can be only installed on a 64-bit platform. The other limitation factor is that you can use this solution only with Windows 2008 R2 Windows Operating System (and only on full version – not working on Core editions).
This can be a limiting factor for some people who might want to reuse “old” 32-bit servers or using old/legacy operating system. On the other hand,from this post, you know that you have alternatives and that the ISCSI software solution you will be using is based on your infrastructure and your requirements.
These things being said, It’s time to download the software. You can have from here.
After the download is finished, you can extract the package in your favorite location and you will notice that you have 2 folders : a 32-bit package (that contains some additional software such as vds) and a 64-bit package (the one we have to use to perform the installation).
Installing ISCSI components
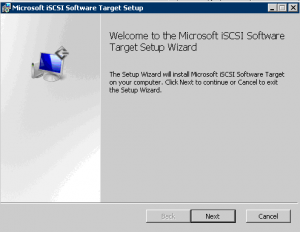
Time to perform the installation. Go to the 64-bit folder, locate the exe file and double-click on it. The Installation Wizard will start.
In the Welcome Page, Press Next
Click to Enlarge
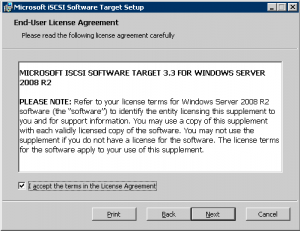
In the Agreement page, Tick the Checkbox, I accept… and then press Next
Click to Enlarge
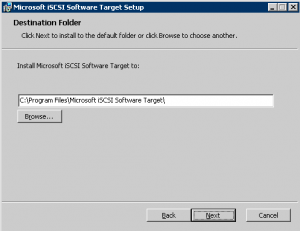
In the Destination folder Page, accept default or change the path and press Next
Click to Enlarge
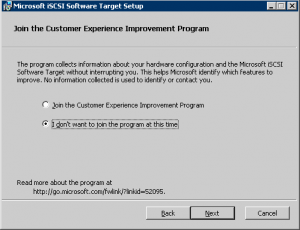
In the Customer Experience page, select the appropriate option for you and press Next
Click to Enlarge
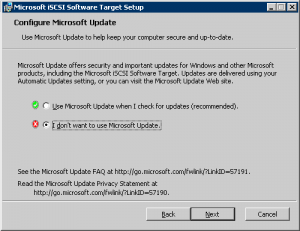
In the Configure Update Page, Select your option and Press Next
Click to Enlarge
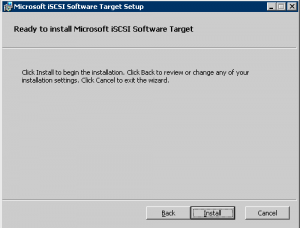
In the Ready Page, you are about to perform the installation. When you are ready, simply press the Install Button
Click to Enlarge
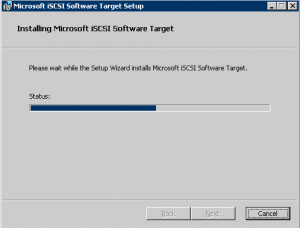
You will the progress of the installation.
Click to Enlarge
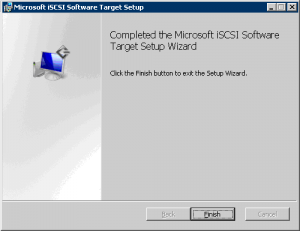
In the completing Wizard Page, you simply click Finish
Click to Enlarge
And Voila ! You have converted you Windows box into an iscsi box. Well, we still need to perform some configurations actions. Follow me 🙂
Creating the ISCSI Targets
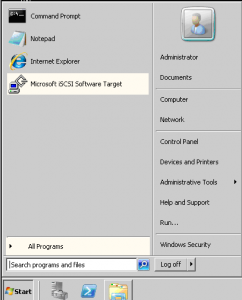
It’s time to open the MMC console associated to the ISCSI target software. If you go to the start button, you will notice that you have a new software installed. click on “Microsoft ISCSI Software Target”
Click to Enlarge
The MMC console will open and will display something like this
Click to Enlarge
To convert your windows box into a ISCSI storage box, you need to perform 2 configurations tasks: you need to create ISCSI targets and you need to create devices or in others words, you need to create virtual disks. Technically, you can choose what to configure first. In my case, I prefer to first create ISCSI targets and then assign the devices to them. That’s up to you, you can do this the other way around if you prefer.
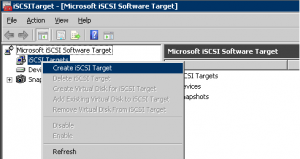
To create the iscsi target, you right-click on the ISCSI Target node and you select “Create ISCSI Target”
Click to Enlarge
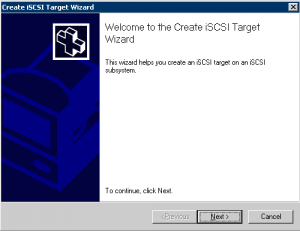
The Welcome Wizard page is displayed. To proceed, click on Next
Click to Enlarge
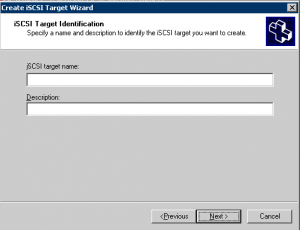
In the iscsi target Identification page, specify a meaningful name and a good description. For example, you are about to create a cluster and you need a quorum disk, you would type Quorum in the iscsi target name. Press Next
Click to Enlarge
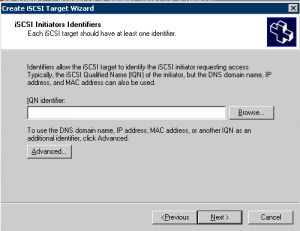
In the ISCSI initiators page, you have to enter the information about the hosts that will be connecting to this target. I have to say that I like the fact that you can use multiple criteria to specify these hosts. You can use
- IQN initiators
- DNS domain name
- IP addresses
- Mac Address
To specify that you want to use one of these options, you have to click on the Advanced Button
Click to Enlarge
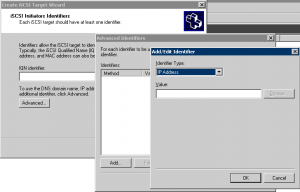
If you have clicked on the advanced button, you can see that you can add Advanced identifiers. Pressing again Add button, you can choose the options to be used. In my case, I have used the IP address of the hosts that will need to connect to this target. Press twice OK. You will be back to the ISCSI initiator page (see above). Press Next
Click to Enlarge
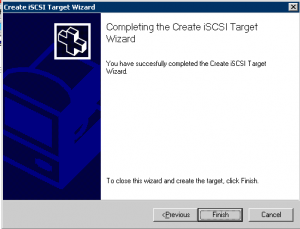
The Completing Wizard Page is presented to you. Press Finish
Click to Enlarge
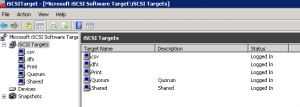
At the end of the process, you should see something like this in your console. As you can see, I have created multiple iscsi target for illustration purposes
Click to Enlarge
Creating the Virtual Disks
So far, we have created ISCSI Targets. However, there is no “disks space” associated to them. You will need to create virtual disks and then associate them to the correct ISCSI Target. Let’s proceed….
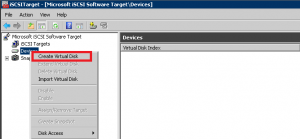
In the ISCSI Target MMC console, right-click on the device node and select the option “Create virtual Disk”
Click to Enlarge
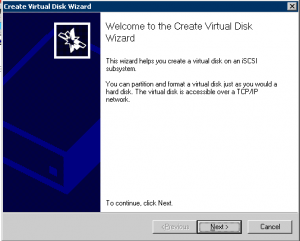
The Welcome page is displayed. Press Next
Click to Enlarge
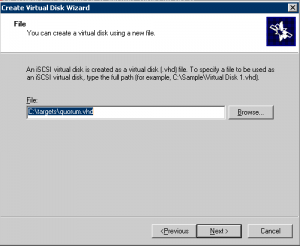
In the file page, you have to specify the “full path” where you want to create the virtual disk. You have to type the folder + the name of the vhd file. In my example, I’ve typed c:\target\quorum.vhd. When this is done and correct, you see that you can click on the Next button
Click to Enlarge
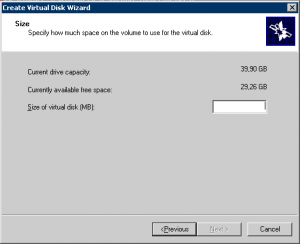
In the Size page, you simply specify the size of the disk you want to use and Press Next
Click to Enlarge
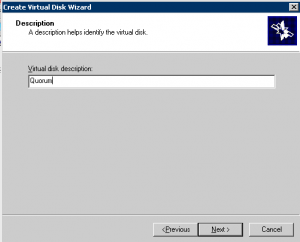
In the description, again use a meaningful description to ease management and administration of your infrastructure and press Next
Click to Enlarge
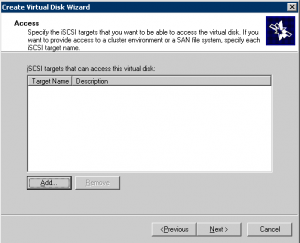
In the Access page, you can associate this disk to an existing ISCSI Target or you can simply press next and associate the disk later. Press Next
Note: If you do not specify disk now, you will need to assign the disk after its creation
Click to Enlarge
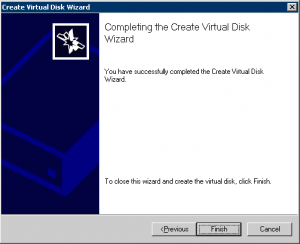
The Completing Page is displayed. Press Finish to finalize the configuration process
Click to Enlarge
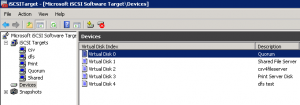
At the end of the process, you should have something like this. Again for illustration purposes, we have created multiple virtual disks
Click to Enlarge
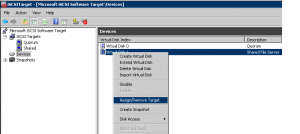
Note : If you didn’t specify any disk in the Access Wizard Page, you will need to assign the disk to a target to make it available to the iscsi client. To perform this operation, you simply right-click a virtual disk and select the option Assign/remove Target
Click to Enlarge
Connecting to your ISCSI Target disks
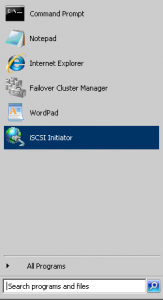
At this stage, you should be ready to move to the iscsi clients that will be using these disks. If you have windows 2008/ R2 servers, the iscsi client software is already installed. If you type in the search box iscsi, you will see the iscsi initiator icon, click on it
Note: You need to download the iscsi client component for Operating system prior to Windows 2008/R2
Click to Enlarge
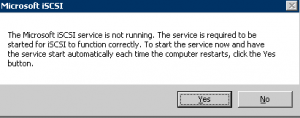
You might receive a warning box asking you if you want to start the service, Press Yes to proceed
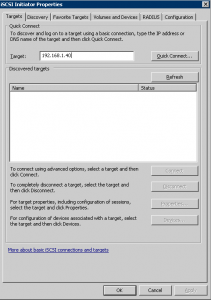
The iscsi initiator applet will start. In the Targets page, you can simply provide the ip or name of the iscsi windows 2008 box. Then you can press the quick connect button
Click to Enlarge
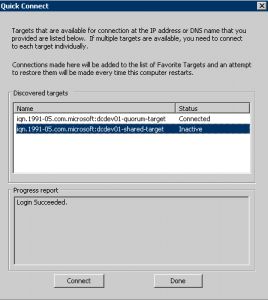
If everything was configured correctly in the ISCSI box, you should be presented with the following screenshot. Based on your requirements, you will simply select the iscsi target that’s needed for this host and press the connect button
Click to Enlarge
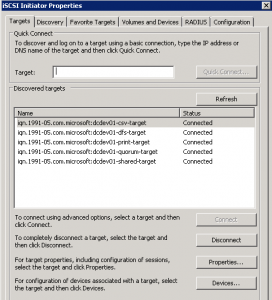
Again, for illustration purpose, you should see in your iscsi initiator client the something similar to this. We have connected multiple iscsi targets and you can see that the status is set to connected
Click to Enlarge
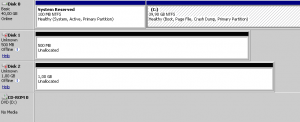
The final steps to be performed in order to be able to use these iscsi disks is to initialize them and format them. If you open the disk management console, you will see that additional disks (the iscsi one) are listed and that some additional actions are required.
Simply bring them online (right-click the disk and select online), initiliaze them (again right-click initialize) and you can format and assign drive letter as required
Click to Enlarge
Final Notes
This post has described how to install and connect to iscsi target disks provided by the Microsoft iSCSI target software. Despite the fact that you can only use it with Windows 2008R2 software, the MS solution is really easy to use and it’s free. We didn’t describe in deep all the functionalities of the ISCSi target software. That was no the purpose of this post. The purpose was to show you how to quickly build a Iscsi infrastructure.
This post will serve as base to coming posts. We will indeed describe how you can use iSCSI infrastructure in your Proxmox VE virtual environment and also how to build up a windows 2008 R2 Cluster.
Till then
See ya
