Hello World,
In our previous post, we have shown how to install the Windows 2019 Server as a virtual machine. The installation is quite straight forward as the wizard provides a really easy way to fill the requested information. The previous guide was describing quickly how to install Windows 2019 server version which ship with the Desktop Interface. In this really short post, we will check how to perform an installation of the Server Core flavor.
Let’s move forward !
Step by step installation Guide
The installation process is really similar to the one described in our previous post. Choices made during the installation process will define if you are installing a Server With a Gui interface or if you are installing a Server Core version of Windows 2019.
Assumptions
To perform this installation,
- we have downloaded the Windows 2019 Evaluation Edition which ships with Desktop Experience option.
- We have installed Windows 2019 and Hyper-v role on a physical machine (this is not explained on this post)
- We have created a virtual machine and installation will be performed on top of it
- We will install the Datacenter edition and no Desktop Experience option selected
Quick Step by Step Guide
Step 1 – Your virtual machine is powered off
Step 2 – Open your virtual machine settings and mount the iso file, change the boot order if needed.
Step 3 – Boot your virtual machine
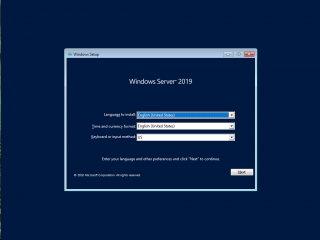
Step 4 – the windows installer will show up and will prompt you to Select your regional settings (Language and Keyboard layout)
click on picture for better resolution
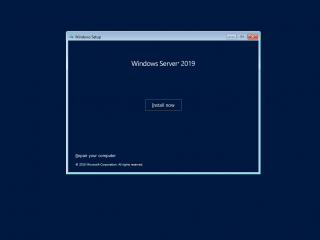
Step 5 – The Wizard start and you can see the Install now button. click on it to proceed with the installation.
click on picture for better resolution
The setup wizard initialize and will prepare the next steps
click on picture for better resolution
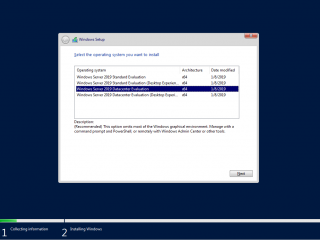
Step 6 – in the selection dialog box, you can choose which Windows 2019 edition you want to use and with or without desktop interface. We have selected Datacenter option (3rd Option)
click on picture for better resolution
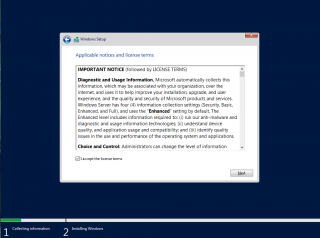
Step 7 – In the license agreement page, accept it and proceed
click on picture for better resolution
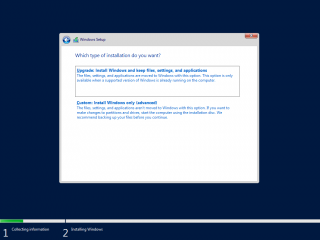
Step 8 – In the installation page, select the option custom.
click on picture for better resolution
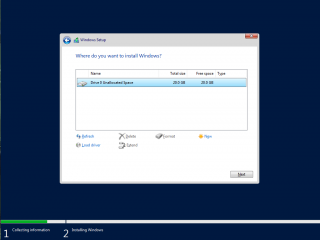
Step 9 – In the Disk page, accept default and proceed. The wizard will create all the necessary partition needed
click on picture for better resolution
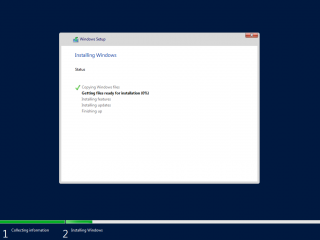
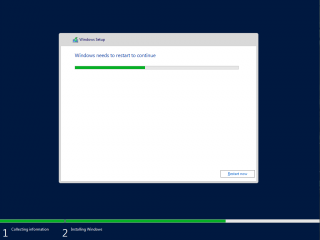
Step 10 – In the Installing Windows step, you can relax and wait for the machine to reboot
click on picture for better resolution
click on picture for better resolution
Step 11 – The system will reboot perform some post actions
click on picture for better resolution
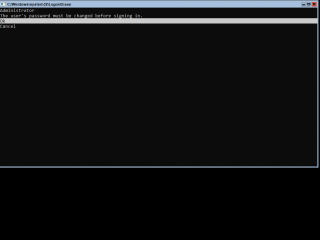
Step 12 – You will be presented with a terminal console where you are notified that the administrator needs to set a password before a login is possible. Proceed
click on picture for better resolution
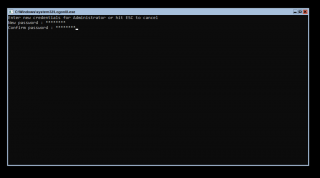
Step 13 – Provide the password, press tab to go to the next line and confirm the password again. Press Enter
click on picture for better resolution
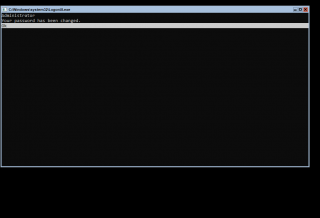
Step 14 – You will then be notified that the password has been changed accordingly. Press OK
click on picture for better resolution
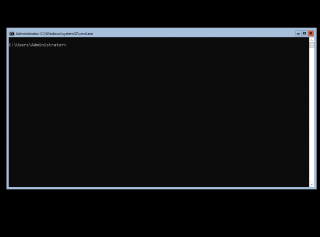
Step 15 – You have completed the installation phase of your operating system. As you can see, with the core edition, you just have a command line to perform the administration
click on picture for better resolution
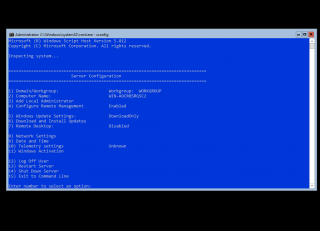
To complete and customize your installation, Windows Core ships uses an nice than friendly powershell menu driven script which can help you finalization the configuration of your server. To start this tool, simply type the command sconfig and the powershell windows will be presented to you
click on picture for better resolution
Note :
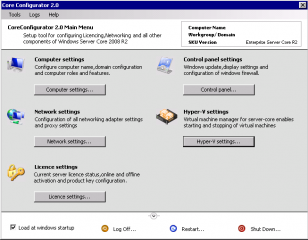
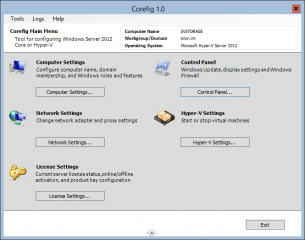
In the past, a GUI tool existed in order to make the post configuration a little bit easier. CoreConfig and Corefig were built using Powershell technology. It seems that these tools does not work fully anymore on Windows 2019. (we have not tested it). However, it seems that some works are ongoing in order to ship a new version of the Corefig v2.0 that should be fully functional with Windows 2016 and 2019 Operating system.
click on picture for better resolution
click on picture for better resolution
Final Notes
That’s it for today ! The last two posts we have published were about Windows 2019 server and quickly described how to perform a basic installation. These posts have been kept short because this kind of information is probably available in many different web sites. As you can see, there is no major changes in the installation process with this new release of Windows 2019 Server. Microsoft is trying to push a little bit more on Core edition as more server roles and Server Products can be installed on top of it. As you probably know, Exchange 2019 can run on a core Edition and Microsoft want you to use this edition because it reduce surface attack and minimize the patching effort they have to do…..
Server Core is probably a little bit more complicated to manage when you have been working with the GUI for ages. Powershell can be really useful when you need to perform some tasks locally on a Server Core Edition. Windows Admin Center can be the perfect admin tool for a Core server as it offers a nice GUI and can simplify works. Some companies still enable remote desktop option on a core server in order to perform some local changes. But again, using remote powershell or the WAC, Remote connection (using Remote desktop) does not make much sense.
Combination of Windows 2019 and Windows Admin Center might see the rise of Core Edition servers in enterprises…. We shall see what the future brings….
Til next time
See ya
