Hello World,
Today again, we will speak about Gnome desktop interface in Ubuntu and how to make some basic customization. In our previous post, we have seen that Gnome Desktop can be configured to look like Unity Desktop or Windows 10 desktop.Based on the screenshot we have provided, some people asked us to explain how to customize the Default Gnome Desktop that ship with Ubuntu Gnome 17.04 and Ubuntu 17.10 daily build…
So here you go…..
Step 1 – Check gnome extensions support
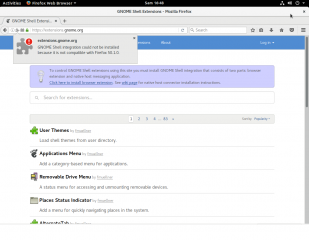
Based on your Firefox version, you might need to perform some additional actions before being able to install gnome extensions on your Ubuntu Gnome Desktop. If you browse to the Gnome Shell Extension web page and you receive the following message (see screenshot below), you will need to first install a Firefox add-on to restore the gnome extensions functionalities. Then you would need to install a native host connector component.
Click on Picture for Better resolution
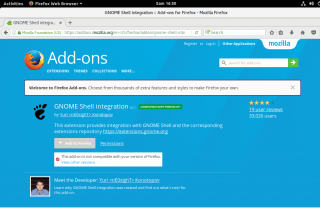
So, first, let’s install the gnome Shell Integration Firefox Add-ons. Read carefully this page. Again, based on your Firefox version, you might need to install a specific version of the add-on. (see screenshot below)
Click on Picture for Better resolution
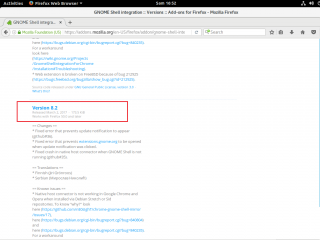
In our case, we had to check for previous version of the add-on. By clicking the link “view other versions” we have been redirected to a web page where you have found the correct version to be installed on our system.
Click on Picture for Better resolution
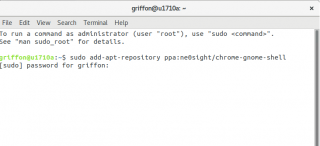
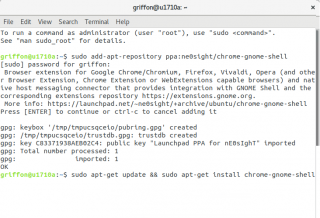
After installing the Add-on, we need to install the native host connector. To perform this operation, we will issue the following command
sudo add-apt-repository ppa:ne0sight/chrome-gnome-shell
Click on Picture for Better resolution
After adding the repository, it’s time to install this additional component by issuing the following command.
sudo apt-get update && sudo apt-get install chrome-gnome-shell
Click on Picture for Better resolution
When installation is completed, you are ready to install gnome extensions….
Step 2 – Install the Dash to Dock
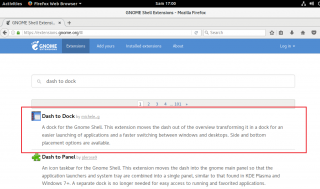
The most important element to customize your Ubuntu Gnome is the addition of a Dock. The most used option is the Dash To Dock gnome extension. From your browser or from the Tweak tool, go to the gnome extension page, look for the Dash to Dock extensions. Click on it
Click on Picture for Better resolution
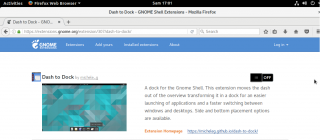
In the Dash to dock page, switch the button from Off to On (on the right side of the page)
Click on Picture for Better resolution
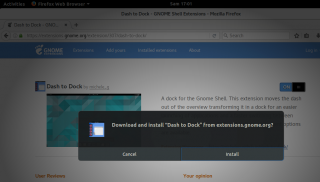
You will be asked to confirm the download and install of the gnome extension. Press Install to proceed
Click on Picture for Better resolution
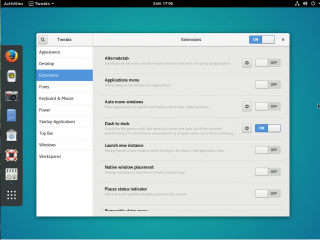
When installation is completed, you can launch again the gnome tweak tool go to the extension node and click on the gear to configure the Dash to Dock extension.
Click on Picture for Better resolution
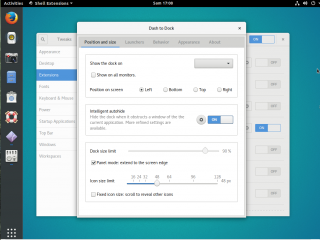
In the Dash to Dock configuration page, configure the position. In our example, we have selected on the Left side. Then we have also selected the option Panel Mode extend to screen edge
Click on Picture for Better resolution
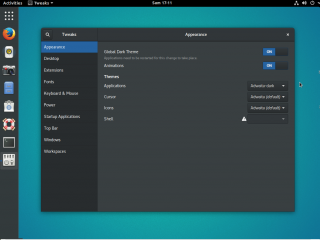
In the Gnome Tweak Tool, we went back to Appearance tab and we have selected the Adwaita-dark theme. So, all the windows will look like darker
Click on Picture for Better resolution
Step 3 – Configure background and lock screen wallpaper
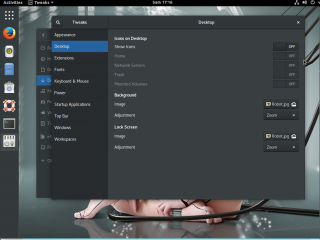
This step is easy and you can use multiple ways to perform the same task. We have used the gnome Tweaks tool to perform the configuration. In the Gnome Tweaks tool; go to Desktop node and specify the images you want to use for the lock screen and the background image.
Click on Picture for Better resolution
Step 4 – Install gnome Theme to make it look like Unity
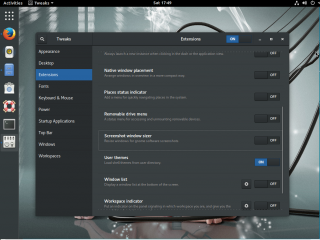
Finally, if you want to have an even more Unity Look n Feel, you can download and install a gnome theme. We have used the Unity 7 theme available from the web site b00merang. Extract the .zip to ~/.themes and then open GNOME Tweak Tool > Extensions. Ensure that the option User Themes is enabled
Click on Picture for Better resolution
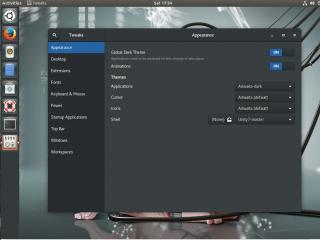
When enabled, you can move to the Appearance node and in the Shell option, browse to the location where the Unity 7 theme is and set it
Click on Picture for Better resolution
Final Notes
Voila ! This is it for this post ! Doing this exercise, we are learning a little bit more Ubuntu Gnome desktop and especially how to customize the Desktop Interface. When Ubuntu 17.10 final version will be release, there might not be a need to heavily customize the Desktop interface. Indeed, based on some peak previews and information around the internet, Ubuntu 17.10 will ship with a Dock that will be probably placed on the left side. This design decision make sense as Canonical want to minimize the impact of moving away from Unity to the Gnome Desktop.
In Ubuntu 17.10, we will miss the ligthdm manager as it was providing something really unique. A single login page that could be customized with a background image. This was great for corporate environment. In Ubuntu Gnome, the login process is a two way step. first pass the lock screen and then access to the grey login page. Howerver, by default, the login page presented to you will be always the gray one… We might look for a way to customize this page as well..
Wait and see and stay tuned for new Ubuntu adventures…..
Till next time
See ya
