Hello World,
In a previous post, I presented to you an interesting Open Source virtualization solution called Proxmox VE. Using this software, you can have a Virtual infrastructure up and running within an hour. The solution was designed with the idea that with only 2 servers (and no SAN infrastructure), you should be able to have a high available system.
So, in this post, we will simply go through the steps needed in order to perform a standard installation of the PROXMOX solution.
Let’s Go !
System Requirements
In order to have the software running, you will need the following system requirements:
- CPU (if you intend to use KVM technology)
- 64 bit technology
- Hardware-assisted virtualization ( Intel VT or AMD-V Capable)
- RAM
- 1 GB (min), 4 GB or more is better
- Network cards
- min 1 network card
- Hard disk
- For evaluation purposes, SATA disks ( 250 GB or less ) should be more than enough
- For production environment, hardware RAID technology recommended
Note :
1. If you need to check if your machine support 64-bit Technology and AMD-V or Intel-VT features, you can read how to do that in this post
2. You might need to go to your BIOS in order to enable the hardware virtualization feature. Enabling the feature differs from BIOS vendors. If you do not enabled this feature, you might received an error (kernel panic) during the setup of the proxmox ve software
3. If you have only one 64bit machine supporting virtualization feature and you still want to create a cluster, you can try to use the VirtualBox Virtualization software.
Step By Step procedure for installing PROXMOX VE software
Step 1 :
You need to download the software from the web site http://pve.proxmox.com/wiki/Downloads and burn the iso image into a CD.
Step 2 :
Check your boot order in the Bios or during the boot process choose the boot option menu and be sure to boot from CDROM.
Step 3 :
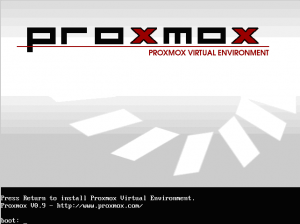
The machine will boot on your CD and you will be presented with the following screen. Press Enter
Step 4 :
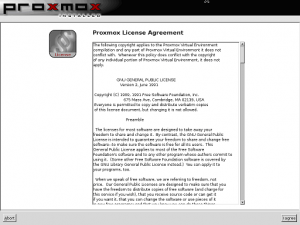
The license agreement is displayed. Press Accept in order to continue the setup
Step 5 :
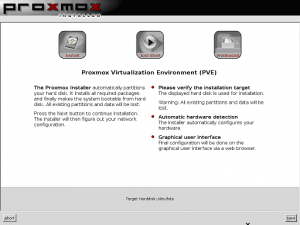
In the Proxmox Installer page, read the displayed information. When ready to install, press Next. Note that the disk where you will install the Proxmox VE software will be fully formatted. You do not have the possibility to create partitions.
Step 6 :
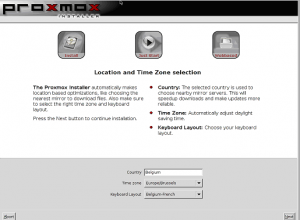
Specify your time zone and Keyboard language. Press Next when done
Step 7 :
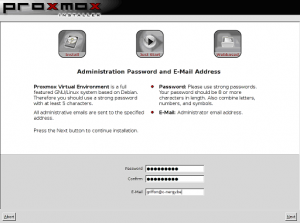
Provide the password for the root account. Provide also the email address. Press Next . Keep this information because it will be needed to login through the Web Interface
Step 8 :
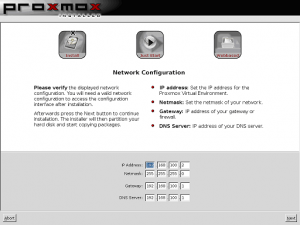
Provide the Hostname and the IP Settings for your ProxMox VE. This is the ip and hostname you will use to connect to it
Step 9 :
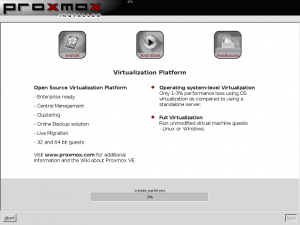
In this step, the Partition is created on the disk. Remember that the full disk size will be used. All data will be lost !!
Step 10 :
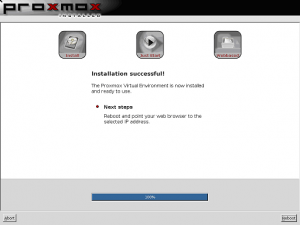
Wait for installation to complete. When the installation is complete, remove the cd from the computer. Press the Reboot button
Accessing the Management Console
What I like with this software is that you can perform the administrative tasks from a web browser. Moreover, you will be amazed on the speed of execution within your browser. Those guys have implemented ajax technology and you can really work smoothly and with fast reaction time only using the Web Interface.
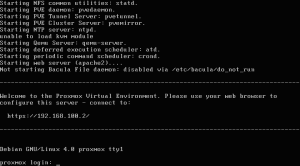
First we will check that installation has been successful. Go to the Console of the host and you should see something like this. You can see that the screen display the ip address to which you will need to connect in order to manage via a web browser your proxmox ve server. You can also login locally on the linux box and perform some administrative tasks.
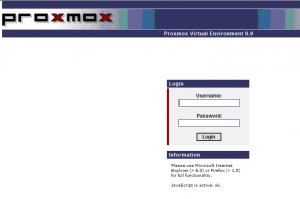
Now, Open your favorite browser (IE, FireFox, Opera,Chrome,…) type in the url the IP address of your proxmox ve server (or the host name if you have implemented DNS Infrastructure) and you will be presented with the following login screen web page.
Note: SSL has been implemted. If you type in http in place of https, you will redirected automatically and you might get a warning about the SSL certificate. Just proceed in order to get access to the login Page.
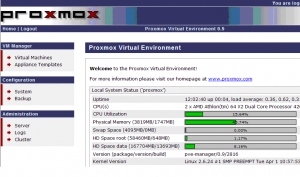
After you have logged in, you will see your management interface and you can start working on your Virtual Infrastructure. The web interface is really well designed. It’s really clear and useable.
I hope that you have enjoyed this post and I hope you will give a try to this great software. So far, we have only perform a basic installation of the PROXMOX VE host. In Part 2, we will show you how to manage the host settings and start creating some virtual machines.
Till then stay tune

cant open web page when enter the url when used another computer?????
From which machine/browser are you trying to connect. We have noticed that Internet Explorer 10 (and 9 sometimes) return a blank page. As a quick workaround, use firefox,Chrome or Opera Web browser and check if this solve your problem
Hope this help
Till Next Time
See ya
im sorry to disturb u…this my first time install Proxmox and im already install Proxmox ve 2.1 at desktop in my office.(desktop in my office using cable to connect internet). im not understand the step after complete installation because when im enter the url either at mozilla or chrome, its unable to connect and im enter the url via wifi with another computer(laptop)..can access the url via wifi??how to access proxmox web page when using same dekstop after complete installation because desktop reboot only ssh appear…???
#sorry for my English
#im very confused now…
hopefully u can give detail about full installation proxmox to my email(zul_dwe90@yahoo.com)
Hello Zul,
after installing proxmox ve, you simply go to a remote machine that’s connected on the same network segment as the Proxmox ve server and you type the ip address of the proxmox server into your browser.
On the machine where you have installed the Proxmox VE software, you have indeed only access to the console – > you cannot open a web page from the proxmox ve server itself.
On the proxmox ve server, can you see what’s the ip address you are using ?
The info is displayed before you log into the console or if you are logged in type ifconfig to see the ip address in used….
From your laptop, can you ping the proxmox ve server (to check network connectivity) ? If not, you have probably a connectivity issue. From the proxmox ve, can you ping the laptop or another computer in the same network segment ?
The Proxmox ve server has one or multiple interface ? IF multiple, check where the ip address is assigned. I’m assuming that the Proxmox ve is using the Ethernet network card as main network card….
Hope this help
Hi Griffon…
tq so much about the info…:)
now i get it how the system work…
I have installed VE-3.3 proxmox, login via web browser no issue but once create virtual machine. Unable to run from Windows-7 machine. browser hanged up. I have updated my java as well. It stuck on NO VNC page. What is that means. Please advise. I am searching on the web but still no clue.
Thanks in advance
Hello There,
We have not yet installed proxmox ve 3.3… As I’m really busy with work right now…I will not be able to check for this…
If you can wait a bit, we will install pve 3.3 and see if we have the issue or not and then document the process
Till next time
See ya