Hello World,
In the previous post, we have seen how to install the MDT 2012 beta 2 software on a standalone server. In the second part, we will see what you need to perform in order to start deploying operating system images within your infrastructure. In this post, we will focus on the configuration activiites that needs to be performed on the MDT before being able to deploy your first windows client or server. Let’s deep directly into these tasks…..
Create your Deployment Share
The deployment share is basically the storage location for the operating system files,drivers, packages and scripts that will be used during the deployment. To create the deployment share, it’s rather easy. You simply perform the following actions :
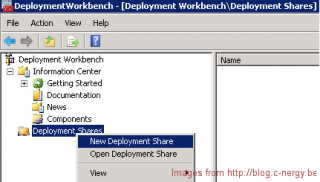
Step 1 : Open your Deployment workBench console and navigate to the node Deployment Share. Right-click on it and select the option “New Deployment share”
Click on picture for better resolution
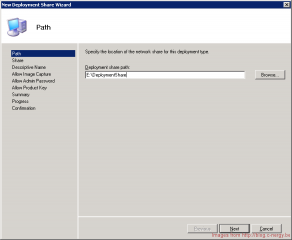
Step 2 : the Deployment Wizard starts. Provide the physical path where the deployment share needs to be created. On my server, I have created 2 partitions : c: drive for system and e: drive that will be used exclusively by MDT. When ready press Next
Click on picture for better resolution
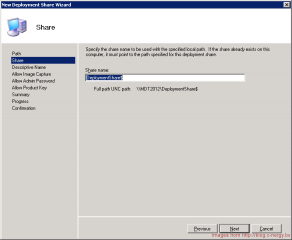
Step 3 : Accept default or provide the sharename to be used by the MDT system. Press Next
Click on picture for better resolution
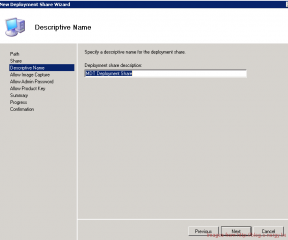
Step 4 : Provide a description for the share that your are about to create and Press Next
Click on picture for better resolution
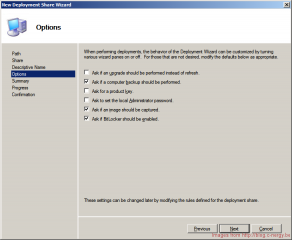
Step 5 : In the Options page, tick the settings you want to have enabled. Select the settings based on your requirements. Press Next when ready
Click on picture for better resolution
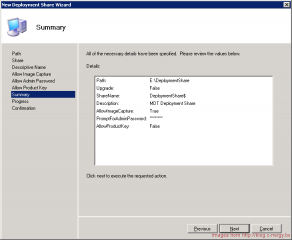
Step 6 : In the Summary page, review you settings and press Next
Click on picture for better resolution
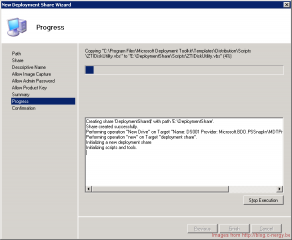
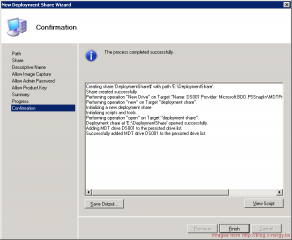
Step 7 : You will see the progress of the operation. At the end, you will see the summary page, Press finish to close the Wizard. You have created your deployment Share
Click on picture for better resolution
Click on picture for better resolution
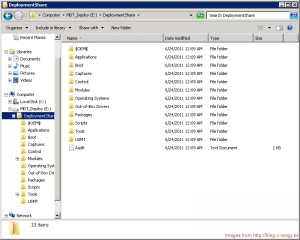
If you go to the location of the Deployment share (the path), you will notice that a folder structure has been created for you. At this stage, most of these folders should be empty. We need to proceed with the MDT configuration to populate them
Click on picture for better resolution
Import your Operating System Files into MDT
If you open your Deployment WorkBench, you will notice that below the deployment share, you have a tree folder structure that has also been created when creating the Deployment Share. We will now create a folder structure below the Operating System node in order to easily identify Operating system (or captured image) to be deploy. To perform this task,
Create Folder Structure
Step 1 : Click on the Operating system node (under the Deployment Share node), right-click and select the option New Folder
Click on picture for better resolution
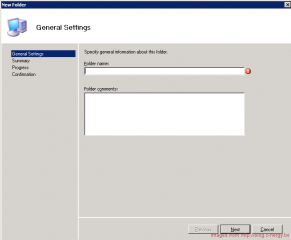
Step 2 : The new Folder Wizard starts. In the name page, provide a descriptive name of the folder. In my example, I’ve called it something like Windows 7×64. When Done, Press Next
Click on picture for better resolution
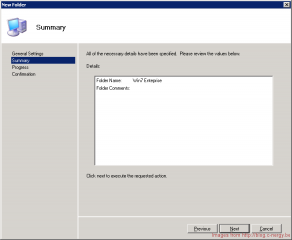
Step 3 : In the Summary page, Press Finish
Click on picture for better resolution
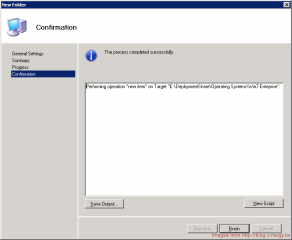
At this stage, within the deployment workbench console, you can see the newly created folder. this folder will be used to store operating system files that you will be deployment. Note that you can create additonal folders if you plan to deploy other operating systems….
Import Operating Systems
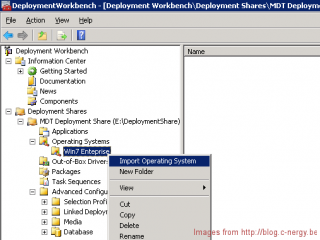
It’s time to import the OS files. Again, within the console, you will right-click on the folder you’ve just created above and select the option “Import Operating system”. In my example, I will import files from a iso image of Windows 7. You could import a captured image (wim format) or even impoart images created through WDS. We want to keep it simple for the moment. so, grab you iso image or dvd of the operating sytem to be deployed and perform the following tasks:
Step 1 : Right-click the appropriate folder under Operating system node and select Import Operating system
Click on picture for better resolution
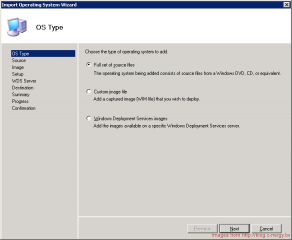
Step 2 : The Wizard starts. In the source page, select the option Full set of source files. Press next
Click on picture for better resolution
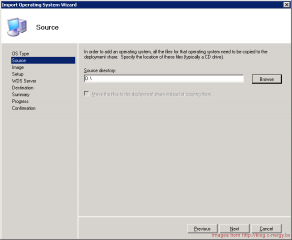
Step 3 : In the Source page, specify location of the source file. When Done, Press next
Click on picture for better resolution
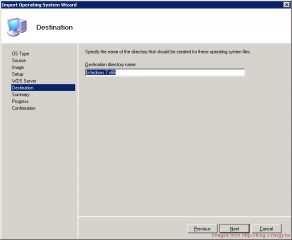
Step 4 : In the Destination page, specify the name of the destination directory. Press Next
Click on picture for better resolution
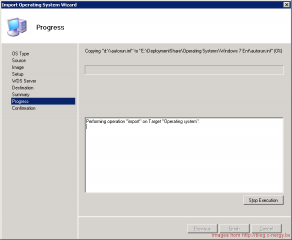
Step 5 : In the Summary page, review your settings and Press Next. the Progress page will be displayed. Wait for completion. This task can take some time.
Click on picture for better resolution
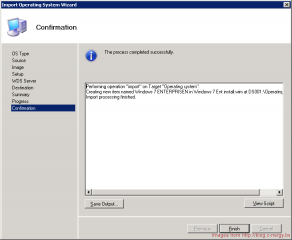
step 5 : In the Confirmation page, Press Next
Click on picture for better resolution
At this stage, you have imported in your deployment share the OS files that will be used during the deployment.
Final Notes
It’s becoming late for me. In the next part, we will continue on the configuraion of the MDT server. We will show how we can integrate additional drivers into the image and customize the deployment process through task sequences.
Till next time
See ya
Related Links
- Part I : Installing MDT
- Part II : MDT Deployment Share
- Part III : Deploying OS with MDT
- Part IV : Adding PXE Capabilities to MDT
