Hello World,
We are back on the Windows 2012 R2 Remote Desktop Services (RDS) topic. So far, we have provided you with an overview of what RDS can do for you. In Part II, we have quickly seen RDS Roles and architecture for RDS implementatioin. In Part III, we have described the installation process using the Scenario-based approach (new-way) or simply using the add/remove roles (old way).
Note :
So far, we have performed a Session-based desktop scenario deployment meaning we will be publishing RemoteApps. VDI pool deployment scenario will be described at a later stage.
Since Windows 2012, Microsoft has changed a little bit the way you work with the RDS technology. The concepts (VDI pools, RemoteApp…) remains the same. The change covers more the way you administer and manage your infrastructure. In the past, you would use multiple console to manage the different RDS roles. Since Windows 2012, Microsoft has tried to converge most of the management tasks into a consolidated console: the Remote Desktop Management services Console (RDMS)
Let’s have a look at this new management console.
Remote Desktop Management service (RDMS) Overview
RDS 2012 R2 come up with a new management interface. In previous version, you had to access multiple mmc console in order to configure your RDS infrastructure. Since Windows 2012, Management consoles have been consolidated and merge into a single one. To be more precise, there is a single management console for main taks but you still have a different console for the RD Gateway configuration and RD Licensing server console.
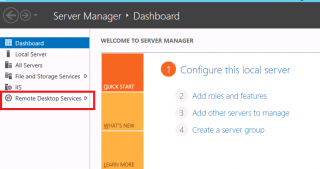
The main management console for RDS in Windows 2012 R2 is located in the Server Manager Console. In the left side, you can see that a new node is displayed which is called Remote Desktop Services.
Click on Picture for Better Resolution
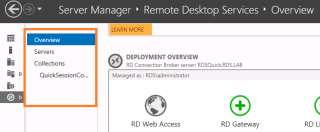
If you click on the Remote Desktop services node , you will open the Remote Desktop Services console. The remote Desktop Overview page will be displayed. On the left menu, you can see the following treeview. You have basically 3 main configuration sections that you can visit.
- Deployment Overview
- Deployment Servers
- Collections Node
Click on Picture for Better Resolution
Remote Desktop Server Overview Node
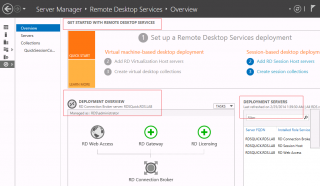
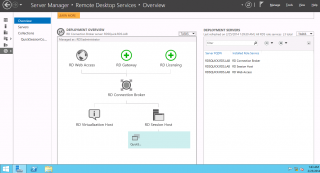
If we look at the Overview management page, you will see that the right side of the page is divided in panes.
Click on Picture for Better Resolution
At the top of the page, you have an information pane that describes the steps that should occur to complete your RDS deployment. The bottom part contains two others panes:
- Deployment overview
- Deployed Servers
Click on Picture for Better Resolution
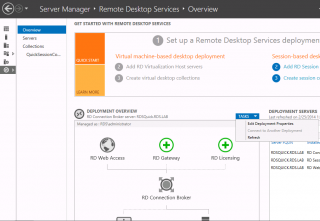
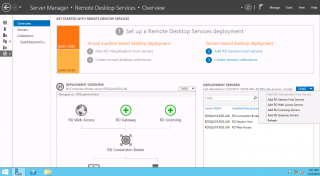
In the deployment overview, you can see a graphical representation of your RDS topology. You can see which roles have been deployed and you can view collections created within your RDS infrastructure. If you right-click on the icons, you can add/remove roles through this pane as well. In the right side corner of the pane, you have a tasks button. If you click on it, you will see some options displayed. From this menu, you can edit your deployment.
Click on Picture for Better Resolution
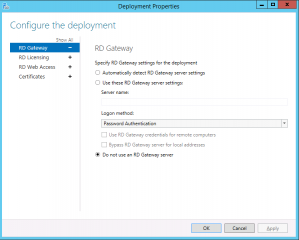
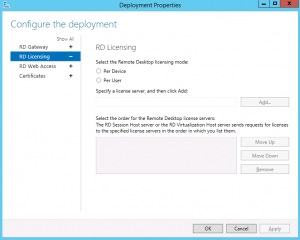
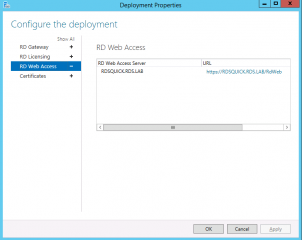
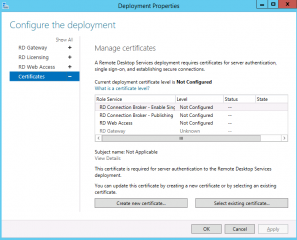
If you click on this Edit your deployment, a wizard will start and from which you can start configuring more options about your RDS infrastructure. In the deployment Wizard, you can configure settings related to your
- RD Gateway
- RD Licensing
- RD Web Access
- Certificates
Click on Picture for Better Resolution
Click on Picture for Better Resolution
Click on Picture for Better Resolution
Click on Picture for Better Resolution
The Deployed Servers Pane provides your more detailed information about the servers that have been deployed through your organization and which RDS Roles are hosted on these servers. Again, if you click on the Tasks button you can decide to add roles as needed.
Click on Picture for Better Resolution
Server Node
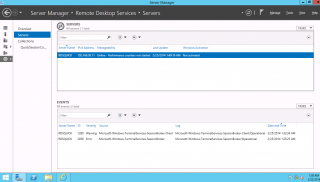
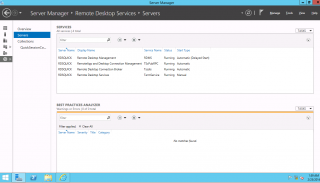
The Server Node within the RDMS console is more an informative panel. You can see the RDS servers being part of your deployment. From this central RDMS, you can centrally have a quick access to event viewer, services, best practices analyzers and roles and services installed. Again, this pane is providing information related to your servers and your infrastructure and you can use this to check the health of your topology and get a quick overview or roles and services status.
Click on Picture for Better Resolution
Click on Picture for Better Resolution
Collections Node
After you have installed your RDS roles and deployed your topology, you will need to create collections. If you have used the Quick install option, a collection has been already created for you. A collection can be seen as a logical grouping of you Remote Desktop Servers. Each collection can then have different settings applied to them.
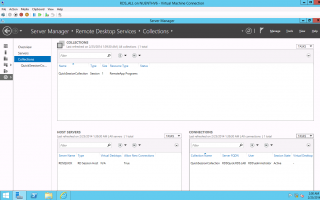
In this node, you can create Session collection or Virtual desktop collection. In the screenshot below, you can see that we have already created a collection for session-based desktop.
Click on Picture for Better Resolution
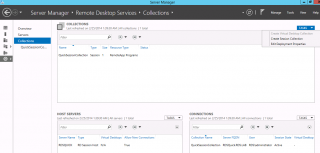
In our Scenario, because we have used the Quick install option for session-based desktop deployment, a collection has been created automatically for us. If you need to create a collection, again you can use the Tasks button and you will be prompted with a Wizard that will guide you through the creation of a collection
Click on Picture for Better Resolution
Note :
In our case, given that we have deployed only one RDS server hosting all the RDS Roles (through the Quick Deployment option), we can create only one collection.
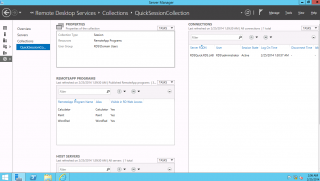
If you click on the Collection link, you will be presented with a management page containing 4 panes :
- Properties Pane
- RemoteApp Pane
- Host Servers Pane
- Connections Pane
Click on Picture for Better Resolution
Note :
What you see here is for the Session-based deployment scenario. If you have deployed RDS with VDI solution in mind, the management page will be a little bit different. You will have a pane that will allow you to manage your Virtual Desktop Pools.
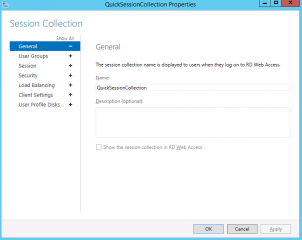
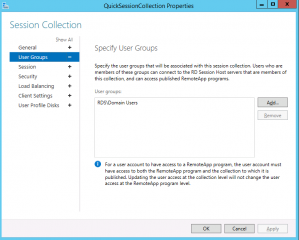
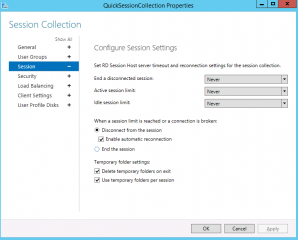
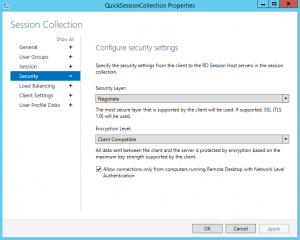
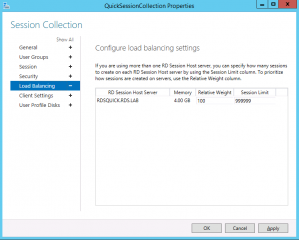
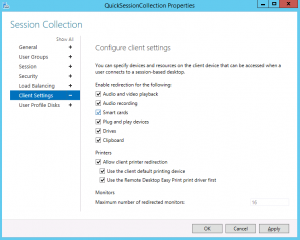
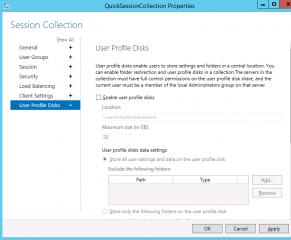
If you click on the tasks button in the properties pane, and select the edit properties, you can perform additional configuration changes to your collection. You can define a lot of settings that will impact the user experience. You can configure timeout, number of connections allowed, what to redirect,…. We have provided the screenshots about the wizard. We will come back to configuration settings on another post.
Click on Picture for Better Resolution
Click on Picture for Better Resolution
Click on Picture for Better Resolution
Click on Picture for Better Resolution
Click on Picture for Better Resolution
Click on Picture for Better Resolution
Click on Picture for Better Resolution
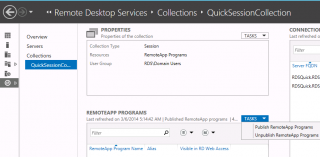
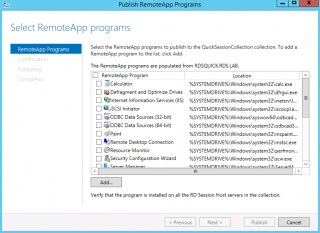
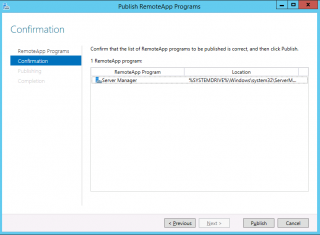
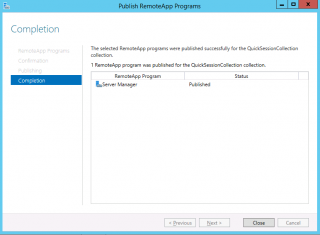
If you move to the RemoteApp Programs pane and select the tasks button, you will be able to publish/unpublish applications on your RDS host Server. By clicking on the task button, you will go through an easy-to-use interface and you will be able to publish your applications
Click on Picture for Better Resolution
Click on Picture for Better Resolution
Click on Picture for Better Resolution
Click on Picture for Better Resolution
In the connections pane, if you right-click on one of the available connections, you can see that you can decide to disconnect/send message/shadow the session or logoff the curently logged on user.
Final Notes
As you can see, the new RDS infrastructure has introduced some changes in the way your manage it. Now, you have a centralized management console which is accessible from the Server Manager. However, you will have to work a little bit with it in order to find the correct wizard you need to open. Plus, as you have seen, same panes are available in multiple locations in the Management console which can make its use a little bit confusing in the beginning.
After some time working with the console, you will see that accessing the portion you need will become more natural because the panes have been grouped in a kind of logical way
Next step, is to check how you can access the published applications
Till Next Time
See ya
