Hello World,
In this previous post, we were mentionning that Ubuntu 12.10 Quantal Quetzal will be released in October 18 2012. I couldn’t wait to download the beta version and have already performed an installation of this new release. We do not expect much changes in the installation procedure of Ubuntu 12.10.
So, let quickly write our traditional how to install guide for Ubuntu 12.10
Ubuntu 12.10 as a KVM machine on Proxmox VE server
For this post, we will perform the installation of Ubuntu 12.10 (desktop version) on our Proxmox VE test infrastructure. The virtual machine that we are about to create will not have any 3D acceleration capabilities. Why do I mention this ? Simply because with the new release of ubuntu 12.10, you will not need to select between different Unity versions (Unity 3D or Unity 2D). Ubuntu team has removed the Unity 2D interface and has created a unique Unity interface that can be used even if your machine does not have 3D support.
In this post, we are creating a virtual machine on Proxmox VE but the installation procedure of Ubuntu will be similar on other virtualization platform or even if you perform the installation on a physical machine.
Creating the Virtual machine
We assume that you have an Proxmox VE infrastructure up and running. In order to create you KVM virtual machine, you will login into the web interface and click on the top right corner on the button Create VM
Click on picture for better resolution
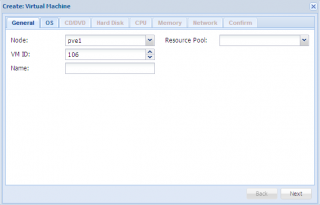
The Create virtual machine Wizard starts. Provide the name and accept the default. Press Next
Click on picture for better resolution
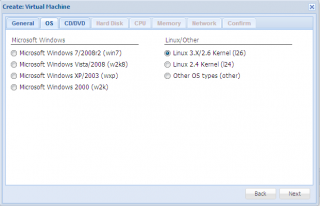
In the OS page, select the appropriate version of operating system and Press Next
Click on picture for better resolution
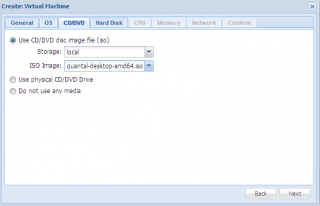
In the CD/DVD tab, select the appropriate option. In our example, we have uploaded the iso image on the Proxmox ve and we will perform the installation using this option and Press Next
Click on picture for better resolution
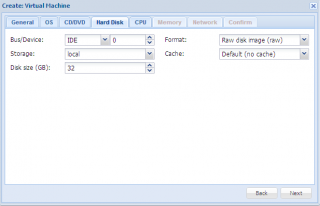
In the Hard disk page, configure your disk configuration accordingly and press Next
Click on picture for better resolution
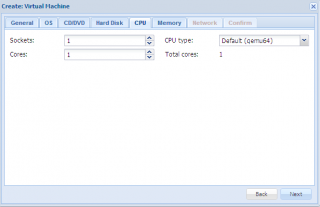
In the CPU tab, accept default and Press Next.
Click on picture for better resolution
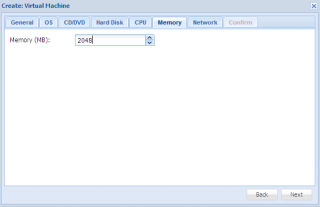
In the Memory tab, specify the amount of memory you want to use (min size should be 1024 MB). Press Next
Click on picture for better resolution
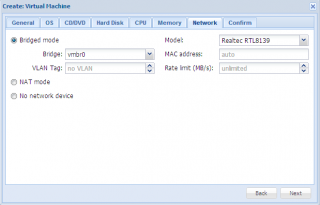
In the Network tab, accept default and press Next
Click on picture for better resolution
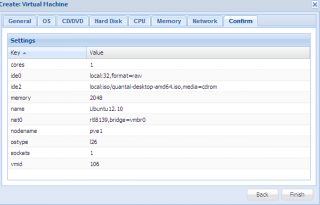
In the confirm tab, review your settings and Press Finish when ready
Click on picture for better resolution
At this stage, you have created your virtual machine and you ready to perform the installation of the Ubuntu 12.10 Linux Operating system.
Install Ubuntu 12.10
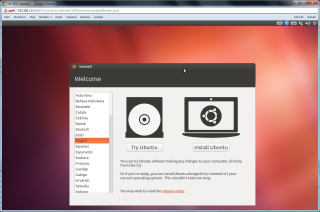
So, you boot your virtual machine that is configured to boot from the cdrom and after the booting process, you will be presented with the following screen. Press on Install
Click on picture for better resolution
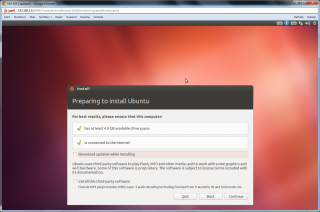
In the preparign to install ubuntu, you will see a screen similar to the following. If the pre-requisites are met, you will be able to proceed with your installation. Accept default. Press Continue
Click on picture for better resolution
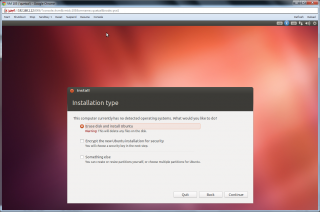
In the Installation type page, select the erase disk if you want to perform a clean installation. Press Continue
Click on picture for better resolution
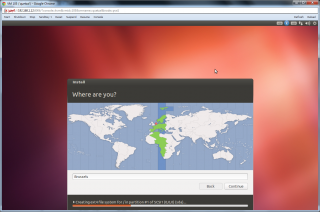
In the Where are you ? page, you can specify (or validate) your time zone). When set correctly, Press Continue
Click on picture for better resolution
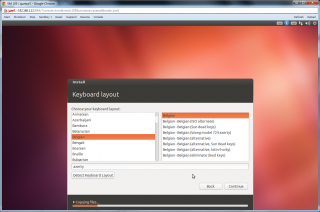
In the Keyboard layout page, select the proposed keyboard or get the system detect it. When happy, Press Continue
Click on picture for better resolution
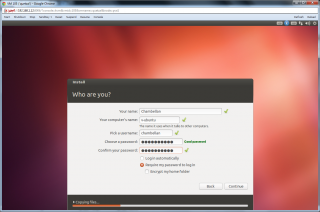
In the Who are you ? page, provide the user name and password to be used to login into the system. keep this information as you will be using it after the installation. Press Continue.
Click on picture for better resolution
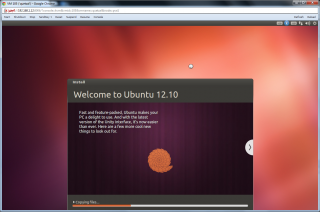
At this stage, the wizard will perform the installation and no more questions will be prompt
Click on picture for better resolution
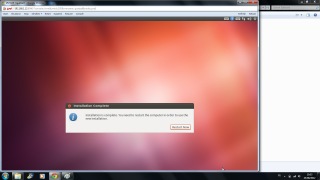
Finally, when the installation is completed, you will be requested to restart the computer. Press the Restart Now button
Click on picture for better resolution
While the system is preparing to reboot, you will get prompted (in the command line environment) to eject the cdrom. Perform the operation and press enter to reboot the machine.
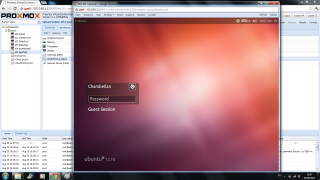
When the machine has rebooted completely, you will be presented with the login box .
Click on picture for better resolution
Final Notes
And voila! You’ve just performed an installation of Ubuntu 12.10. As mentioned earlier, the installation process has not changed. The first noticeable difference is when you reach the login page. If you click on the ubuntu logo (in the login page), you do not have anymore the unity 2D or Unity options. In fact, you just have one option – The Unity option.
In the future, we will post some information on what initial configuration you might want to perform on the system in order to be able to integrate it into your existing network
Till Next time
See ya


