Hello World,
Today, we will quickly describe how to perform a basic installation of Exchange 2013 Preview on a Windows 2012 Server. As you will see the installation is not too complex. For this post, I’ll install all Exchange 2013 roles on a single server. Moreover, we will not prepare beforehand the Active Directory. The Setup routine will be performing this tasks for us (as long as you are using an account with the correct privileges to extend the schema).
When the final release of Exchange 2013 will be available, we will write a more detailed post about installing and deploying Exchange 2013 within your network.
But for the moment, just let play a little bit with the product… Let’s go !
Note : All the information to perform the setup can be found here
Installing prerequisites for Windows 2012 Server
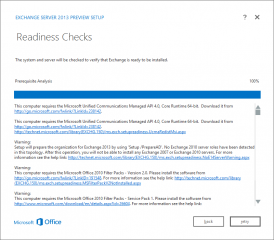
If you have no experience with Exchange 2013, you would think that you can simply double-click the setup.exe file and start the installation. Actually, you can but if your machine does not meet some prerequisites, setup Wizard will end up displaying messages about missing components.
Click on picture for better resolution
Before installing the Exchange 2013 Preview software, you will need to prepare your infrastructure accordingly.
Prep 1.Administrative rights
You need to perform the installation which has Schema admins and Enterprise admins rights. This account should also be member of the local administrator group of the future Exchange Server. We need that because we have not prepared the Active Directory yet and this is the first Exchange 2013 that will be installed in our Forest.
Prep 2. Adding Windows Components
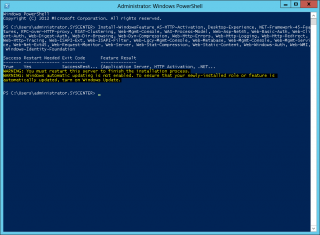
You will need to install the following windows components on the target Exchange server. This components are to be installed if you will install a client server only or a combination of Mailbox Role and Client Server Role. The easiest way is to open powershell prompt and copy/paste the following
Install-WindowsFeature AS-HTTP-Activation, Desktop-Experience, NET-Framework-45-Features, RPC-over-HTTP-proxy, RSAT-Clustering, Web-Mgmt-Console, WAS-Process-Model, Web-Asp-Net45, Web-Basic-Auth, Web-Client-Auth, Web-Digest-Auth, Web-Dir-Browsing, Web-Dyn-Compression, Web-Http-Errors, Web-Http-Logging, Web-Http-Redirect, Web-Http-Tracing, Web-ISAPI-Ext, Web-ISAPI-Filter, Web-Lgcy-Mgmt-Console, Web-Metabase, Web-Mgmt-Console, Web-Mgmt-Service, Web-Net-Ext45, Web-Request-Monitor, Web-Server, Web-Stat-Compression, Web-Static-Content, Web-Windows-Auth, Web-WMI, Windows-Identity-Foundation
Click on picture for better resolution
You will probably be prompted to reboot the server after the installation of these components
Prep 3. Installing additional software components
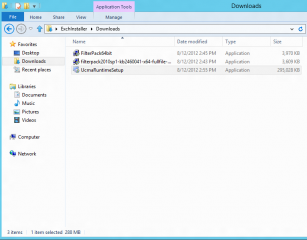
In this step, you will need to download and install some additional software
Click on picture for better resolution
Mailbox and Client Access Roles
If you are about to install a Exchange server hosting Mailbox Role and Client Access Role, you will need to install the following software
- Microsoft Unified Communications Managed API 4.0, Core Runtime 64-bit
- Microsoft Office 2010 Filter Pack 64 bit
- Microsoft Office 2010 Filter Pack SP1 64 bit
Client Access Role Only
If you are installing Exchange Server with the Client Access Server Role only, you simply need to install the following components:
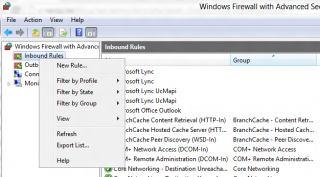
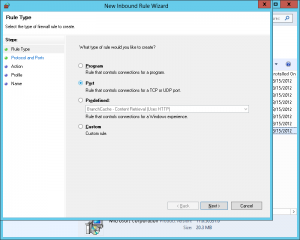
On servers where you will have only the Client Access server role installed, you will need to create an firewall rule in order for the server to access the remote registry. Open Control Panel and select Windows Firewall with Advanced Features. On the left pane, right-click on the inbound rules and select New
Click on picture for better resolution
In the protocol and port page of the New rule wizard, select the option Port and Press Next
Click on picture for better resolution
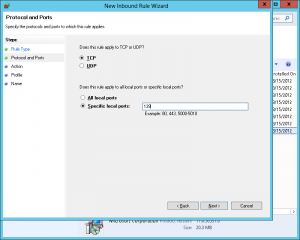
In the next screen, select TCP port and specify in the specific port box the port 139. Press Next
Click on picture for better resolution
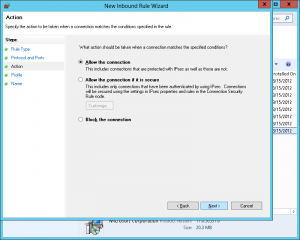
In the next screen, select allow the connection and Press Next
Click on picture for better resolution
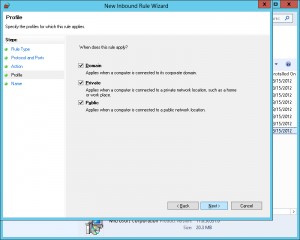
In the next screen, accept default and Press Next
Click on picture for better resolution
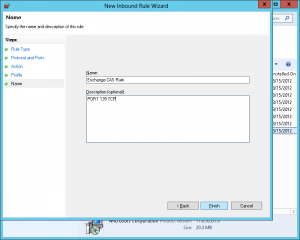
In the next screen, name your rule and provide a small description. Press Finish
Click on picture for better resolution
Prep 4. Uninstall “Microsoft Visual C++ 11 Beta Redistributable (x64)”
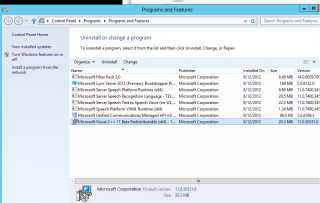
After installing the Unified communication API software, the Microsoft Visual C++ 11 Beta Redistributable (x64) is installed on your machine. Exchange 2013 Preview does not work if this component is installed. You will need to remove it before starting your Exchange Setup.
To uninstall the component, Open the Control Panel and click on Programs and features. In the dialog box, click on the Visual C++ 11 Beta Redistributable (x64) component and click on uninstall button.
Click on picture for better resolution
Installing Exchange 2013 Preview on Windows 2012 Server
At this stage, if you have installed the prerequisites components,the server should be ready to host Exchange 2013 Preview. To stat the installation, simply click on the Setup.exe file and the Exchange Setup Wizard will start
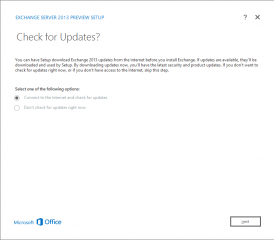
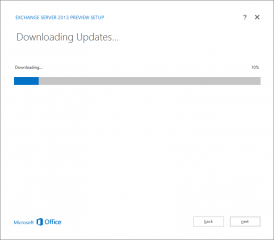
In the download Update page, Select you option and Press Next
Click on picture for better resolution
Click on picture for better resolution
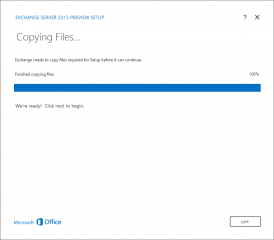
In the next screen, the setup will start copying files. wait for completion and Press Next
Click on picture for better resolution
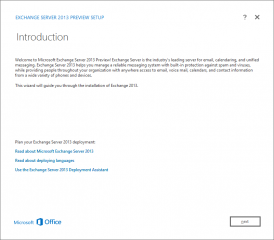
In the Introduction Page, Click Next to start the installation
Click on picture for better resolution
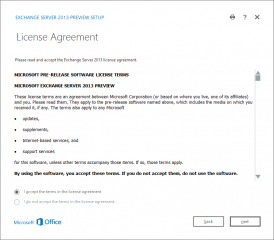
In the License Agreement page, select Accept and Press Next
Click on picture for better resolution
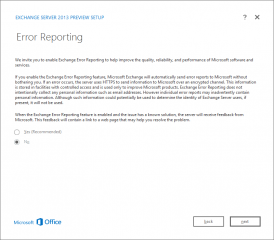
In the Error Reporting Page, Select your option and Press Next
Click on picture for better resolution
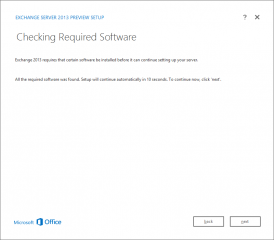
In the next screen, the setup Wizard will ensure that you have installed all the required components. Press Next
Click on picture for better resolution
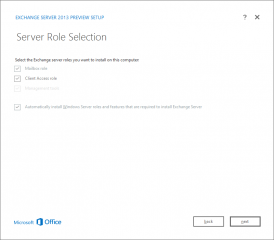
In the Server Role Selection page, select the role you want to install. We will install all the roles. Press Next
Click on picture for better resolution
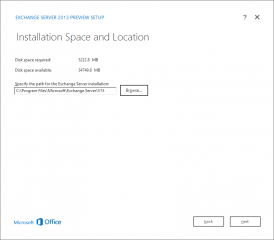
In the Installation Space and Location Page, specify your settings and Press Next
Click on picture for better resolution
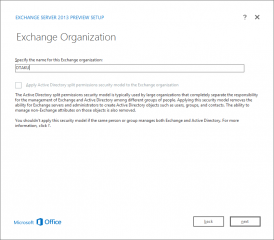
In the Exchange Organization Page, Provide the name of your Organization. This page appears because this is the first Exchange server within the Forest. Press Next
Click on picture for better resolution
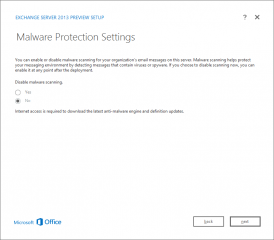
In the Malware Protection Settings Page, accept default and Press Next
Click on picture for better resolution
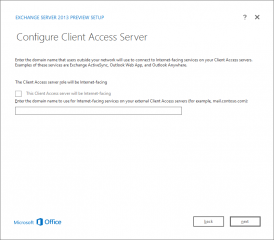
In the Configure Client Access Server Page, Accept default and Press Next. This setting can be configured afterwards
Click on picture for better resolution
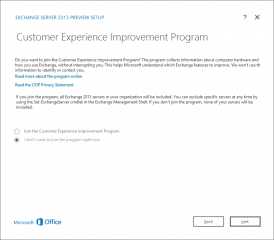
In the Customer Experience page, Select your option and Press Next
Click on picture for better resolution
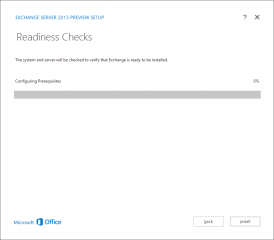
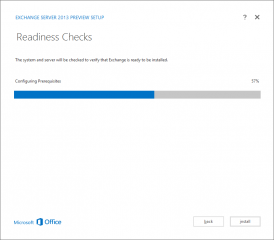
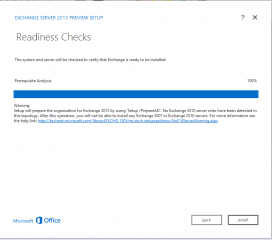
In the readiness Check page, Exchange routine will ensure that you are ready to proceed with the installation
Click on picture for better resolution
Click on picture for better resolution
If everything is OK, you will get a screen similar to this one. Press Install
Click on picture for better resolution
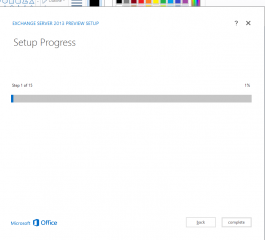
The setup Progress page is displayed. You will see that a number of Steps needs to be compute. Simply wait for the wizard to complete
Click on picture for better resolution
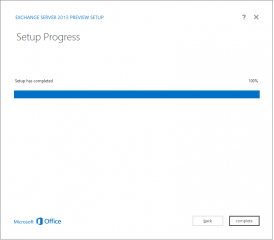
When completed, you can press on the complete button and you will exit the Setup routine of Exchange
Click on picture for better resolution
You are done !
Final Notes
To have a successful installation of Exchange, like the previous versions, you still have to ensure that all your prerequisites are installed correctly. Once this is done, you will see that the installation process is rather simple. We have performed the installation on a Windows 2012. If you running Windows 2008 R2, the installation process is similar. The only difference is that Windows 2008 R2 requires slightly more prerequisites.
As this stage, you’ve just installed your Exchange server. It’s time to configure it. So, you will point your browser to the following url : https://<name of Exchange Server>/ecp in order to access the new Web Interface management. In the future, some additional posts about Exchange 2013 configuration and administration might be available….
Till Then
See ya next Time
