Hello World,
As you know, Ubuntu 24.04 will be the next Long Term release (LTS) which will be made available on April 25, 2024. So, it’s time to have a quick look at this release. A lot of resources is already available on internet about what’s new about this release and which great features will ship with it. We will try not to repeat this information. What we usually do, we grab the beta version, install it and check if our famous xrdp-installer script will work against this release or not.
Overview
Canonical, the company behind Ubuntu, has been investing a lot of time and resources in the new flutter installer. The end result is really quite pleasing. It’s easy to use, friendly, look modern, pleasant to use, visually appealing… The installer is the first thing the user will see. The new Ubuntu Installer is really providing an outstanding user experience. Canonical is slowly trying to convert their efforts into an enterprise grade solution.
At first glance, Ubuntu 24.04 LTS really looks promising. Ubuntu 24.04 is really an evolution of the previous Ubuntu versions and Canonical has succeeded in marketing Ubuntu Desktop into a modern, nice looking distribution. On the other hand, there are still some people questioning certain Canonical choices such as Ubuntu Pro “enforcement” or aggressive snap application usage in each new releases…
We are already planning to upgrade/replace our Ubuntu 20.04 with the latest Ubuntu 24.04 (release point 1 :)) in order to provide a refreshed user experience. So, in this post, we will quickly perform an attended installation using the “refreshed” Flutter installer.
Let’s do this….
Step By Step Installation Guide
Disclaimer
Ubuntu 24.04 also known as Noble Numbat will be made available in April 2024. The Noble Numbat release is still in development and you should not use it in a production environment. Since the release we are working with is not the final version, there might be some minor changes during your installation process. To perform the installation, we have created a virtual machine on Hyper-V platform in our lab infrastructure.
In the next section, we will go through the installation process and have a quick look on the updated Installer based on flutter.
Step by Step installation
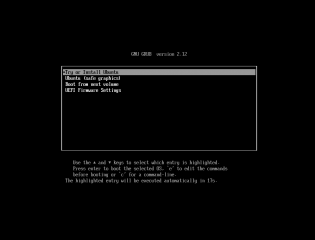
We have download the daily build image of Ubuntu 24.04 (beta version), we have attached the iso to our virtual machine and we have boot the machine up. When booting from the iso file, the Virtual machine will boot from the iso file and you will get presented with the following screen. Press Enter to move to the next phase
Click on Picture for better Resolution
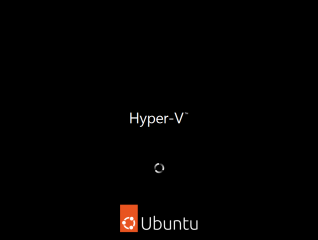
The boot process will start. Since we are installing the Ubuntu 24.04 on Hyper-v machine, you will see the Hyper-v logo when booting to the Ubuntu Installer
Click on Picture for better Resolution
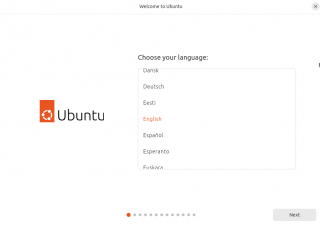
When the starting process is completed, you will reach the Language Page of the new Ubuntu Installer. The UI has been slight changed compared to the previous version it seems. Additional graphics are available and provide a more polished experience. So, select your language and Press Next
Click on Picture for better Resolution
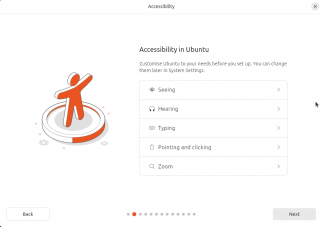
In the Accessibility Page, you can already configure your computer with the needed settings. This page is a new one in the wizard. So, set your settings and when ready Press Next
Click on Picture for better Resolution
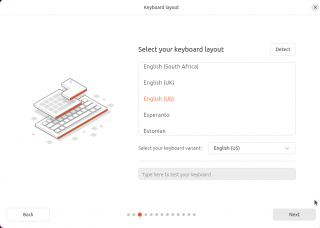
In the Keyboard Page, select your Keyboard layout and Press Next
Click on Picture for better Resolution
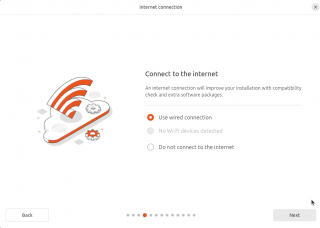
In the Connect to Internet Page, select your preferred option and Press Next
Click on Picture for better Resolution
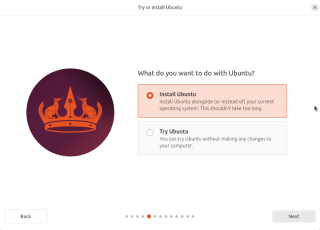
In the Try or install Page, specify your choice and Proceed. This page has been re-worked and the choice about install or try come at a later stage compared to previous versions
Click on Picture for better Resolution
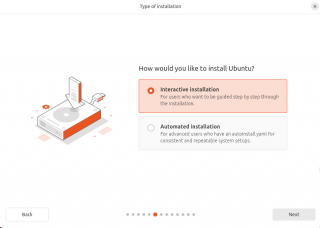
This is a New Page ! In the Installation Type Page, you have to select if you want to perform the install interactively or automate the installation. For this post, we will go interactive, we will look later on how to use the automated installation and which problem it could solved….
Click on Picture for better Resolution
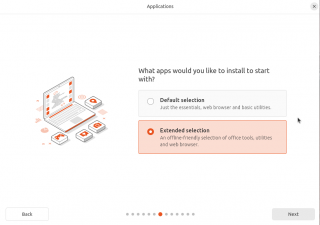
This is a New Page ! In the Application Page, you can choose to perform a minimal installation or a complete installation. Read carefully because the wording has been changed here. To install all applications, select Extended Installation option
Click on Picture for better Resolution
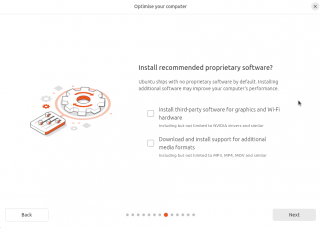
In the Optimize your Computer Page, decide if you need third party drivers or not and additional media support and proceed with the installation. When ready, Press Next
Click on Picture for better Resolution
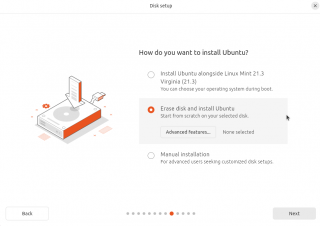
In the Disk Setup page, Choose your options and Press Next
Click on Picture for better Resolution
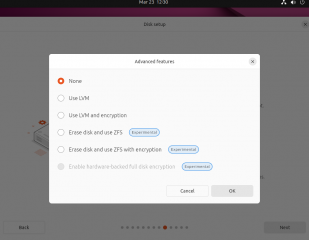
Note : If you click on the Advanced features, you will notice that ZFS option is back but still in experimental mode….
Click on Picture for better Resolution
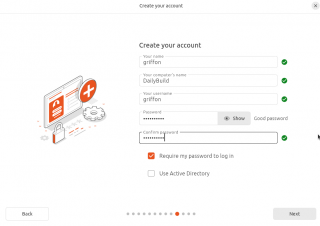
In the Create your Account Page, provide the needed information and Press Next.
Click on Picture for better Resolution
Note 1 : In this page, you see that you can join the computer into an Active directory Domain. This feature has helped adopting Ubuntu as Operating system in certain infrastructure. This is a really something that makes Ubuntu apart.
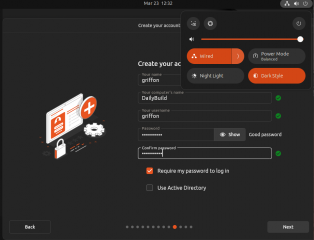
Note 2: If you want to perform your installation using Dark mode, you can within the Live Environment set the option and as shown in the screenshot below, the Installer will acknowledge the change and will be using the dark Style
Click on Picture for better Resolution
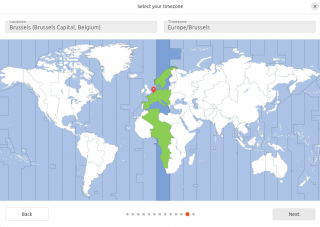
In the TimeZone page, select your timezone and Press Next
Click on Picture for better Resolution
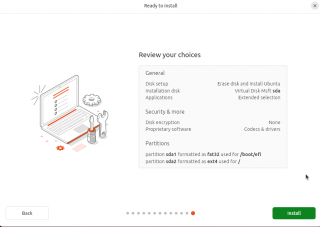
In the ready to install page, review your settings and Press Install
Click on Picture for better Resolution
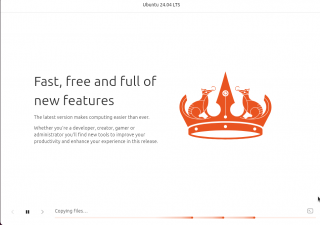
The installation will proceed and you will see the Ubuntu slider displaying during the installation
Click on Picture for better Resolution
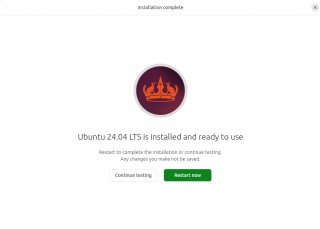
When installation is complete, the installation page will be displayed and you can click on the Restart Computer
Click on Picture for better Resolution
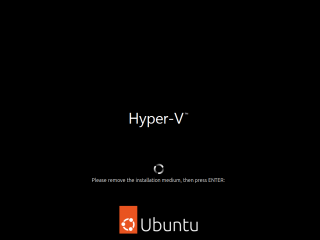
The computer will restart and you might see the following message asking you to disconnect the iso. Press Enter to proceed
Click on Picture for better Resolution
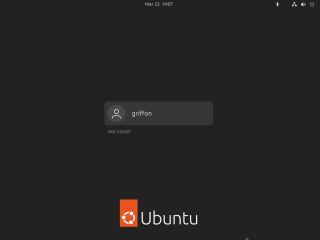
After the reboot, you should see the familiar gray login page. It’s time for you to enjoy your newly installed Ubuntu 24.04 Release…
Click on Picture for better Resolution
Final Notes
This is it for this post !
Ubuntu 24.04 is again probably not a revolution but definitely a nice and pleasant evolution of the distribution. Canonical has been heavily working in rebranding the Ubuntu distribution and we think they have achieved a really nice result so far. Ubuntu is now immediately recognizable as a distribution and provide really a modern, easy to use, nice looking operating system. Their strategy seems to pay off.
The Installer is the first contact that the user will have with the Operating System. The new flutter installer is really nice and kind of unique. This new installer bring a really enjoyable user experience. The installer will be for sure a selling point for Ubuntu.
We like what Canonical has done and how Ubuntu 24.04 looks like. There are a lot of great Linux distributions out, for sure but for the moment we will stick to Ubuntu distribution. This might change in the future….
Now, we have to check if the xrdp-installer script can run against Ubuntu 24.04… So, stay tuned
Till next time
See ya

