Hello World,
In this post, we will provide a quick and dirty installation guide of a Linux mail Server. Indeed, in our Lab infrastrucure, while testing some scenario, we needed to have basic mail functionality. Instead of going with the standard Exchange Mail Server, we wanted to see if Linux can provide some “simple to use” mail software solution. As you can guess, we have found a lot of options and we have not tested all of them.
This post will be focusing on Modoboa software solution which provide free and open-source mail server capability and provide also a simple to use installer wizard. Modoboa is using Python and nginx web server software solution. The Modoboa solution aggregating different pieces of existing software (like DoveCot, Postfix, spamassassin…) into a really simple to use solution.
So, let’s give it a try and see how easy it is…
Overview
In this post, we will provide a really basic installation process of Modoboa Mail Server. In order to follow this post, we assume that
- access to internet to download necessary package
- you have installed fresh Ubuntu 22.10 Desktop Computer (Previous version of Ubuntu should work as well)
- you have no software installed on the Ubuntu 22.10.
- you have access to a working DNS infrastructure
Initial Preparation
In our scenario/infrastructure, we have an Active Directory up and running. The active Directory domain is already hosting a DNS Infrastructure. We will take advantage of this existing DNS infrastructure and create a domain namespace for our future email server. This Domain namespace will host criticial DNS Record to have Modoboa working correctly. This step is quite important because it will really simplify the installation and the access of your new email server
Step 1 – Create necessary DNS records
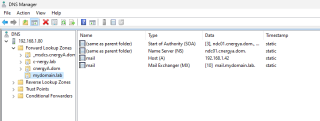
As you can see in the screenshot below, in our AD DNS server, we have created the mydomain.lab zone. Within this dns zone, we have created 2 Records
- A Record
- MX Record
You can use whatever name you want. To keep it simple, we have created the mail.mydomain.lab entries (for A and MX record). These records needs to point to the IP address of the future Modoboa Mail server which is basically your Ubuntu 22.10 computer.
Click on Picture for better Resolution
You can test your setup by pining these records and your Ubuntu machine should be replying accordingly
Step 2 – Configure DNS client Settings on Ubuntu
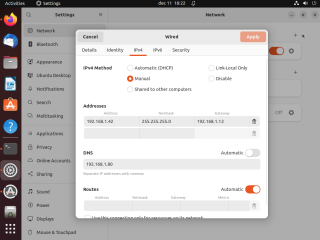
Now, we have to move the the Ubuntu 22.04 machine and we have to configure it in order to use the AD DNS infrastructure. This step is really easy. In Ubuntu Settings, go to the network tab and edit the settings for the wired networks. Go to the IPV4 tab and ensure that the DNS server IP Address set there is indeed pointing to your DNS server (in our scenario, we are indeed pointing to IP address .80)
Click on Picture for better Resolution
Step 3 – Modify the Ubuntu hostname
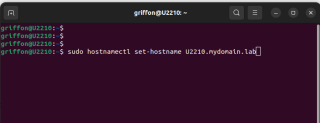
Finally, in order to keep some consistency, we will also set a FQDN for our Ubuntu machine. To perform this simple operation, we will use the following command
sudo hostnamectl set-hostname <%yourHostname%>.myDomain.lab
Click on Picture for better Resolution
We can also now add a A record in our DNS that will be pointing to this machine…
At this stage, our DNS infrastructure is completed. We can double check that hostnames and FQDN names can be resolved. If everything is ok, it’s time to move to the next step….
Installation – Step by Step Guide
In this stage, we will obtain the necessary sources files needed to build up the mail server. Before launching the installer, we will need to ensure that our Ubuntu 22.04 computer has all the necessary dependencies installed. So, let’s proceed
Install prereqs
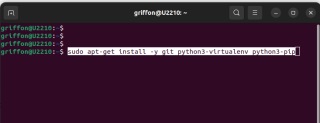
Since Modoboa is written in Python, we will need to ensure that the following packages are installed on our machines. So, let’s issue the following command and if they are missing, this will perform the installation
sudo apt-get install python3-virtualenv python3-pip
Click on Picture for better Resolution
Download the Modoboa installer
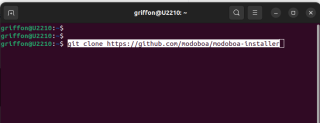
In this stage, we simply need to grab the installer file. This step is also quite easy. From a Terminal Console, issue the following command
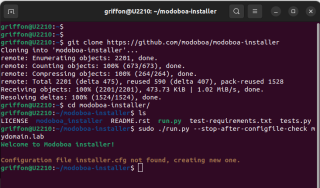
git clone https://github.com/modoboa/modoboa-installer
Click on Picture for better Resolution
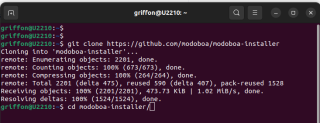
When the download is completed, you will need to move the Modoboa folder. As you can see in the screenshot below, we issue the cd command to move to the location where the folder has been downloaded
cd modoboa-installer folder
Click on Picture for better Resolution
Run the installer
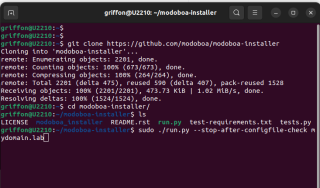
Once inside the Modoboa-installer folder, it’s time to execute the installer script. The script can be run with or without switches. We have seen in a lot of posts and documentation that it’s kind of recommended to first build your configuration file first. To do that, we will issue the following command in the Terminal Console
#Change the mydomain.lab with the name of your own domain mail namespace !!!
sudo python3 ./run.py --stop-after-configfile-check mydomain.lab
Click on Picture for better Resolution
After executing this command, you will be informed that a configuration file has been created for you. So, to customize your installation, you will need to edit the installer.cfg recently created
Click on Picture for better Resolution
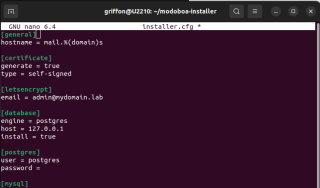
Time to review the configuration file.
You can choose to use self signed certificates or use the Let’s encrypt. Since we are working in a lab infra, we have selected the self-signed option. You can also ensure that the email address for your mail domain is set accordingly. Finally, you can also select the backend database (postgres or mysql). The choice is up to you. In our test installation, we didn’t change much in this configuration file. As shown in the screenshot, we have only specified an email address for our own mydomain.lab namespace
Click on Picture for better Resolution
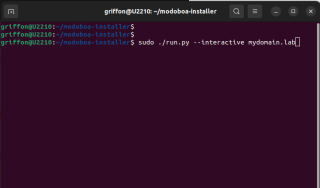
When you are done with the changes, you can run the installer mode with no switches and the script will perform the installation. So, in a terminal Console, issue the following command
#Change the mydomain.lab to reflect your own infra domain namespace !!!
sudo python3 ./run.py --interactive example.com
Click on Picture for better Resolution
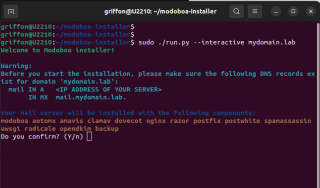
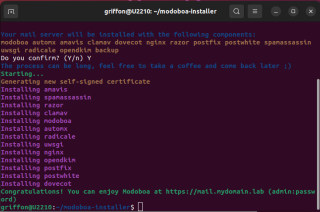
You have to confirm that you want to perform the installation. Press Y
Click on Picture for better Resolution
The installation will proceed and can take some times. In our lab, we had to wait about 10 to 15 minutes for the installation to complete. If everything went fine, you will see on your screen a successful installation message. You will notice also that some more information about how to access the Web interface (which url to use) and the initial user name and password.
Click on Picture for better Resolution
Initial Configuration Activities
If you have reached this stage, it means that the installation went through successfully. It’s now time to perform some basic configuration. Based on the screenshot above, in our specific scenario, we will need to use the following initial information in order to proceed with the configuration activities
- url = https://mail.mydomain.lab
- User = admin
- Password = password
Accessing the web interface
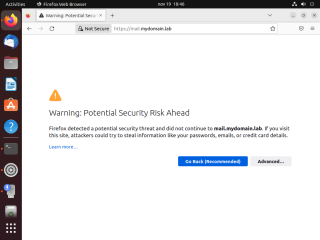
So, to access the web interface of your newly installed mail server, open your favorite browser and connect to the url provided during the installation process. So, in our scenario, we go to https://mail.mydomain.lab. Since we are using Self Signed certificates, we might end up with this warning message. Press on the Advanced Button
Click on Picture for better Resolution
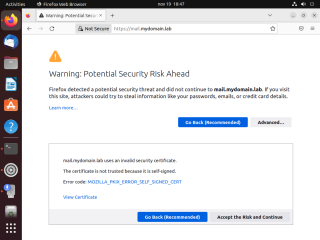
Scroll down and select the option Accept the risk and Continue
Click on Picture for better Resolution
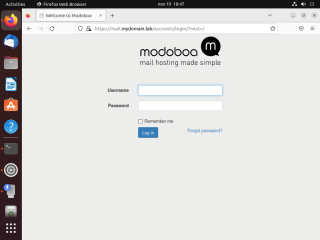
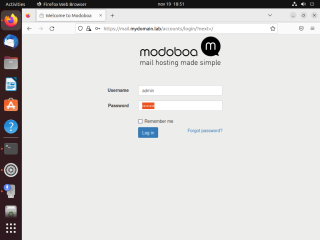
After that, you will be finally accessing the login page of the Web interface.
Click on Picture for better Resolution
First Time Login – Admin Interface
Time to login. Again, when the installation has been completed, the wizard informed you that initial credentials were set. Default credentials are admin/password
Click on Picture for better Resolution
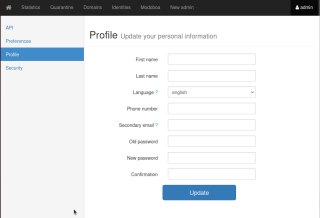
The first time you login, you will be redirected to the Profile page. We strongly recommend you to change the default password and set a proper one
Click on Picture for better Resolution
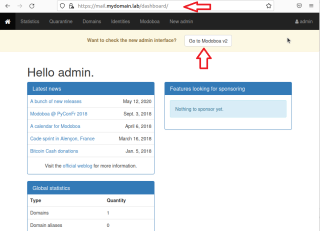
After updating your profile, you should be redirected the dashboard page. Here, you can start to explore a little bit the interface and try to understand and become familiar with the software. You will notice that you have an option to use a new web interface layout as well (see screenshot below)
Click on Picture for better Resolution
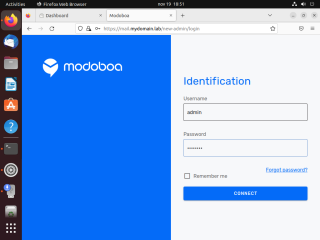
If you click on the button, you will be redirected to a new login page which display the new look’n feel and the new web interface
Click on Picture for better Resolution
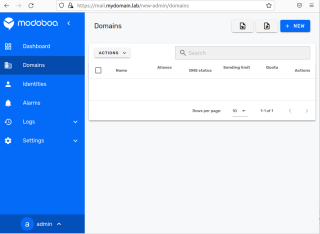
After login in, you will be redirected to the Domain name page. If you try to to go the Dashboard, you will see that it’s not yet available and that the team behind the Modoboa software solution is still working on it.
Click on Picture for better Resolution
To go back to the “old” interface, simply that the initial url provided by the wizard instation (in our scenario, https://mail.mydomain.lab). Since it seems that the new web interface is not fully ready for big time, we have decided to perform the remaining configuration activities through the old web interface…
Creating your mail domain namespace
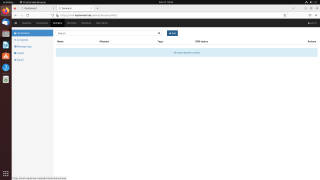
In this step, we will create SMTP domain namespace for our Mail server. Here, we will really provide basic configuration information in order to demonstrate the process. So, in the dashboard page, click on the Domains Link on the top menu. In the domain page, click the Add button
Click on Picture for better Resolution
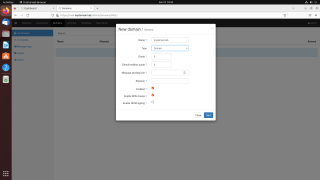
A modal box will be displayed. Enter the needed information. Since we have no access to a DKIM functionality, we have unchecked this box. This is probably not best pratice but remember we are only deploying this internal mail server for our Lab infrastructure. In production environment, you might want to review each settings to ensure that security is guarantee on your mail server
Click on Picture for better Resolution
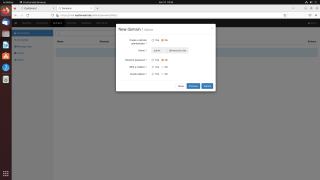
In the next page, you will offered to create a (smtp) domain admin user. In our case, we have declined the offer since we will be using the existing admin user that has already been created
Click on Picture for better Resolution
If needed, you can create additional domains name and proceed the same way. When you are done. It’s time to create a user and and mailbox 
Creating your first mailbox
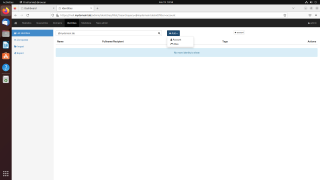
To create your first mailbox, you simply need to click on the Identities link on the top menu. Click on the Add + Button and select the Account option
Click on Picture for better Resolution
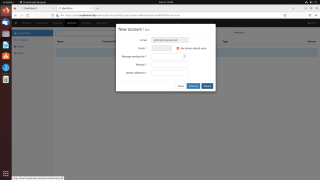
A modal dialog box will be presented to you. Again, provide the necessary information in order to create your first user mailbox. Press Submit when done
Click on Picture for better Resolution
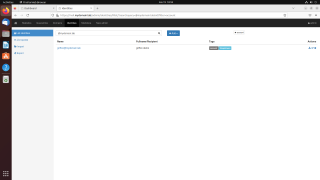
When the dialog box closes, you will see the newly created mailbox object within your Modoboa Mail Server
Click on Picture for better Resolution
User Experience
In this section, we will simply see how a user can access his mailbox. Multiple options are available. The easiest is to access the Modoboa web interface. From the interface, a user will be able to read and send emails, access a Calendar, create and retrieve contacts. So, the web interface is really workable. On the other hand, it’s also possible to use fat email client such as Thunderbird or outlook.
Accessing the mailbox via the web interface
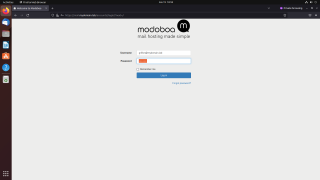
As mentioned above, a user can access his mailbox through the web interface. When a user browser to the url of the Modoboa mail server, it will be presented with a Login page
Click on Picture for better Resolution
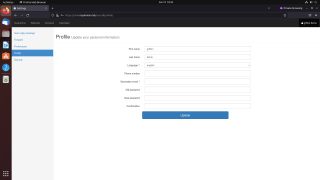
If the credentials are good, the user will access his profile page and the user can provide the necessary information
Click on Picture for better Resolution
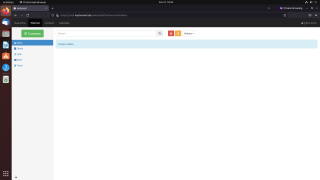
When done, the user will finally have an access to his mailbox.
Click on Picture for better Resolution
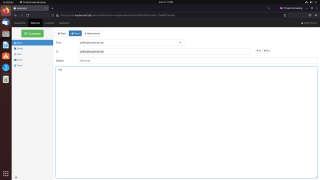
Clicking on Compose button, the user will be able to draft the email and sent it to the correct recipient
Click on Picture for better Resolution
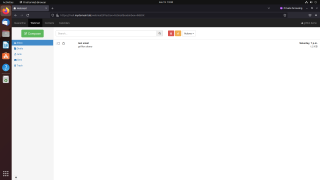
As you can see, mail flow (from the web interface) is working accordingly. So, so far, it’s seems that our installation is perfectly operational and we can proceed with other activities….
Click on Picture for better Resolution
Accessing the mailbox via Thunderbird
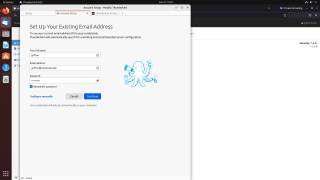
Before closing this post, we wanted to test connectivity from Thunderbird email client. So, we started the Thunderbird and the small wizard starts as well. In the wizard, we simply provide the requested info and press Continue
Click on Picture for better Resolution
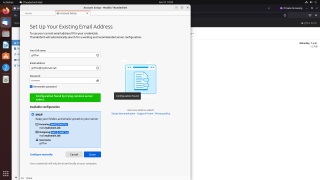
If everything is configured correctly, the wizard should come back with found configuration message. Press Done to complete the configuration
Click on Picture for better Resolution
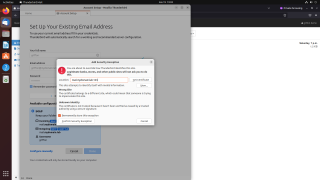
You might see a popup about the SSL certificate. This is expected since we are using a self signed certificate. So, accept the certificate and proceed
Click on Picture for better Resolution
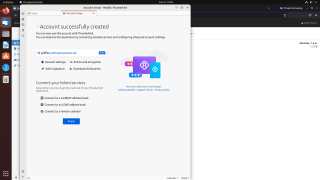
Thunderbird should now confirm you that the configuration is completed and successful
Click on Picture for better Resolution
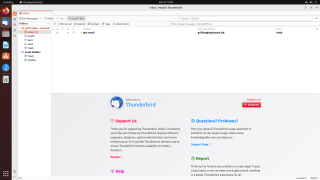
At this stage, you should have an access to your mailbox from thunderbird
Click on Picture for better Resolution
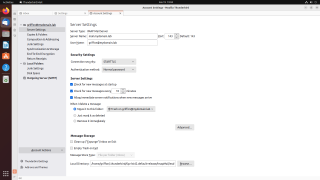
For your own information, you can check the Server settings used by Thunderbird (Port used, name used…)
Click on Picture for better Resolution
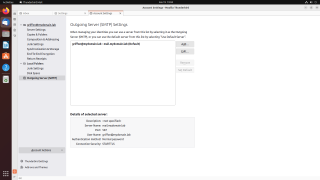
You can do the same and check the SMTP Outgoing configuration. In this screenshot, we see that the port in use is 587
Click on Picture for better Resolution
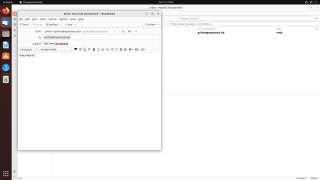
To finalize our tests, we have created a mail messages from thunderbird and send it
Click on Picture for better Resolution
The test was successful as we received the mail in our Thunderbird mail client
Click on Picture for better Resolution
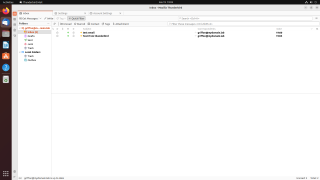
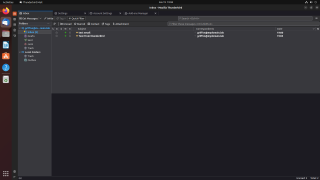
Note also that within Thunderbird, you can change the theme to match your Ubuntu Theme… We are using Dark Theme in Ubuntu so we have changed the Thunderbird theme as well and selected the Dark option…
Click on Picture for better Resolution
Final Notes
And Voila !
Modoboa is an interesting (and quite easy to deploy) mail server solution that can run on top of a Linux machine. The Modoboa software package does a good job in hiding all the complexity of installing postfix, dovecot and all the other elements that are part of the solution. Modoboa solution provides additional features/capabilities such as LDAP integration, DKIM,… that we have not covered.
This post was written because we simply needed to have a mail server up and running in our test lab. We could have used Exchange Server but we wanted to learn something new and we decided to go for Modoboa… This is the first time we have installed a mail service solution on top of a Linux machine…It was not too difficult to have a mail server quickly deployed within our infrastructure and it was fun.
Note that we have just scratched the surface here. We have really performed the most basic installation. So, if you are planning to use Modoboa as your main mail server solution, we would recommend you to read the documentation and assess if this solution would fit your needs.
Hope to enjoyed this post
Till next time
See ya
References : https://modoboa.readthedocs.io/en/2.0.3/installation.html
