Hello World,
Today, this post will provide step by step instructions on how to install Debian 11 Operating system on your computer. Debian 11 (codename Bulleyes) has been released in August 2021. Since we have adapted our xrdp-installer script to support also Debian distribution, we have decided to provide a quick step by step instructions guide for Debian 11. A few months ago, we have released a step by step instructions guide for Debian 10 (see here).
All in all, the process has not changed much compared to the previous version (Debian 10). However, this post is only the first step of our journey. After installing Debian 11 (using Gnome Shell as default Desktop Interface), we will check (in a future post) if this release has changed something in the way xrdp software is behaving.
So, let’s do this quickly….
Overview
Debian is one of the oldest distribution around and serve as base of a large number of other Linux Distributions (i.e. Ubuntu). The distribution is quite popular and since we have adapted our xrdp-installer script, we heed to go through the installation process of the new Debian release and test that everything is working as expected.
Step by Step Installation Guide
Assumptions
In order to successfully perform the installation, we have assumed the following
- your machine is connected to internet
- Debian OS will be installed on a virtual machine. If you are installing on a physical machine, create a bootable device from the download iso file and ensure that your machine is configured to boot from the created device (DVD, USB, PXE…)
Download Debian ISO file
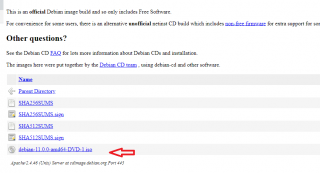
You will first need to obtain the Debian source files. You will have to download the latest stable version of Debian from this location and you have downloaded only DVD1 iso file
Click on Picture for better Resolution
Installation Process
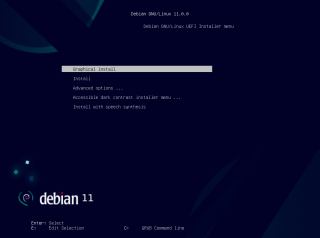
We have attached the Debian DVD1 iso file to our virtual machine. We have ensured that the machine will boot from cd/dvd and we have started our virtual machine. If everything is configured accordingly, you will be prompted with the Debian Installer menu. We have chosen the option Graphical Install and press enter to proceed with installation
Click on Picture for better Resolution
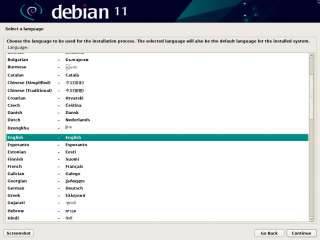
The Installation wizard will start. In the Select a language page, we have chosen English. Select accordingly your language settings and press continue when done.
Click on Picture for better Resolution
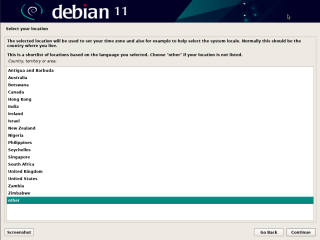
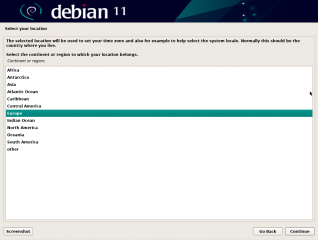
In the select your location page, select your country. If you do not see your country, click on other and Press continue.
Click on Picture for better Resolution
As I’m currently located in Belgium, I will select the option Europe and Press Continue. (Adapt the settings based on your needs !!!)
Click on Picture for better Resolution
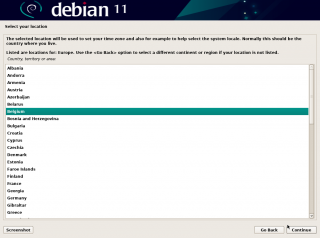
In the list of Country, select yours accordingly. In my case, I would select Belgium and Press Continue
Click on Picture for better Resolution
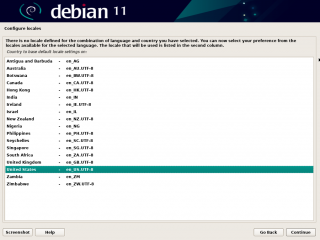
In the configure Locale page, select your option and Press Continue.
Click on Picture for better Resolution
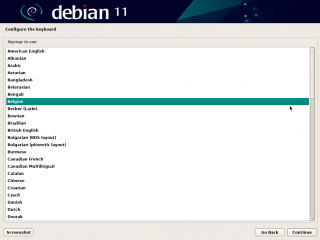
In the configure keyboard page, select the keyboard layout you need to use and Press Continue
Click on Picture for better Resolution
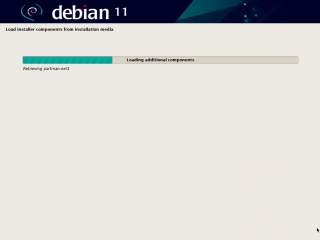
Wait for the load installer progress to complete
Click on Picture for better Resolution
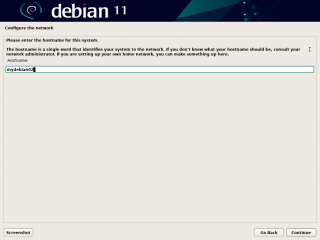
In the configure network page, specify the computer name you want to set and Press Continue
Click on Picture for better Resolution
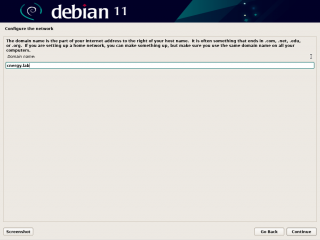
In the configure network page, specify the domain name you want to use and Press Continue
Click on Picture for better Resolution
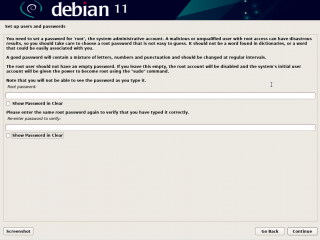
In the set up users and password page, you have to be careful. The first part of the wizard is targeting the root account.
#——-Please read carefully the information provided below——#.
In our setup process, we have not provided any password for the root account which means that the root account will be disabled. We have chosen for this approach as this is security best practice (do not use root account on your system).
So, leave the password field blank and press Continue
Click on Picture for better Resolution
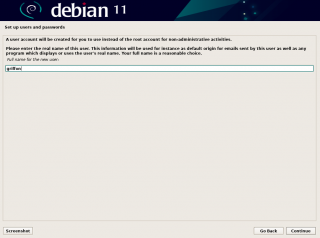
In the next page “Set up users and passwords” page, you can create a new user. Since we have not enabled the root account, this account will be granted the sudo rights….
Click on Picture for better Resolution
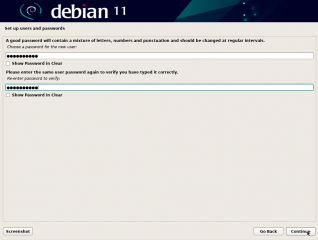
In the next page of the Wizard, you will be able to assign a password for the user account you have just created. Select a Password, confirm it and Press Continue
Click on Picture for better Resolution
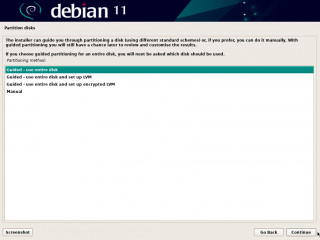
In the Partition Disk Page, Select the Guided mode and Press Continue
Click on Picture for better Resolution
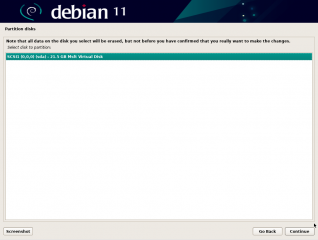
In the next page, select the disk to be partition and Press Continue
Click on Picture for better Resolution
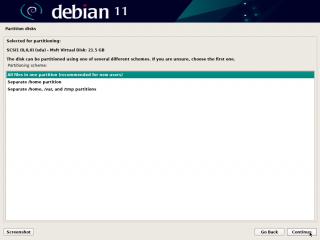
In the next page, select the option “all files in one partition” and Press Continue
Click on Picture for better Resolution
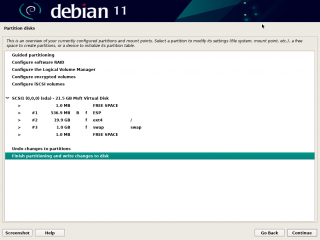
In the next Page, review the settings and Press Continue
Click on Picture for better Resolution
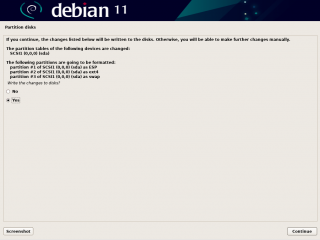
In the next page of the partition disk wizard, ensure that you select the yes option and write the changes to the disk. Press Continue
Click on Picture for better Resolution
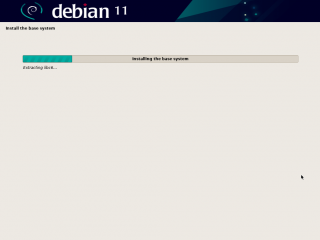
The install base page will be displayed. Wait for the process to complete
Click on Picture for better Resolution
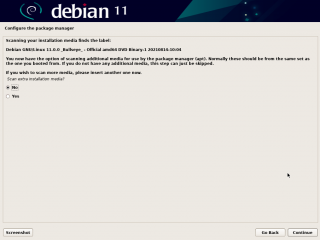
In the Configure package manager page, Select No, do not scan for additional CD or DVD. Press Continue
Click on Picture for better Resolution
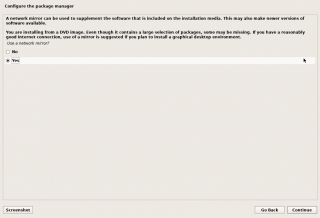
In the Configure package manager page, ensure that you select yes when asked to use network mirror. Press Continue
Click on Picture for better Resolution
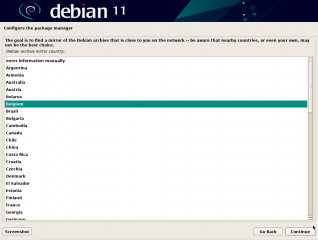
In the Debian archive country Wizard page, select the country that most fit your needs and Press Continue
Click on Picture for better Resolution
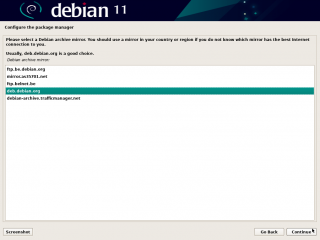
In the Debian archive mirror wizard page, select the url that most fits your needs and location. The list you will see will vary based on your Country selection. Press Continue
Click on Picture for better Resolution
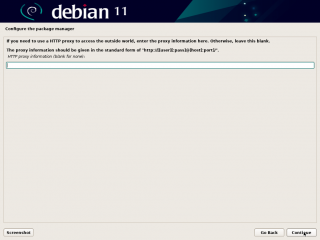
In the proxy settings page, specify your setting accordingly. Press Continue
Click on Picture for better Resolution
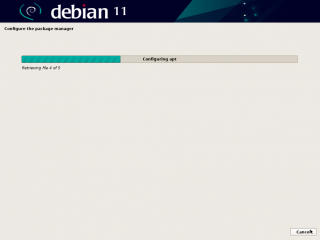
The Wizard will start installation activities. Wait for process to complete… Press Continue when ready
Click on Picture for better Resolution
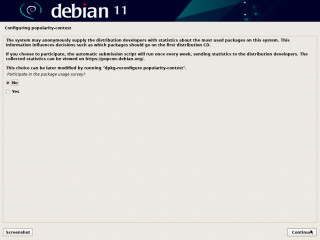
In the Configure Popularity-contest page, select your option accordingly and Press Continue
Click on Picture for better Resolution
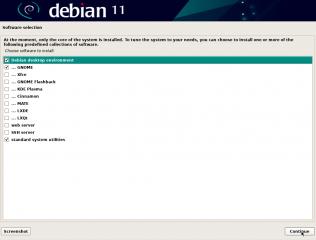
In the Software selection page, select the Desktop interface you would like to use with Debian.
Click on Picture for better Resolution
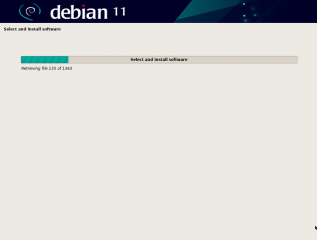
The select and Install Software Progress bar page will be displayed. Wait for completion
Click on Picture for better Resolution
Note :
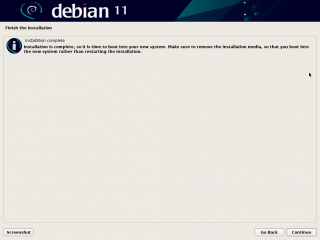
This version of Debian 11 seems to have removed the grub pages wizards. After installation completes, you will see immediately the finish page…..
In the Finish installation page, read and review the displayed information. Ensure that you have removed the installation media and Press Continue to reboot
Click on Picture for better Resolution
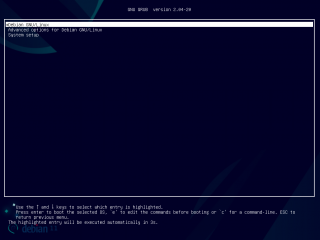
At reboot, and if everything went fine, you should see the Grub menu. After 5s, the system will boot automatically to the operating system.
Click on Picture for better Resolution
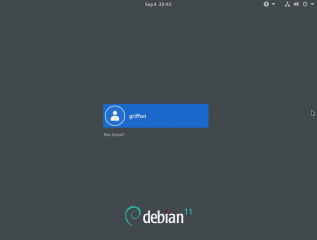
Finally, you have reached the login screen of Debian and now you can login with the user account and password you have created during the wizard.
Click on Picture for better Resolution
Login into your Debian system
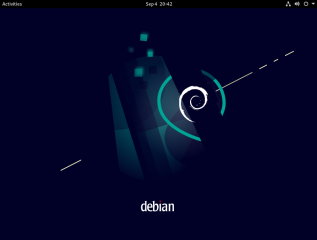
Since we have selected the Gnome Desktop interface, our Desktop environment will look like the following (see screenshot below). This is the default theme. Obviously, you can customize it as required.
Click on Picture for better Resolution
Grant sudo rights to users
Let’s assume that you have inadvertently enabled the root account during the installation process. When you will be login in with the standard account and you want to run sudo commands, you will be informed that you have no sudo rights !!!
Click on Picture for better Resolution
To fix this, you will need to grant sudo rights to your user and logoff/logon again to have the change applied accordingly. So, to grant the sudo access, you have to type from command line
su -
You will be prompted for a password… Enter the root password (you have created during the install process)
Click on Picture for better Resolution
If everything is ok, you are now running command under the root account. To grant the standard user account sudo right, you have to issue the following command
usermod -aG sudo <%name of the user to be granted the right %
example  usermod -aG sudo griffon
Important :
You will have to logoff/logon with the specified user account in order to be granted the sudo rights !!! After logout/login into Debian, open a Terminal console and try a sudo command (i.e. sudo nano) to ensure that you have the sudo rights
Final Notes
This is it for this post !
Debian installer wizard is not too difficult but you have to really pay attention to details when you select your option. Moreover, the Debian installer is quite long to go through compared to Ubuntu Installation wizard where a limited number of questions are asked. At this stage, we have a running instance of Debian 11 with Gnome Desktop interface showing up. Debian is known not to use the latest version of software as they are targeting more stability than new features. Because of this philosophy, Debian 11 is not shipping with the latest gnome shell version (i.e. 40.xx) and it’s still based on version 3.3xx. But this is not our major concerns so far…..
We are ready to test our famous xrdp-installer script against this new Debian release and see how it behaves… So, in the next post, we will tackle the xrdp installation on Debian Operating systems.
Stay Tuned
Till next time
See ya

