Hello World,
Some people have been asking me to quickly test and provide some walkthrough and installation guide of the operating system Pop!_OS. Pop!_OS is the Operating system version provided by System76 manufacturer which is based on Ubuntu operating system. I never checked or played around with this version but it seems that this version is quite popular. The distribution seems really pleasant to work with and the installation wizard is really providing a fresh installation experience…
So, let’s go through the setup and see how it behaves…
Step by step installation
Step 1 – Download Installation Sources
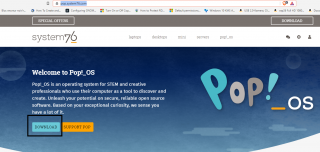
Visit the Pop!_OS web site, click on the Download button
Click on Picture for Better Resolution
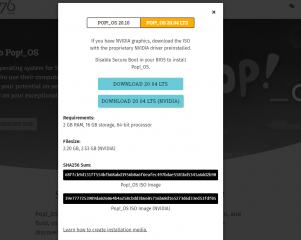
You will see a popup box from where you can select with version to download (Pop!_OS 20.04 or Pop!_OS 20.10). When correct OS version released, select also which iso to download either standard iso or the nvidia iso version that include nvidia drivers
Click on Picture for Better Resolution
If you pay a close look to the dialog, you will also see the message informing that you should disable the secure boot. Secure boot does not seems to be supported with Pop!_OS. If you are using Hyper-v and if you have enabled the secure boot, you will see the following error
Click on Picture for Better Resolution
So, as mentioned in the download page, please ensure that the secure boot is disabled on your virtualization solution or on your physical machine
Click on Picture for Better Resolution
Step 2 – Mount the iso and start the installation
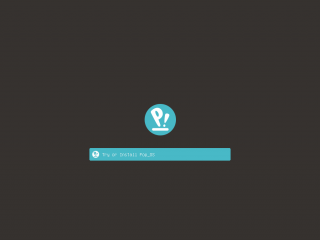
After mounting the iso into your system ( we are deploying it on a virtual machine) , you will see the following screen… Press Enter
Click on Picture for Better Resolution
Step 3 – Perform the installation
After a few seconds, you should see a really nice and pleasant wizard installer starting.
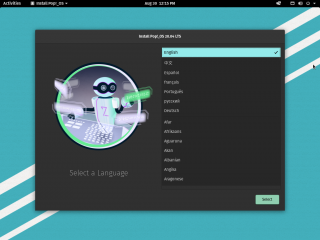
In the Select language page, select your option and press Next
Click on Picture for Better Resolution
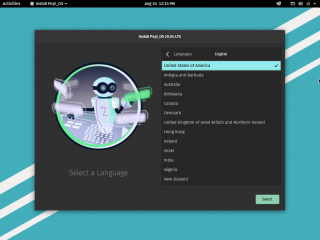
In the Select language page, select your option and press Next
Click on Picture for Better Resolution
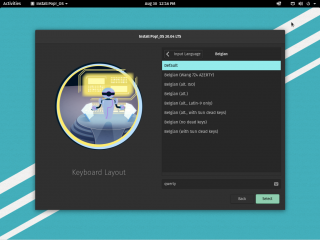
In the Keyboard layout page, select your option and press Next
Click on Picture for Better Resolution
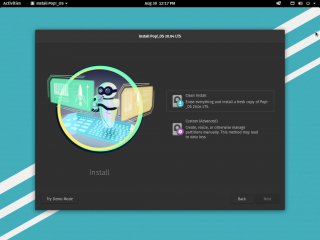
In the Install page, select your option…As this is a brand new installation, we have selected Clean Install.
Note : In this page, you can also first try the Pop!_OS by clicking the small button “Try Demo Mode”
Click on Picture for Better Resolution
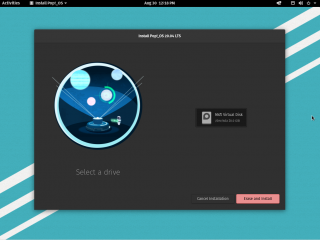
In the Select a drive page, you can select the hard disk where to install the Operating system. Press Erase and Install
Click on Picture for Better Resolution
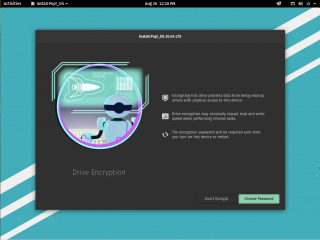
In the Drive Encryption Page, you can decide to encrypt the hard disk or not. We have selected the encryption option to increase security. However, as mentioned in the wizard, a password will be needed each time you boot your Pop!_OS machine. So, Select Choose Password
Click on Picture for Better Resolution
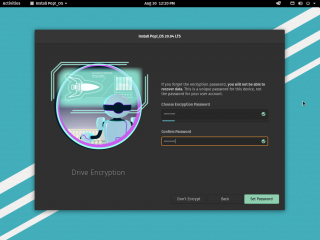
In the Drive Encryption Page – Choose password section, set your encryption password and Press Set Password
Click on Picture for Better Resolution
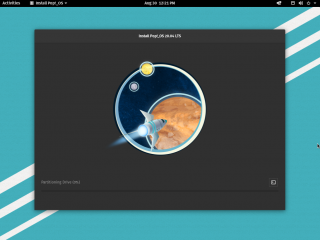
The installation process will start…. Wait for the process to complete
Click on Picture for Better Resolution
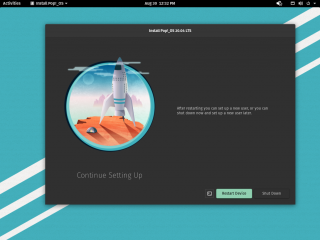
When the installation process has been completed, you can see that you still need to finalize your setup. So, in the Continue Setuping Up page, Press the Restart Button
Click on Picture for Better Resolution
Step 4 – Finalize the Installation
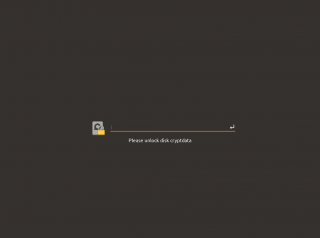
As you restart your system and since we have selected the encryption drive option, you will see that you are prompted for a password. Insert the encryption password and press Enter
Click on Picture for Better Resolution
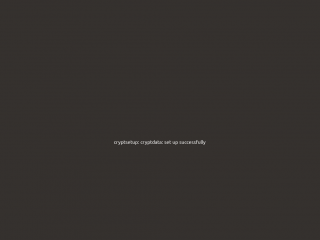
If your encryption password is correct, the system will validate it and boot up into the operating system
Click on Picture for Better Resolution
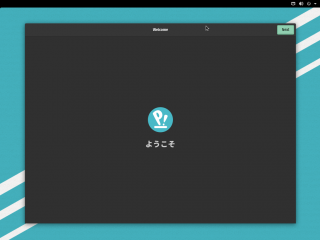
A Welcome Wizard will start. In the Welcome Page, Press Next
Click on Picture for Better Resolution
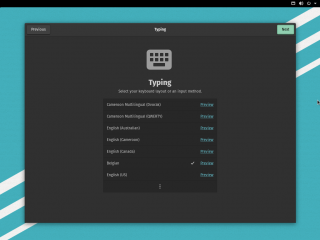
In the Typing page, review the settings and Press Next
Click on Picture for Better Resolution
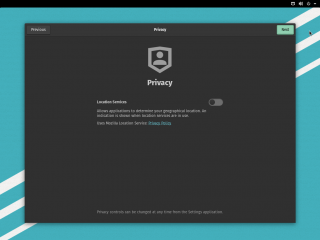
In the Privacy page, select the appropriate option that fits your needs and Press Next
Click on Picture for Better Resolution
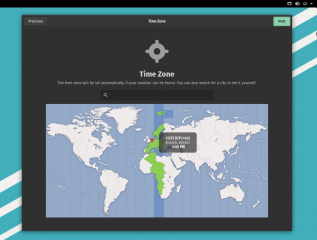
In the time zone page, review the settings or set your settings accordingly and Press Next
Click on Picture for Better Resolution
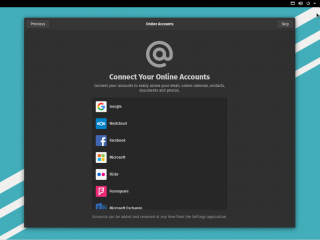
In the Online Account page, configure your accounts if needed or Press the Skip button
Click on Picture for Better Resolution
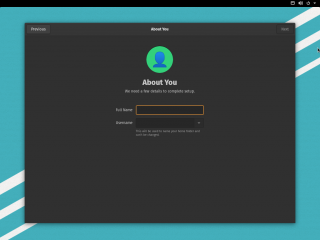
Finally, Create the user account in the About Page. Press Next
Click on Picture for Better Resolution
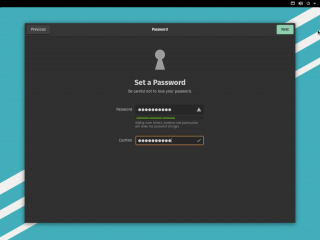
Set your Password in the Password page and Press Next
Click on Picture for Better Resolution
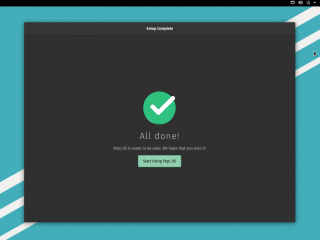
In the Setup complete page, you can see that your installation is completed and you can start using the newly installed Linux Operating System.
Click on Picture for Better Resolution
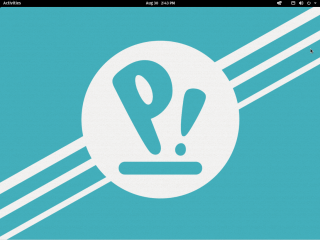
The Gnome Desktop will be presented to you. As you can see, this is the default gnome desktop and there is no Ubuntu Dock bar.
Click on Picture for Better Resolution
Step 6 – Customize your System
At this stage, you can decide to customize the desktop by changing the desktop wallpaper, or implement a dock bar on the left side to mimic Ubuntu operating system or enable tiling option which is the really added value in the Pop!_OS operating system (if you need to work with multiple side by side windows).
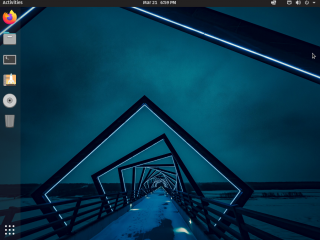
This is how my Pop!_Os looks like after some basic tweakings (Change background and adding Dash to dock Extension)
Click on Picture for Better Resolution
Final Notes
Pop!_OS is indeed a solid and refreshing Linux distribution. We really like the dark theme enabled by default and the Installation Wizard which is really pleasant to go through. We like the overall look’n feel of the installation process. Pop!_OS name fits perfectly this distribution because it’s really fun and fresh experience… It ships with interesting features that are not available in other distribution or make them appearing really simple to use. We also really like the fact that the encryption process is really simple and straight forward and that you have repair option available as well…
All in all, we are really impressed by the job done by System76….. We might use it at home as test machine and provide other posts about POP!_OS. This was actually fun to install 🙂
Till next time
See ya
