Hello World,
It has been some time since my last post. As you can imagine, we have been busy with a lot of stuff at work and no time left to post some interesting news.
Today, we will discuss about Ubuntu 16.10 which has been released on October 13, 2016. As usual, we will go through a standard installation of Ubuntu 16.10 from scratch. In a future post, we might cover in a coming post also how to upgrade from Ubuntu 16.04 to Ubuntu 16.10. Note that this version of Ubuntu is not part of the long term support (LTS) and you might not need to upgrade or using this version right away.
In this post, we will quickly describe the installation process of this new release and we do not expect to see much changes compared to the previous version. After installing this release; we will publish a following post that will describe how to install XRDP software on this release ensuring that the processes described in the past are still valid with this new version of the Operating System
So, Let’s do this !
Important Notes
- This post is used to demonstrate how to perform a fresh installation of Ubuntu 16.10. We are not covering the upgrade process in this post.
- The installation of Ubuntu has been performed as a virtual machine on an Hyper-V Server
Step by Step Installation Guide – Ubuntu 16.10 – Fresh Install
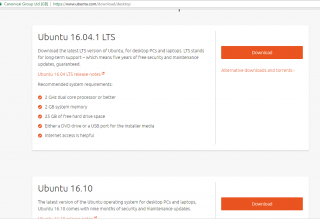
Step 0 – Go to the Ubuntu web site and start to download the correct version of Ubuntu.
Click on Picture for better Resolution
Step 1 – When download is completed, you can either burn the iso or perform the install from a usb stick for physical machines. If you have virtual infrastructure, you would simply need to mount the iso file into your virtual machine and boot it up. When you are ready, you can start your installation process.
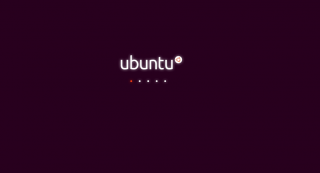
Step 2 – When computer boots from the ubuntu iso; cd or usb stick and you should see the following screen
Click on Picture for better Resolution
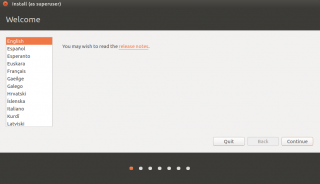
Step 3 – in the Welcome Page, select the install ubuntu option
Click on Picture for Better Resolution
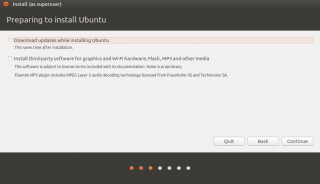
Step 4 – In the preparing to install, you can simply press continue or you can tick the check-boxes to download the updates and codec (if you have internet connectivity)
Click on Picture for Better Resolution
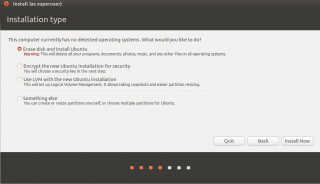
Step 5 – In the installation type, select your installation type. When you have selected your options, Press Continue
Click on Picture for Better Resolution
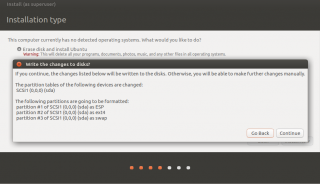
You might be prompt for a confirmation of the action you have just selected. Press Continue if you want to proceed with the suggested changes.
Click on Picture for Better Resolution
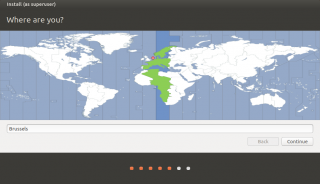
Step 6 – In the Where are you ? page, the wizard will try to detect your location. If this is not correct, locate your location on the map. Press Continue
Click on Picture for Better Resolution
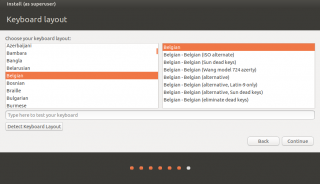
Step 7 – In the keyboard layout, select your keyboard and Press Continue.
Click on Picture for Better Resolution
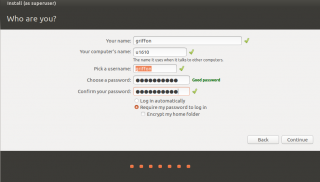
Step 8 – In the Who are you ? page, provide the requested information (computername,username,password). You can also decide to encrypt the disk if needed
Click on Picture for Better Resolution
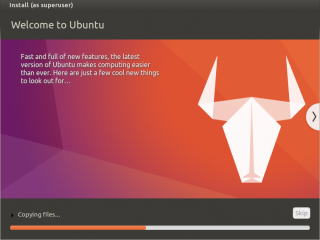
Step 10 – The installation process will start. wait for completion
Click on Picture for Better Resolution
Step 11 – When installation is complete, you will see the prompt asking you to reboot the machine
Click on Picture for Better Resolution
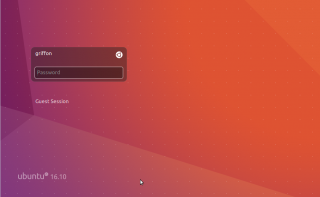
Step 13 – After the system reboot, you should see familiar and sexy login page for your newly installed Ubuntu 16.10
Click on Picture for Better Resolution
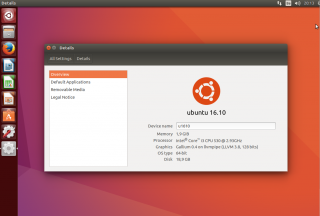
After passing you credentials, you will be logged in into the familiar Unity Desktop environment and you can visually confirm that Ubuntu 16.10 has been installed on your new system.
Click on Picture for Better Resolution
Unity 8 Desktop
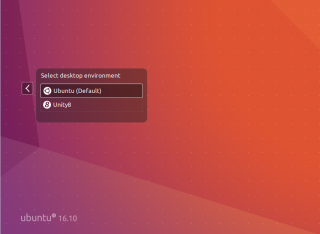
Unity 8 desktop is still not ready for prime time. However, you should note that Ubuntu 16.10 offers the possibility to test Unity 8 desktop. However, in order to test and get your hands with the new desktop interface, you would need to have a capable system (virtual or physical machine). As we have installed Ubuntu 16.10 on Hyper-v as virtual machine, we will not be able to use and test Unity 8.
Click on Picture for Better Resolution
Final Notes
This is it for this post ! As you have seen, the installation process is really simple and straight forward. No major changes have been introduced in Ubuntu 16.10 but the release provides stability and nice graphical improvements. This release introduces out-of-the-box Unity 8 but again capable hardware. Ubuntu has become slowly one of the main operating system used for us.
In one of our next posts, we will check if xRDP software is still usable with Ubuntu 16.10. Recenlty, we have demonstrated how to use xRDP with Unity desktop using TigerVNC. In coming weeks, expect to see some more posts about xRDP
Till next time
See ya
