Hello World,
Today, we have some spare time and we want to quickly describe the installation steps for MDT 2013. If you are familiar with MDT technology, you will see that in terms of setup nothing has really changed. The main change in this release is the fact that you will need to install the ADK 8.1 (Automated Deployment Kit) in order to have your MDT installation able to deploy Windows 8/Windows 2012 or later version of Operating systems.
As you will see, the installation and configuration process will be the same as for the MDT 2012 version. If you need to have more information about the MDT 2012 version, please review our MDT 2012 series
Part II – MDT 2013 – Standalone Configuration – Add WDS Components
Our Scenario
When performing deployment, we always try to create an independent deployment infrastructure. If you follow us, you know that we have already described how to create such standalone configuration (see http://c-nergy.be/blog/?p=2026). In our previous post, we were using a custom TFTP solutions.
In this post series, we will use exclusively Microsoft Technologies in order to create a standalone instance of MDT 2013 and using WDS components as TFTP solution.
For this post, we are assuming that the installation will be performed on a Windows 2008 R2 server. In this post , we will focus on the installation of the MDT 2013 components. In the part II, we will describe how to install the WDS components in order to have full TFTP capability in a standalone configuration. In Part III, we will quickly describe how to use the WDS role in combination with MDT 2013 and you will see that Microsoft has made this action really straight forward.
MDT 2013 Installation Instructions
Step 1 – Download the MDT 2013 package from the following link
Step 2 – Download the ADK 8.1 package from the following link. This is optional if your machine is connected to internet
Step 3 – On your Windows 2008 R2 Standalone Server, you will need to install the Framework 3.5 SP1 pacakge. We will use the powershell command to perform the installation. Open the PowerShell command prompt and type the following
Import-module ServerManager
Add-WindowsFeature AS-NET-FRAMEWORK
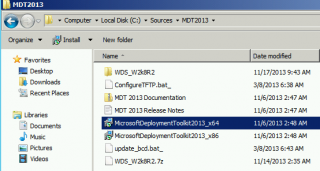
Step 4 – Go to the folder where you have downloaded your MDT package and double-click on it
Click on Picture for Better resolution
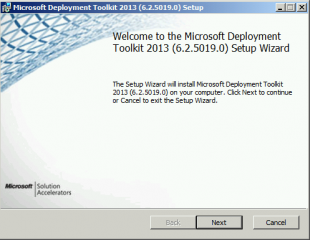
Step 5 – In the Welcome Page, Press Next
Click on Picture for Better resolution
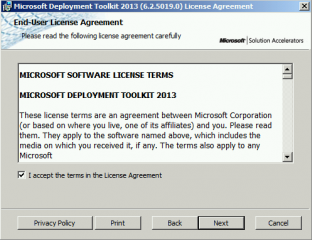
Step 6 – In the License agreement page, accept it and Press Next
Click on Picture for Better resolution
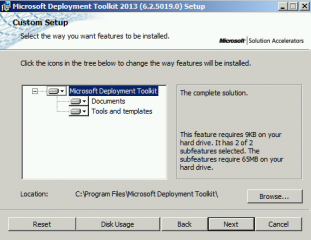
Step 7 – In the Custom setup page, accept defaults and Press Next
Click on Picture for Better resolution
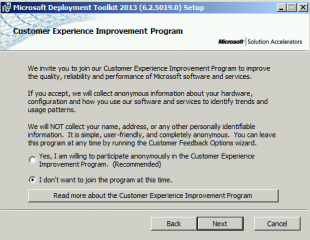
Step 8 – In the Customer experience, choose your option and press Next
Click on Picture for Better resolution
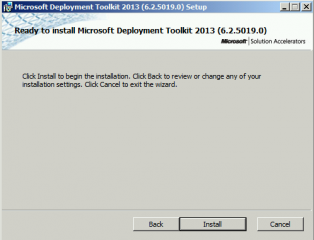
Step 9 – In the Ready to Install Page, Press Install
Click on Picture for Better resolution
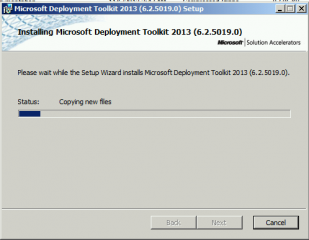
Step 10 – Wait for the installation to complete
Click on Picture for Better resolution
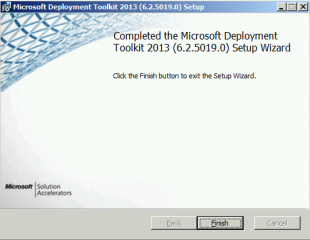
Step 11– In the Completed Page, Press Finish
Click on Picture for Better resolution
ADK Installation instructions
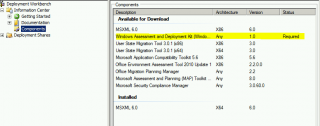
If you open the Deployment WorkBench and click on Components node. You will see that you need to install the ADK 8.1 components. You can perform an automated installation if your machine is connected to internet or you can perform a manual installation.
Click on Picture for Better resolution
Automated Installation
If you machine is connected to internet, you can click on the ADK 8.1 and at the bottom pane, you can click on Download button. This will download the package and perform the installation automatically for you. You are ready to create your Deployment share and configure your MDT 2013 system.
Manual Installation
If you are not connected to internet, you will need to perform an manual installation.
Step 1 – Go to the folder where you have downloaded the ADK package. Double-click on it
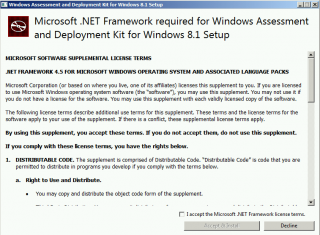
Step 2 – In the Microsoft.NET page, accept the license agreement and click on the Accept and Install Button
Click on Picture for Better resolution
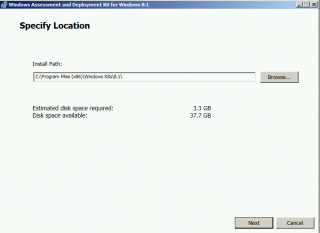
Step 3 – In the specify location path Page, accept default and Press Next
Click on Picture for Better resolution
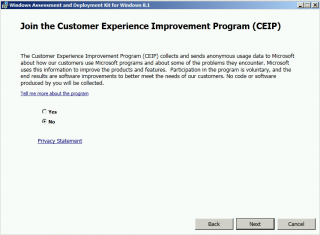
Step 4 -In the Customer Experience Page, select your option and Press Next
Click on Picture for Better resolution
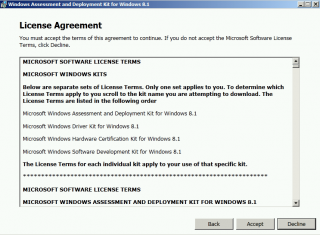
Step 5 – In the License Agreement page, Click on Accept
Click on Picture for Better resolution
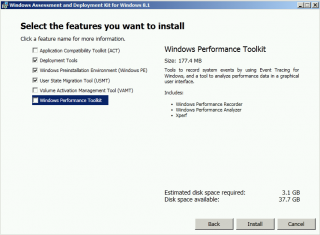
Step 6 – In the Select feature page, choose your options. Press Install.
Click on Picture for Better resolution
The screenshot shows the minimum components required.
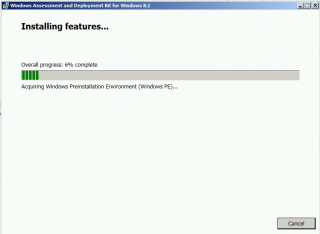
Step 7 – Wait for installation to complete
Click on Picture for Better resolution
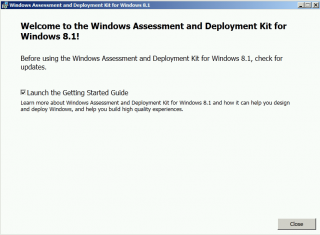
Step 8 – In the Welcome Page, Press Close
Click on Picture for Better resolution
Note :
If you perform an offline installation, you might see that in the deployment Workbench > Components Node, the ADK component is still required. To avoid confusion for the operator, we have modified the xml file located under <%ProgramFiles%>\Microsoft Deployment Toolkit\Downloads\{000-000000000} folder and updated the componentList.xml file. We have changed the value from True to false at the line which checks for the ADK Component.
Upgrading to MDT 2013
If you do have already a working MDT 2012 infrastructure and just want to upgrade to MDT 2013, this is possible. You will need to perform the following steps
Step 1 – Download and Install the ADK 8.1
Step 2 – Download and Install the MDT 2013
Step 3 – Within your Deployment Workbench console, go to the Deployment Share>right-click on it and select the option Update Deployment Share
Step 4 – After the update has been performed, you should be able to open your Deployment share within the MDT 2013 Deployment Workbench
Final Notes
In this post, we have seen how to perform the installation of MDT 2013. To have a working MDT 2013 configuration, you will need to download and install the ADK 8.1 before you can create a deployment Share. As stated in the beginning of this post, if you are used to work with MDT 2013, there is not real changed compared to the MDT 2012 in the way you work and configure it.
In the next part of this series, we will configure the WDS components in order to add TFTP capabilities to the system. Few people know that since Windows 2008 R2, you can install the WDS Role (part of it actually) in a stand alone configuration. The process is not too complex but there is no GUI to perform the configuration. Stick to us and you will see how we perform such configuration
Till Next Time
See ya
Part II – MDT 2013 – Standalone Configuration – Add WDS Components
Hello Griffon,
About the ComponentList.xml, it don’t seem to have a line which checks for ADK component. https://userscloud.com/rvxg9js2c14j (ComponentList.xml file)
Thanks for your time
Hello again,
The feature has been deprecated.. You should not see this info anymore
till next time
see ya
What feature has been deprecated? The whole ADK ? What are my alternatives for deploying OS by network boot with low requirements like a Standalone configuration?
The MDT Deployment workbench console is not including anymore the Check for updates in the latest versions… this is the feature that’s deprecated…. ADK is still needed and need to be installed on the system
so if you do not see the component list setting, it probably because you have installed one of the latest version of mdt where there is no check performed any more
Till next time
See ya
Hi Griffon,
Is MDT 2013 can create boot disk based on Win7 instead of windows 8.1
I have MDT image that only work on newer PC, while on old PC that don’t support UEFI boot it will keep reset on boot process.
@Yunar,
If you have used the ADK for Windows 8 or 10, it will use the winpe version that comes with these operating systems.
The Winpe included in 8.1 and 10 are compatible with Windows 7 systems. The MDT 2013 boot images are normally supporting both UEFI and legacy boot mode
IF MDT Image detects an UEFI image, it boots from UEFI. The problem might not be related to the mdt image but on the computer
HAve you tried to boot using any other cd or stick on the windows 7 pc ? does it boot ?
are you using systemd or upstart for your services ?
Hope this help
Till next time
See ya