Hello World,
Lately, I’m writing a lot about Microsoft technologies. This is because the company has been releasing the latest version of their softwares. Windows 8 and Windows 2012 are out (RTM) and general availability is around the corner. Four other products that have already been released as a preview version are :
- Exchange 2013
- Sharepoint 2013
- Lync 2013
- Office 2013
In the coming posts, I’ll be focusing a little bit more on Windows 2012 and Exchange 2013. But for now, we will simply demonstrate how to install Sharepoint 2013 Preview (as standalone configuration) on a Windows 2012 Server.
Overview
The setup process has not changed much since Sharepoint 2010. If you are familiar with previous version of Sharepoint, you should feel comfortable with the installation of the preview. You need to meet some requirements before being able to install Sharepoint 2013. Microsoft has put a lot of efforts in order to ease this process. As long as you are connected to Internet, when you start the Setup Wizard, you will have the possibility to download and install these prerequisites. This improvements is present in more and more products such as Exchange 2013, SCOM 2012, SCCOM 2012,…
I’m really not a Sharepoint expert but given that the new Exchange 2013 will be using Sharepoint 2013 elements, I will need to start getting my hands on this product as well.
Sharepoint 2013 is based on the Sharepoint 2010 products. The main changes I’ve seen so far is the new interface and the removal of the silverlight components. Sharepoint 2013 will be using HTML 5 to present you with some more frendly popup configuration boxes. Finally !
We have performed an installation of SharePoint on 2013 on a member server instead of a standalone computer because with the preview you might encounter some issues during the installation. some people have found some workarounds to have the installation proceed on a server in a workgroup but it seems that this installation is not supported (yet?). See here
Step by Step Installation of Sharepoint 2013 Preview
Step 1 – You need to have a Windows 2012 Server ready to be used and member of a domain. You can visit this link to see how you can install a standard Windows 2012 Server.
Note :
Step 2 – Download the Sharepoint 2013 Preview iso and mount it on the Windows 2012 server (mouting iso is a built-in feature in Windows 2012 🙂 ) You can also download it from here
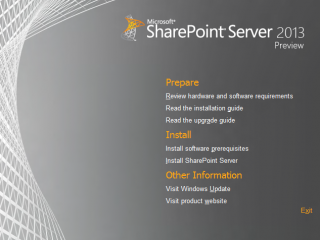
Step 3– Click on the Setup.exe and you should see the following screen.
Under the Install section, Click on the link install software prerequisites
Click on picture for better resolution
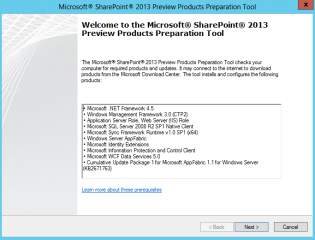
Step 4 – In the preparation Tool page, you will see the list of software to be downloaded and installed. Press Next
Click on picture for better resolution
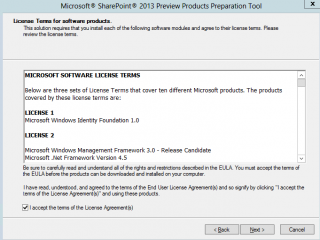
Step 5 – In the Agreement page, accept it and Press Next
Click on picture for better resolution
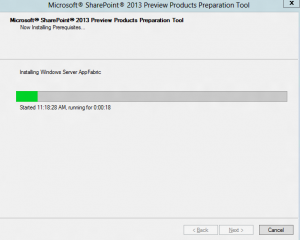
Step 6 – Wait for the installation to complete
Click on picture for better resolution
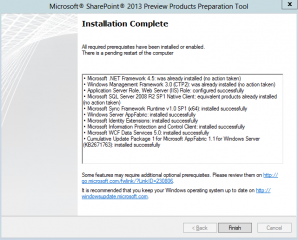
Step 7 – Finally, the Wizard will display the summary information about installed components and might be informing you that a reboot is necessary in order to proceed with the installation. Press Finish
Click on picture for better resolution
Step 8 – After the reboot, click again on the Setup.exe file. You will be again presented with the Setup Wizard Page. In the Install section, Click now on the link Install Sharepoint Server
Click on picture for better resolution
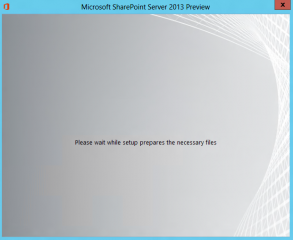
Step 9 – The wizard will starts and you will see a screen similar to the following
Click on picture for better resolution
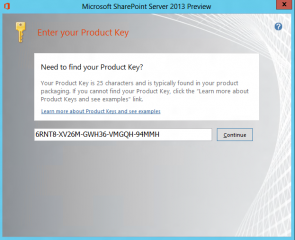
Step 12 – In the product key page, you will prompted for a key. The preview product key can be found here (at bottom of the page)
Click on picture for better resolution
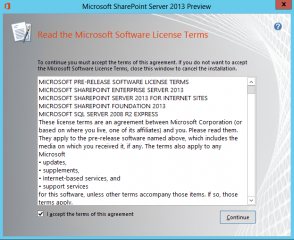
Step 13 – In the license agreement page, accept it and press continue
Click on picture for better resolution
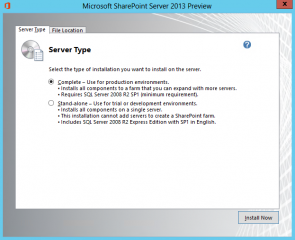
Step 14 – In the installation type page, select the appropriate one. for this post, we have selected Stand-alone option. Press Install Now to start the installation
Click on picture for better resolution
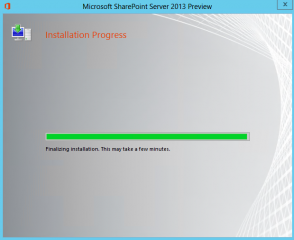
Step 15 – Wait for the installation wizard to complete
Click on picture for better resolution
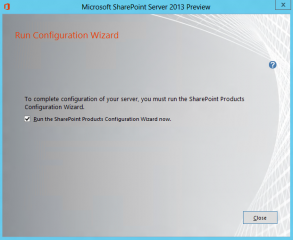
Step 16 – When the installation is completed, you will be requested to run the Configuration Wizard. Press Close
Click on picture for better resolution
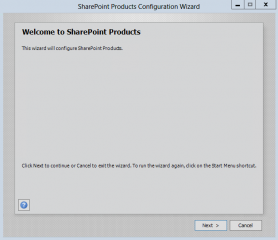
Step 17 – The Configuration Wizard will start. In the Welcome page, Press Next
Click on picture for better resolution
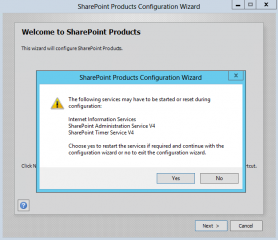
Step 18 – You will be notified that some services will need to be stopped/restarted. Press OK to proceed with the configuraion Wizard
Click on picture for better resolution
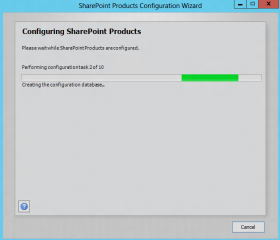
Step 19 – In the Configuring the product page, wait for completion of the configuration wizard
Click on picture for better resolution
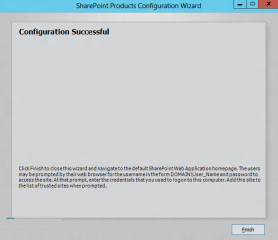
Step 20 – If you are lucky, you should see at the end of the process, the Congratulation page. Press Finish
Click on picture for better resolution
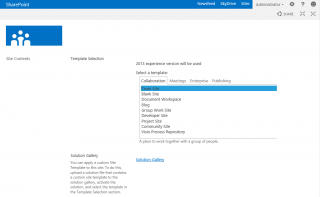
You are done with the installation. If you open the browser to the http://localhost , you will discover the new layout of Sharepoint 2013. The first time you open the page, you will be asked to configure your first sharepoint site.
Click on picture for better resolution
Final Notes
Voila ! I did the first part : a basic installation of SharePoint 2013. The process was not too difficult but now we have to configure our server and see what it can do. Moreover, we have setup the Sharepoint in a standalone configuration (an easy configuration). I might want to try to install a Sharepoint 2013 Farm with load balanced Front-end servers and clustered SQL server….but this will be for the future…
Till next time
See ya
