Hello World,
This would be a short post. In Windows 2012 Server, when you try to install .net framework 3.5 from the Server Manager console (and you do not have internet connection), the installation will fail.
Installing .net 3.5 Framework
This situation happen to me some time ago (didn’t got time to blog about it). I was trying to install the .net framework 3.5 from the server Manager but the installation was failing. After the third attempt, I’ve noticed additional options in the add/remove feature dialog box.
Note : To proceed, you should have access to the installation media
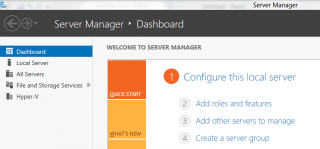
In order to perform the installation, you will open the Server Manager and click on Add roles and features
Click on Picture for better resolution
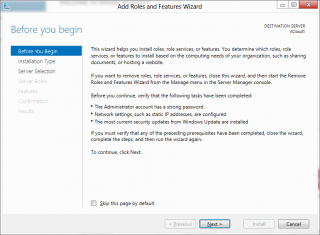
The Add Features and Roles Wizard starts. Press Next
Click on Picture for better resolution
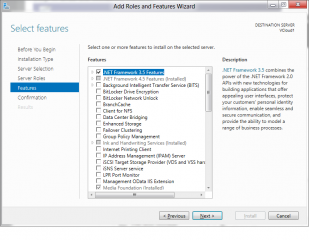
Continue until you reach the features page and select the .net 3.5 framework option. Press Next
Click on Picture for better resolution
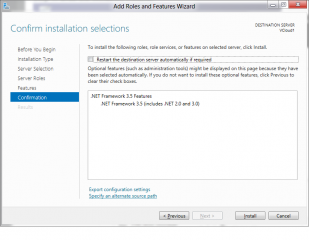
In the confirmation page, at the bottom on the left side, notice the 2 hyperlinks. Click on the “Specify an alternate path”
Click on Picture for better resolution
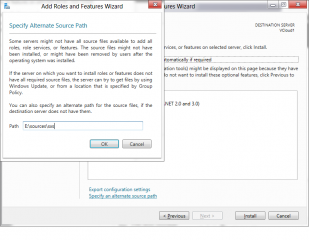
In the Alternate Path dialog box, specify the location where the installation media is available and point to this path <%dvdrom Drive Letter%>\Windows\sxs and Press OK. Press then Install
Click on Picture for better resolution
The installation will proceed and the Server manager will confirm that the installation has been performed succesfully.
Featute on Demand (FoD)
At this point, we have succeeded in installing the .net framework. Now, I wanted to understand why this behaviour occur. After some readings (thank you google :-p), I found out that this behaviour is a new concept that has been introduced with Windows 2012 Server.
The .Net Framework is a Feature on Demand. This simply means that the component will be installed only when requested and that the binaries will be made available only when requested. The FoD concept was introduced in order to reduce the amount of space used by components. Moreover, Microsoft consider that 3.5 is kind of legacy component and encourage companies to use the version 4.5.
Something I didn’t know is that when you install .net framework 3.5 on your Windows 2012 Server, you will be also installing the previous versions (1.0,2.0,3.0) of the framework automatically.
Finally, We have presented here one way to perform the installation of the .net Framework. But apparently, you can use different ways. You can
- Download the package via Windows Update (when requesting the installation). This implies that you have internet access
- Perform an offline installation by using the installation media (dvd or media source located on a share)
- performing the installation using a wim image including already the component
- performing the installation using Powershell cmdlet.
Note:
Because I really like the improvements in Powershell 3.0, I provide you the cmdlet to be issued in order to perform the installation of the .net framework 3.5 when no internet access is there (and you have the installation media somewhere on your network)
- Enable-WindowsOptionalFeature –Online –FeatureName NetFx3 –All -LimitAccess -Source <path or Drive Letter>\sources\sxs
It really works.