Hello World,
Let’s continue our journey into the SSL Offloading configuration using Exchange 2010 in conjunction with Zen Load Balancer. This part of the post should be quite easy to follow as well. We will quickly describe how to request an certificate for your Exchange infrastructure and then install it.
Requesting SAN Certificates
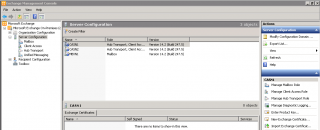
To request a SAN certificate, you will simply open your Exchange Management console and click on the Server configuration Node.
Creating the Request file
Step 1 : You will see on the right pane, an option to request the certificate. Click on the New Exchange Certificate…
Click on image for better resolution
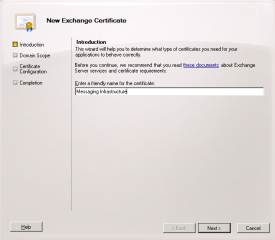
Step 2 : The New Exchange Certificate Wizard starts. In the Introduction page, specify a friendly name to be used. Press Next
Click on image for better resolution
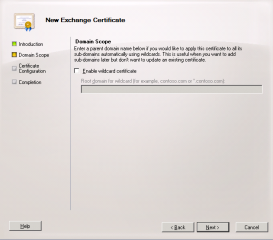
Step 3 : The Domain Scope page, leave it blank given that we want to use Subject Alternative Name certificates. Press Next
Click on image for better resolution
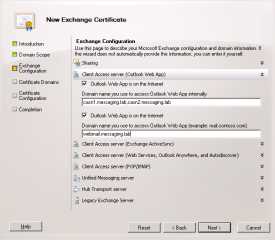
Step 4 : The Exchange Configuration Page,select which services you want to associate with a certificate and choose an appropriate name. Based on your configuration, some fields might be already filled up. When ready, Press Next
Click on image for better resolution
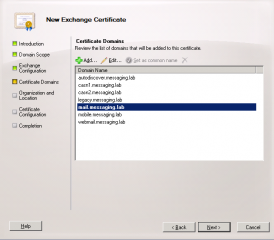
Step 5 : in the certificates Domain, you can see all the names that can be used by the certificate. Pess Next if your happy with these settings.
Click on image for better resolution
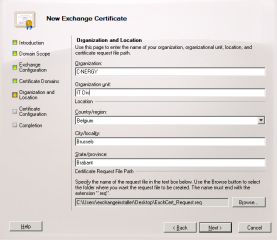
Step 6 : In the Organization and location, fill the form as requested. You can change the path where the request file will be saved. Remember the path, we will need later. Press Next
Click on image for better resolution
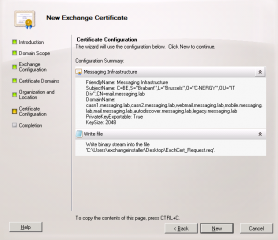
Step 7 : In the next screen, you can review your settings. If OK, simply press New
Click on image for better resolution
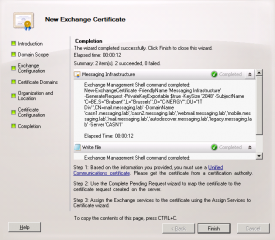
Step 8 : In the completion page, Press Finish
Click on image for better resolution
Submiting the file to the CA
In part I of this series, we have installed a Certificate Authority. With the installation, we have installed the Web component that allows us to perform the request from a browser. If you point your browser to the following url (in your test infrastructure) http://CA_Server/certsrv . You should access the web interface that will allow you to start the request process.
Step 1 : In the Welcome page of the CA, click on the link, Request a certificate
Click on image for better resolution
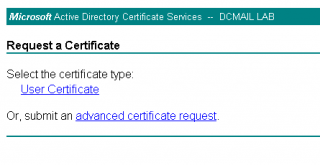
Step 2 : In the Request page, you can click on the “Advanced Certificate Request”
Click on image for better resolution
Step 3 : Click on the link submtit a certificate request…..
Click on image for better resolution
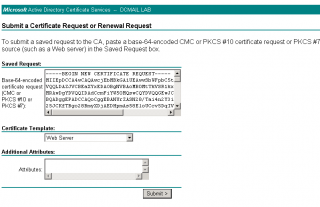
Step 4 : In the request form, you have to copy/paste the content of the request file (that has been generated above) and ensure that you select the option Web Server. Press Submit when ready
Click on image for better resolution
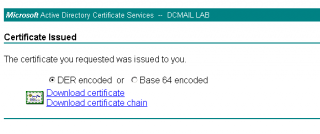
Step 5 : In the page, you will be able to download the certificate or the certificate chain.
Click on image for better resolution
Download the certificate and prepare to assign this certificate to your Exchange infrastructure… This is the next step
Assigning the Certificate to Exchange Server
Let finalize our setup. We have a valid certificate. It’s time to assign it to our Exchange CAS servers. To do this, we will perform the following tasks
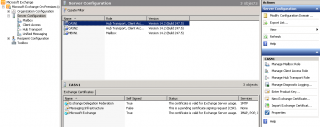
Step 1 : Open the Exchange Management Console, and click on the Server Configuration Node. You will see in the mid pane (the down part) that our certificate is still pending
Click on image for better resolution
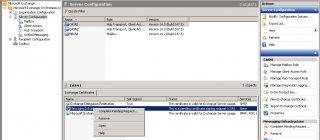
Step 2 : Right-click on the pending certificates and select complete pending request
Click on image for better resolution
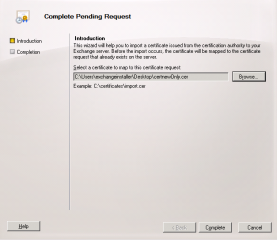
Step 3 : The completing request wizard starts. In the introduction page, you simply specify the location where you have saved the certificate (that we have download earlier). Press Competion
Click on image for better resolution
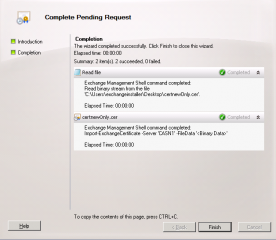
Check that everything is okay. You can press Finish.. You are done
Click on image for better resolution
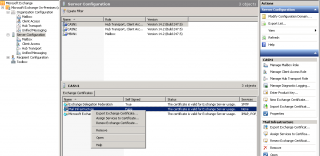
Finally, we can assign the certificate to the appropriate Exchange services..
Step 4 : Again, in the Exchange Console, right-click the certificate and select “Assign Services to Certificate…”
Click on image for better resolution
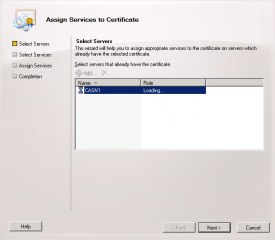
Step 5 : The Wizard starts and you can see which Server has already the certificate. Press Next
Click on image for better resolution
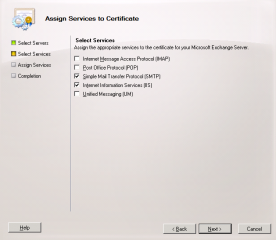
Step 6 : In the select services, you select the one you are interested in and you Press Next
Click on image for better resolution
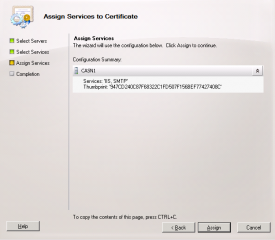
Step 7 : In the assign page, click on Assign button
Click on image for better resolution
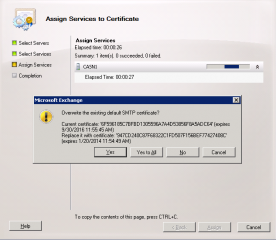
Step 8 : You might receive a prompt askin to overwrite existing SMTP certificate. Press the appropriate choice
Click on image for better resolution
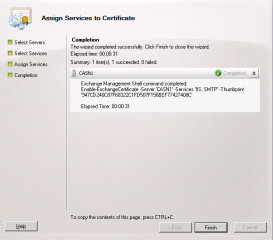
Step 9 : In the Completion page, you should have a green tick and you can press Finish
Click on image for better resolution
Checking your settings
You can now open your browser and point to the name that you have been using for your certificate. At this stage, you can check that when you access your Client Access server using the FQDN of the server, you are not prompted anymore for the certificates. We do no use yet the alias name we have created (i.e. webmail.messaging.lab) because this name will be associated to the IP address of the load balancer and the load balancer is not yet there…
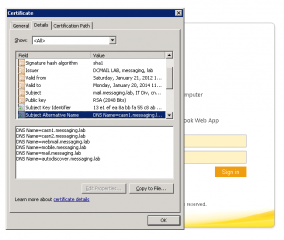
You should access immediately the Outlook WebApp interface. If you click on the padlock next to the url, you can also check that you Exchange Server is effectively using the newly assigned certifcate.
Click on image for better resolution
Final Words
We will stop here for this evening. So far, we have described (in more or less details) how you could request and assign certificates into your Exchange infrastructure. The journey is not over yet. We will need to configure the Exchange server to work with the SSL Offloading mode and configure teh Zen Load balancer as well. This is coming in the next part of this post.
Till then
Stay tuned
Article in this series :
- Part I : Exchange 2010 SSL Offloading using Zen Load Balancer – 1
- Part II : Exchange 2010 SSL Offloading using Zen Load Balancer – 2
- Part III : Exchange 2010 SSL Offloading using Zen load Balancer – 3
- Part IV : Exchange 2010 SSL Offloading using Zen load Balancer – 4
