Hello World,
In our previous posts related to Cockpit Web Console software, we have quickly demonstrated how to install and use the software (see Ubuntu – Howto install Cockpit web console on Ubuntu 20.04 or later) and how to use the solution to also manage your KVM Virtual machine infrastructure (Ubuntu – Howto use Cockpit web console to manage virtual machines) from a simple Web Browser.
The Cockpit Web Console software is simple enough to be useful and can be used to manage your infrastructure from a simple web interface. The added value of the tool is obviously that it provide an easy to use GUI that can be used to perform administrative tasks on your Ubuntu machines (and other distributions as well). So far, we have seen situation where the tool is installed on a single machine. If you have more than a Ubuntu machine on your network, you might want to find a way to centrally manage them. Cockpit Web console can be configured as “Gateway” server (i.e. single point of access) from where you will be able to connect to remote hosts and perform the necessary actions against that host
Let’s have a look on how to do this…..
Overview
Cockpit Web Console can be even more interesting to use if you have multiple servers on your network and you would like to manage them from one single pane of glass. Cockpit offer this possibility. However, be aware that there is a limitation in the number of hosts that can be managed by a single Cockpit “main” hosts. The recommendation we have seen is that the maximum of number hosts would be around 20. We do not think there is hard coded limitation but the tool will become sluggish if you go above this number. If you need to manage more hosts, you would probably use another tool (i.e. Foreman,… )
Reviewing the documentation, it seems that in order to access other hosts from your main server, you would need to install some additional software. Each host to be managed by the main cockpit web console hosts would need to have installed
- the cockpit software and
- ssh server
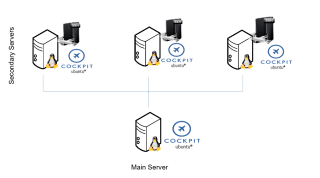
This illustration provides a quick overview of our scenario. The main server will be the one where we will be login to and from there we will be able to access the three other secondary servers.
Click on Picture for Better Resolution
Pre-requisites
Step 1 – On each target (secondary) host, install the Cockpit Software
You can find detailed information about how to install the software on this post (http://c-nergy.be/blog/?p=17482). Since we are providing quick instructions, you will need to perform the following actions on each target hosts
sudo apt update
sudo apt install cockpit -y
sudo systemctl status cockpit
# optional
sudo apt-get install cockpit-machines -y
Step 2 – On each target (secondary) host, install the openssh server software
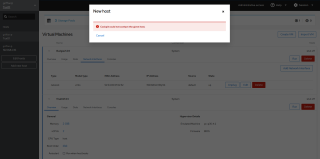
If you try to add a secondary host to your main Cockpit web interface, the chances are quite high that the operation will fail. You might end up with the following error message when trying
Click on Picture for Better Resolution
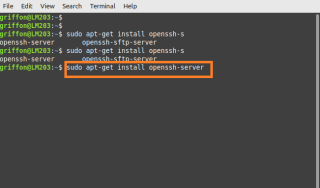
To avoid this error message, you will need to install the openssh server on all the secondary servers that you want to manager from your Cockpit web console. To install the software, open a command prompt and issue the following command
sudo apt-get install openssh-server -y
Wait for the installation to complete. When done, you are ready to add the target hosts into your main web interface…..
Click on Picture for Better Resolution
How to add a server to Cockpit
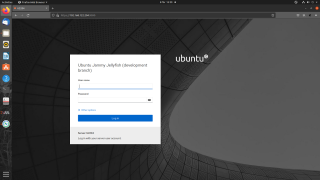
To add a server to your main Cockpit web server, you will first need to login into it. To login to your “Main” Cockpit server, you open your favorite browser and you type the ip address or hostname of the cockpit server appending at the end the port 9090 (i.e. https://hostname_or_ip:9090). You will reach the login page.
Click on Picture for Better Resolution
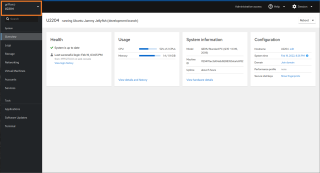
If the credentials are correct, you will reach the main dashboard. On top of the left menu, you will see the name of the server you are connected to and and a small arrow. Click on it
Click on Picture for Better Resolution
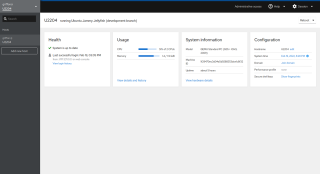
A new menu will be displayed and you can see that you can Add hosts. click on the Add hosts button
Click on Picture for Better Resolution
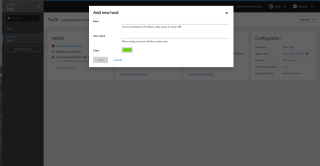
The Add hosts dialog box will be displayed. Provide the Hostname or IP address of one of the Secondary Hosts and provide password (if needed). Press Add Hosts
Click on Picture for Better Resolution
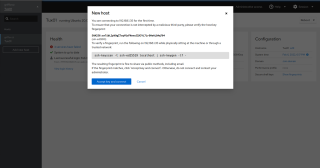
Another dialog box will be displayed asking you to confirm/accept ssh keys. Press Accept ssh key and proceed
Click on Picture for Better Resolution
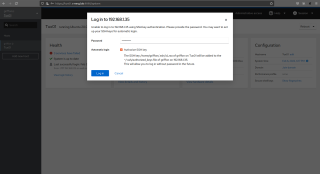
Another dialog box will be displayed again stating that the system is unable to login. No panic. You simply provide the requested information. You can decide for automatic login or not by ticking the check box. When done, press the login button and you will see that your host has been added to the interface
Click on Picture for Better Resolution
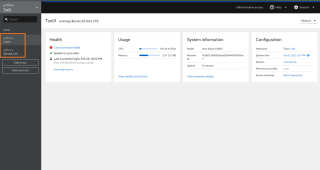
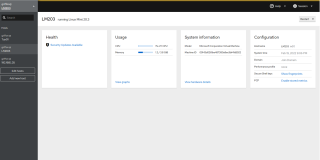
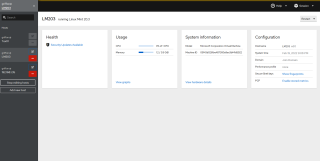
You will see in the web interface that indeed the secondary host has been added to the console.
Click on Picture for Better Resolution
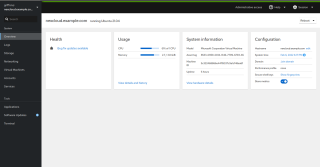
If you click on the secondary host, you will be connected to that host and you will be able to perform the necessary administrative tasks from your browser where you initially connected to the main server.
Click on Picture for Better Resolution
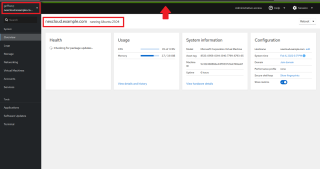
Notice the color of the line and the name displayed. These are visual elements that let you know on which host you are connected to and you can proceed with your work…
Click on Picture for Better Resolution
You can repeat the process for each server you want to add to your main cockpit interface
How to remove a server to Cockpit
To remove a server to your main Cockpit web server, you will first need to login into it. To login to your “Main” Cockpit server, you open your favorite browser and you type the ip address or hostname of the cockpit server appending at the end the port 9090 (i.e. https://hostname_or_ip:9090). You will reach the login page.
Click on Picture for Better Resolution
If the credentials are correct, you will reach the main dashboard. On top of the left menu, you will see the name of the server you are connected to and and a small arrow. Click on it
Click on Picture for Better Resolution
A new menu will be displayed and you can see that you have the option to remove or edit the hosts. Click on the Red button to remove the host from the main Cockpit view and voila !
Click on Picture for Better Resolution
Final Notes
Voila ! This is it for this post….
We had a little bit of fun working with the Cockpit Web Console software solution. The tool is easy to use with a clean interface and most importantly can replace Kimchi software if you need a web interface to manager your KVM Virtual machine infrastructure. The tool might not be the perfect Enterprise ready tool to use, it can still help home users, small networks in implementing an easy way to manage remote hosts using a single Web interface.
All in all, we have seen that every new iteration is bringing something new to the interface and we really like the fact that a simple web interface can help manage the easy way any Linux distribution.
We hope you enjoyed the journey… Almost time to work back on the xrdp installer script….Ubuntu 22.04 is coming….:)
Till next time
See ya

