Hello World,
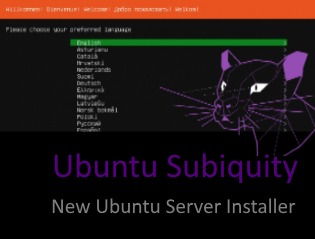
In this post, we will quickly go through the new installer wizard of Ubuntu 20.04 Server. The Subiquity installer already existed in previous version of Ubuntu (i.e. 18.04). However, the Ubuntu Server installer has introduced some changes in Ubuntu 20.04 you would need to be aware of. Indeed, in their latest releases, Canonical is going away from the well-known Debian installer wizard. Canonical is now relying more and more on their modern Installer Subiquity. Subiquity name basically means “Ubiquity for Server”
This post will go through the new ubuntu installer for Server (i.e. Subiquity) and will serve as reference for future posts.
So, let’s go !
Overview
In this post, we will perform a standard installation of Ubuntu Server. Compared to the Desktop version, when you perform the installation of Ubuntu Server, you will immediately notice that there is no nice GUI Installer. With the Server edition, the installer is more text based installation. This post walked you through the Ubuntu 16.04 Server installation where the Debian installer was used.
As you will see, the Subiquity installer, even if it’s a text based wizard, provide a rather pleasant interface. The Subiquity interface is well designed and the color scheme help again to easily identify Ubuntu Software. The Subiquity installer seems also simpler compared to the Debian installer (less options to be selected) which again provide a more pleasant experience while performing the setup.
Installing Ubuntu Server
As mentioned, we will perform a really basic installation.
Step 1 – Download the Ubuntu 20.04 Server image
First step is to obtain the Ubuntu Server binaries which can be downloaded from this location
Step 2 – Perform your standard installation
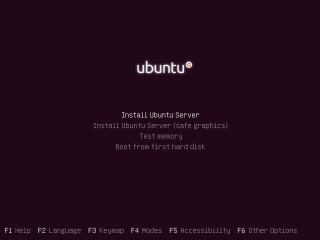
For this post, we have created a virtual machine on a hyper-v virtualization platform. We have attached the iso into the Virtual machine and boot it up . After the VM has booted from the iso file, you should normally see a boot menu option. Select Install Ubuntu Server
Click on Picture for Better Resolution
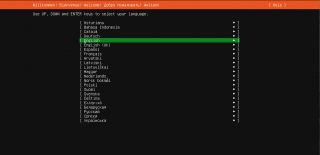
The text-based wizard starts. In the Welcome page, choose the language to be used and Press Continue (use tab to move through the control in this interface)
Click on Picture for Better Resolution
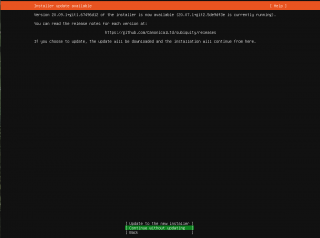
In the Installer Update Available page, you can choose to get the latest version of the Installer (internet connection needed) or to proceed with what you get. We will choose the Continue without updating.
Click on Picture for Better Resolution
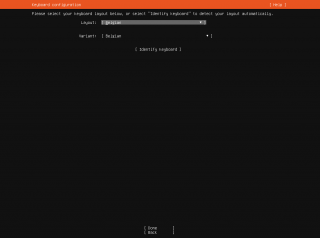
In the Keyboard page, select the keyboard layout to be used, and click on done
Click on Picture for Better Resolution
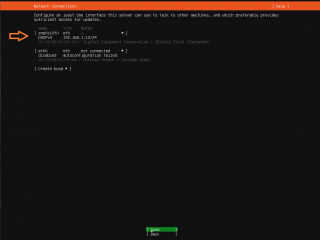
In the Network Connections Page, ensure that you have a valid configuration or set a static ip address. When done, press on continue
Click on Picture for Better Resolution
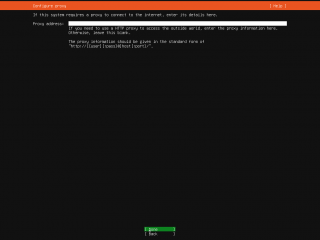
In the Configure Proxy Page, select the option that fits your organization and move to the next page
Click on Picture for Better Resolution
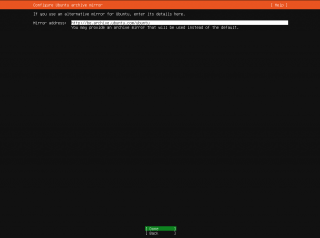
In the Ubuntu Archive Mirror Page, you can leave it blank or specify a specific server
Click on Picture for Better Resolution
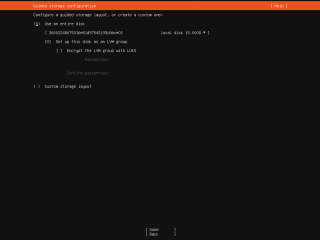
In the Guided Storage Configuration, Select your option and move to the next page
Click on Picture for Better Resolution
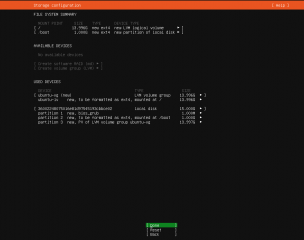
In the Storage Configuration page, you can review the settings and validate your choices.
Click on Picture for Better Resolution
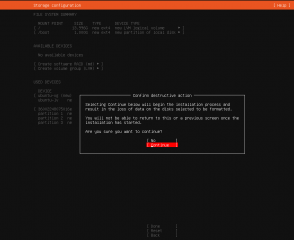
You will get a prompt asking you to confirm your choices. Press Done and you will be moving to the next screen
Click on Picture for Better Resolution
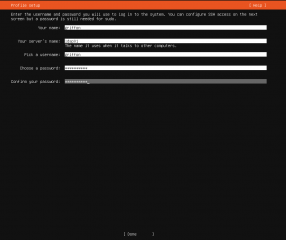
Finally, in the Profile Setup page, specify user account, computer account and password to be used. Press Done
Click on Picture for Better Resolution
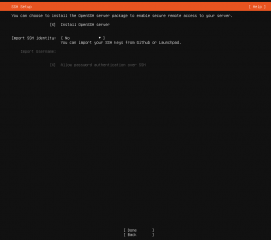
You can choose to install ssh server during the setup. Ubuntu server has no Desktop interface and usually managed through command line. SSH is the perfect option if you need remotely manage your Ubuntu Server. Select the option that best fit your needs and press continue to move to the next screen
Click on Picture for Better Resolution
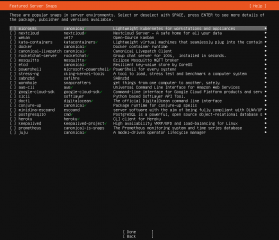
In the Feature Server Snaps page, you can decide to install additional software. Select the option that best fits your needs and press done to move to the next screen.
Click on Picture for Better Resolution
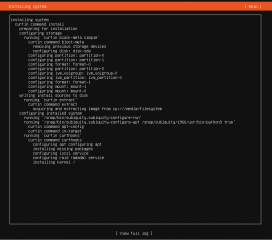
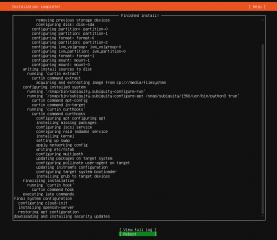
The installing Setup page will be displayed and you can monitor the installation progress…
Click on Picture for Better Resolution
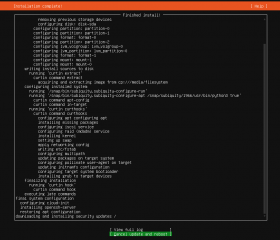
In the Installation Complete ! page, you will see that you have the option to download and install additional updates. At the bottom of the page, you can decide to cancel this update and reboot the server.
Click on Picture for Better Resolution
Finally, you will be able to reboot your system and enjoy your new Ubuntu Server machine….
Click on Picture for Better Resolution
After the rebooting, you will be invited to login to the server. Because this is Ubuntu Server Edition, you will not see any desktop interface. Instead, you will be presented a command line console. Ubuntu Server does not ship by default with Desktop interface and all the management needs to be done through command line
Final Notes
This is it for this post !
We have quickly demonstrated how to perform a basic installation of Ubuntu Server 20.04. The Subiquity installer is really providing a simple and pleasant installation interface. Ubuntu team has done a really great job here. Ubuntu 20.04 is not shipping anymore with the Debian installer wizard. This is not a big deal per se. However, if you plan to deploy your Ubuntu server through PXE technology, you will need to become familiar with new way of working and adapt your network installation processes. In some coming posts, we will publish more information about deploying Ubuntu 20.04 through PXE Technology…..
Till next time
See ya
