Hello World,
I’ve been really busy with my projects but also busy answering questions related to Ubuntu 16.04 and having xrdp installed and working smoothly. Ubuntu 16.04 has brought some changes in the way the configuration is done in order to have a working installation of xrdp package.
However, we have seen that more and more people trying to install xrdp software on the Ubuntu Server Edition (which make sense) but they encountering some issues during this process. In this two part posts, we will try to perform the installation of xrdp on UBuntu Server 16.04 and hope to have it working….
Let’s try this !
Installing Ubuntu Server
In this first part, we will perform a standard installation of Ubuntu Server. When you perform the installation of Ubuntu Server, you will immediately notice that there is no nice GUI Installer. With the Server edition, the installer is more text based installation and does not provide a nice graphical interface. I think that It would bring added value to have a common gui installer in the Desktop and Server Edition (User experience point of view).
As mentioned, we will perform a really basic installation. we want to document that so people can see which settings or features we have been selecting during our setup.
Note
Please note we will not go through all the screens in the wizard. We just want to demonstrate what important settings have been chosen during the setup.
Step 1 – Download the Ubuntu 16.04 Server image
First step is to obtain the Ubuntu Server binaries which can be downloaded from this location
Step 2 – Perform your standard installation
For this post, we have created a virtual machine on a hyper-v virtualization platform. We have attached the iso into the Virtual machine and boot it up
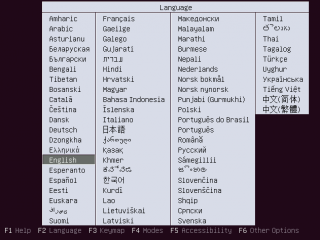
After the VM has booted from the iso file, you will need to select your language for the installation. We have selected English
Click on Picture for better Resolution
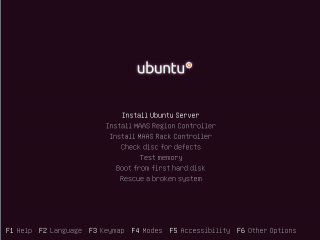
Then the main menu is displayed. From the menu, simply select Install Ubuntu Server
Click on Picture for better Resolution
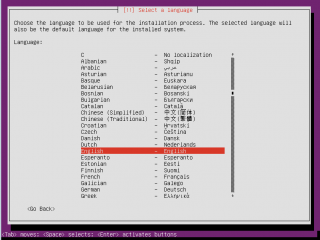
In the next screen, you will be asked which language to use for the installed system. Select you language
Click on Picture for better Resolution
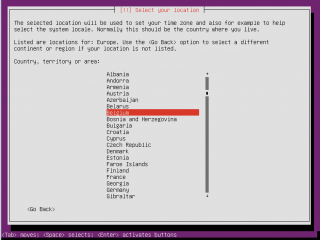
In the next screen, select your location and move to the next screen
Click on Picture for better Resolution
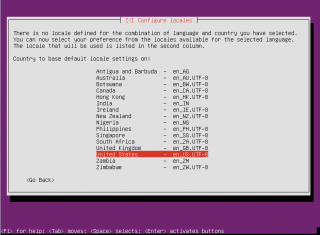
In the configure locale page, Select the one you need to use and move to the next screen
Click on Picture for better Resolution
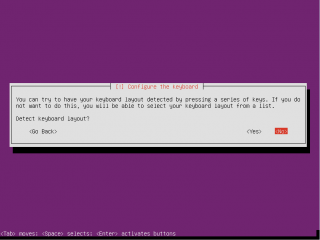
You might be prompted to have your keyboard layout detected automatically. We prefer to set it manually so we can choose the most appropriate one.
Click on Picture for better Resolution
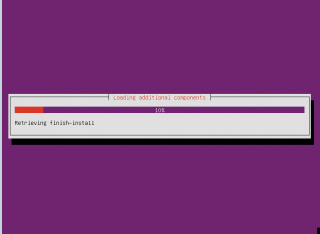
After selecting your keyboard, you will see a progress bar. The installer is making some checks for you
Click on Picture for better Resolution
In the next screen (missing screenshot), you will be asked to specify the hostname to be used for this machine
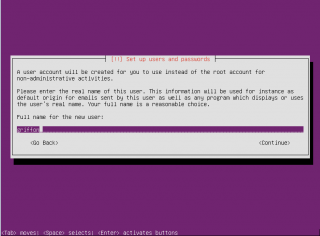
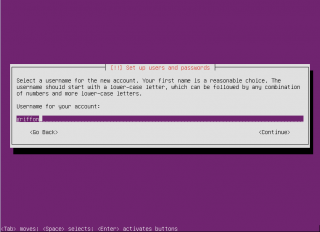
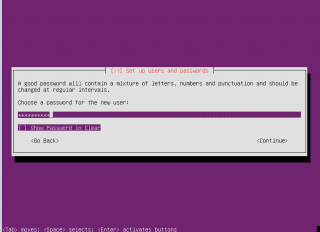
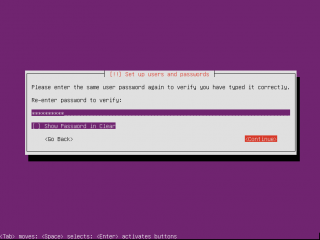
In the next screens, you will need to specify the name of the user, the user account and the password to be used on your system. So, First specify the full name of the user
Click on Picture for better Resolution
Then specify the user account to be used
Click on Picture for better Resolution
Finally, specify the password to be used
Click on Picture for better Resolution
Confirm the password and go to next screen
Click on Picture for better Resolution
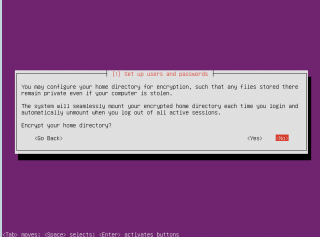
Select your preferred settings for the encryption folders question. Proceed to the next screen
Click on Picture for better Resolution
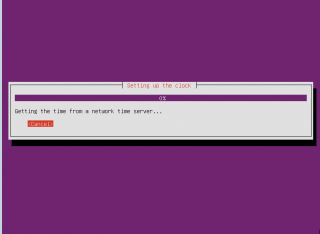
Installer will configure the NTP protocol and detect the time server to be used
Click on Picture for better Resolution
The installer will then move to the disk partitionning phase. Select the most appropriate option for you and move forward. We have selected a Guided partitioning option.
Click on Picture for better Resolution
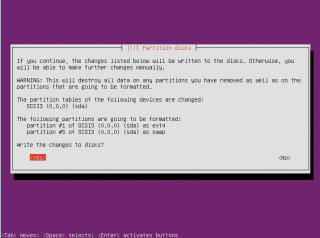
Select your disk layout, we have selected the entire disk and you need to confirm your changes to be applied to the system
Click on Picture for better Resolution
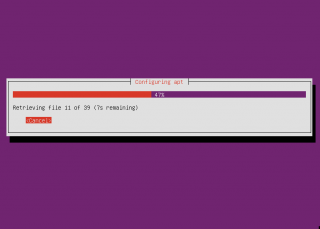
After this, the system base will start installing and can take some times
Click on Picture for better Resolution
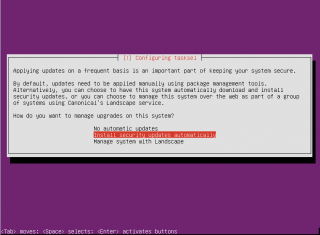
In the tasksel screen, select your option and move to the next screen
Click on Picture for better Resolution
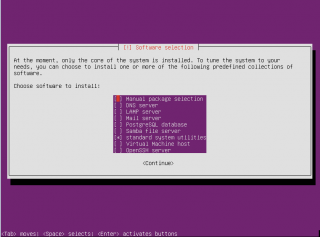
In the standard software selection page, we have selected the Standard Base and the open ssh packages and nothing more
Click on Picture for better Resolution
The installation will proceed. You should see a progress bar.
You might be prompted for a screen asking you to install GRUB. Select yes and proceed with the installation.
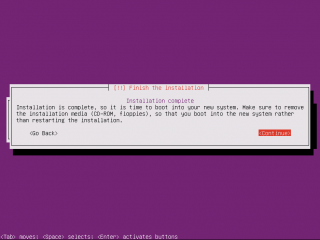
The installer will notify you that installation is completed and you can restart your system
Click on Picture for better Resolution
After the restart, you should be prompted for a login screen (in a command line format)
Click on Picture for better Resolution
Final Notes
This is it for this part. As you can see, we have really performed a basic installation and selected only the base system packages. In the coming part, we will see what needs to be done in order to have the xrdp software installed on the Ubuntu Server System
Till next time
See ya
