Hello World,
If you remenber one of the previous post, I was demonstrating how to create a bootable usb stick that can be used to perform the installation of ESXi 5. I had to perform such installation some days ago. I had to document to process for the customer. So, I thought it would be nice to add this installation guide in here even if there are tons of articles around the web about this topic.
If you are interested, keep reading……
Get the software
First, you will need to obtain a copy of the software and your free license. It’s free but you need to register ! . To get both of them, please visit the Vmware web site. Remember that you have some limitations with the free version of the new esxi 5 software. This version will recognize hosting no more than 32 GB of RAM.
Note also that you would need to have a system with 2 CPUs cores in order to proceed with the installation
Create your bootable installation ESXi 5 Media (Optional)
When your download is completed, you can decide to burn the iso image into a cdrom and boot from it or you can have a look to this post and create a bootable usb device and perform the installation of ESXi from usb. That’s up to you ! In this project, I’ve used the usb method because this was simply easier (no cd to burn….)
Perform the Installation
Now, you should be ready to start your installation. Please the installation media (cdrom or usb) into the system, check that the system will boot from the specified media (or display the boot menu and select the appropriate bootable device. As you will see, the installation process is quite similar to the previous one and really easy to perform.
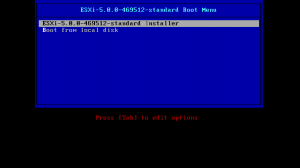
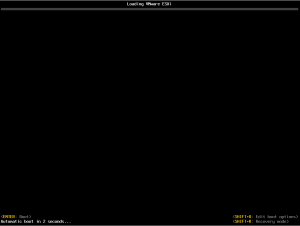
When booting from the installation media, you will be presented with the following grub menu. Select the option ESXI-…-Installer and press enter
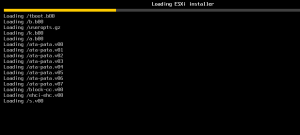
The ESXi installer will start and will perform some pre-checks. This can take some minitues
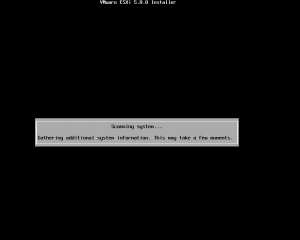
The ESXi installer will proceed and start scanning your system
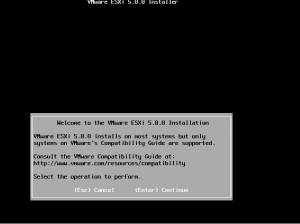
When ready, the installer will present you the Welcome Page. Press Enter to proceed with the installation
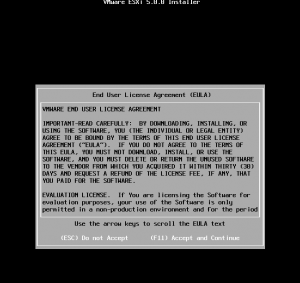
In the License Agreement page, Press F11 to Accept the EULA and proceed the installation
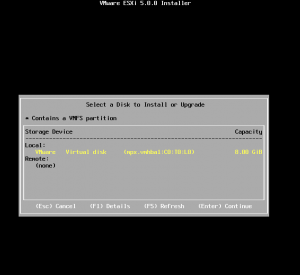
In the Disk page, select the disk where you want to create a VMFS partition and press Enter. In my system, I had only one disk/logical volume
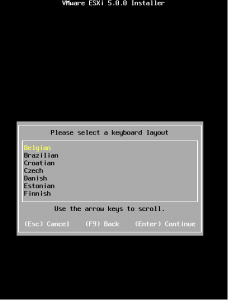
In the Keyboard layout page, select the appropriate one and press Enter to continue
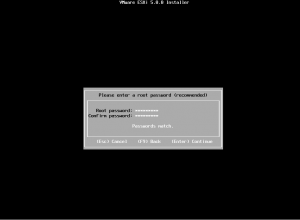
You will then be asked to enter a password for the root account. Choose one and Press Enter when done
The installer will proceed with some checks and will inform you in case of problems. This will take some minutes
Note :
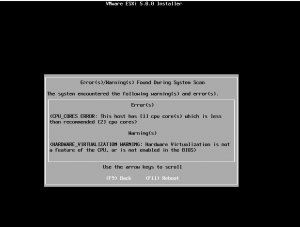
You might see the following error message if you have not enough core cpus on the system. The installation requires you to have at lease 2 CPU cores.
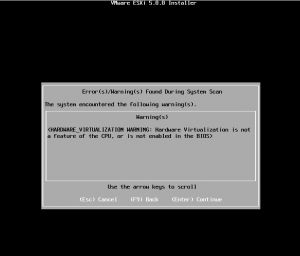
During the process, you might also get this warning if you havn’t enabled virtualization features within the BIOS of your system. The installation process will continue if you Press Enter. However, remember to enable this settings to get full capabilities of the virtualization software
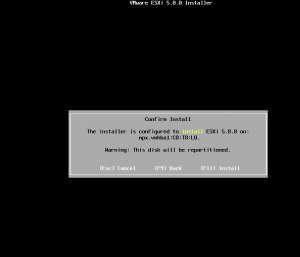
After the scan of the system and if everything is ok, you will be prompted with the Confirm install message. Press F11 to proceed with the installation
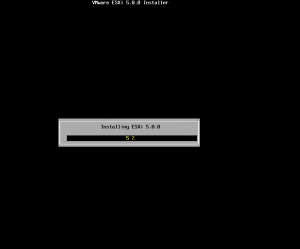
Wait for the installer to finish the installation
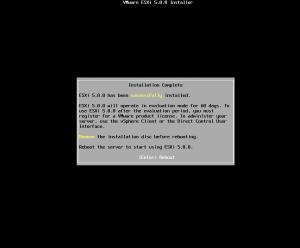
At the end, you will see the Installation complete dialog box. You will need to reboot your system
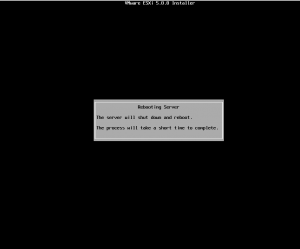
After Pressing Enter, the system will simply reboot
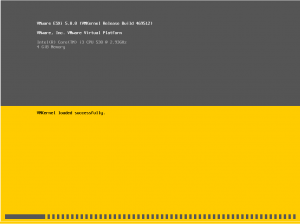
After the reboot, you will see the booting process and the esxi “splash screen”
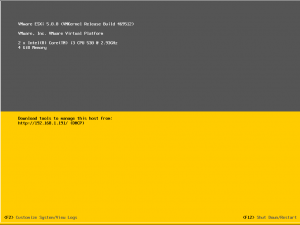
At the end of the process, you will get a screen similar to the following. You will see the IP address that has been assigned to your system.
Basic Configuration of the ESXi system
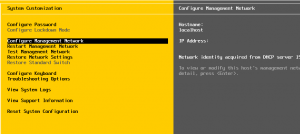
At this stage, the installation is completed. If you need to perform some additional configuration settings, you can press F2. You will be prompted for a password (the one defined earlier) and you will be able to change IP information, DNS Suffix, hostname, and enable (if needed) ssh or esxi shell.
Final Notes
This is it ! As you can see, not a big deal to install the ESXi 5 software. You still need to install and configure your Virtual Center or VSphere client in order to manage your ESXi infrastructure. This will be maybe part of another post. I’m already preparing the next post.
So, Stay Tuned
Till Next Time….See ya
