Hello World,
Today again, we will discuss a little bit about MDT 2013. We will see how we can deploy Office 2013 through MDT 2013. The process is quite similar to deploying office 2010 but I have received a lot of questions about the small differences between the versions. Actually, the deployment process is exactly the same as in previous version. The change (and thus the additional configuration tasks to be performed) comes from the fact that Office 2013 has first time Wizard that run for each users when they first start their new office 2013. This seems to annoy users and technician who performed the deployment.
So, in this post, we will simply explain how to hide this first start wizard. So, let’s go !
Preparing your Office 2013 deployment.
Assumptions
We assume that you have a MDT 2013 up and running and ready to deploy images. If this is not the case; you can have a look at the following posts
We assume that you have office 2013 source files.
Office Products Tab
When importing office 2010 in your MDT infrastructure, you would simply need to provide some basic customization (through the configuration xml file) in order to deploy successfully your office 2010 product suite.
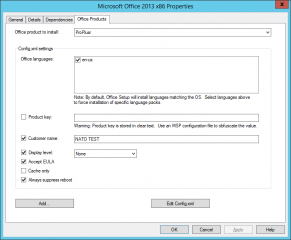
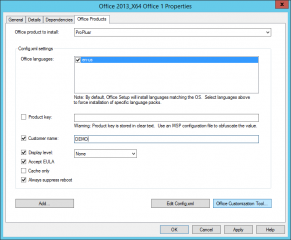
You could configure the basic xml file through the MDT console. We assume that you have imported your Office 2010 package under the application node of MDT console. If you right-click the office package in the MDT console, and you select the Office Product Tab, you can configure the basic options needed to have a silent installation. If you want to you can even edit the generated Configuration file by clicking on the bottom of the form a button labelled Edit Config.xml
Click on Picture for Better Resolution
First Run Wizards
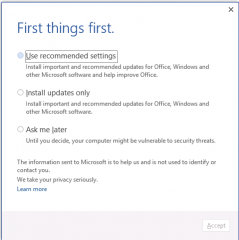
With Office 2013, you would have the same properties presented to you. The only problem with the Office 2013 suite is that a first-time wizard is launched for each users. This first time wizard is showing up multiple dialog box. This can be seen as an inconvenience for the users.
Click on Picture for Better Resolution
Click on Picture for Better Resolution
This first time wizard cannot be skipped through the standard Office product Tab. You will need to perform some additional actions. You have basically 2 choices :
- You can use GPO to control these settings
- You can use the Office customization tool to personalize the installation process and the first-run wizard.
In this post, we will go for the second option because in some deployment area (staging room) connection to active directory is not always guarantee.
Office Customization tool (OCT)
Depending on the version of Office 2013 (retail,Technet or Volume licensing), you might be able to access the OCT functionalities directly from the MDT Console through the Office Products Tab. In the following screenshot, you can see that the OCT button is not present.
Click on Picture for Better Resolution
This is because the imported office 2013 sources files are missing a folder called admin which contains the OCT Components. Because we want to have access to the OCT tool from the MDT console, we will perform the additional actions needed to get this folder and have the OCT functionality back in MDT console.
Where do you find the missing admin folder ?
You will simply need to download the Office 2013 Administrative templates and Office Customization tools from this location
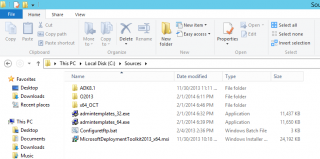
After downloading the package, you copy the files to your MDT server and extract the content to your favorite location.
Double-click the admintemplates_xXX.exe file to extract the files.
Click on Picture for Better Resolution
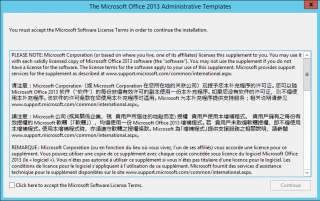
Accept the license agreement and Press OK
Click on Picture for Better Resolution
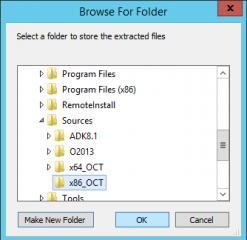
Select the location where you want to extract the files and Press OK
Click on Picture for Better Resolution
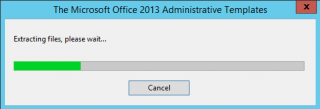
Wait for the process to complete
Click on Picture for Better Resolution
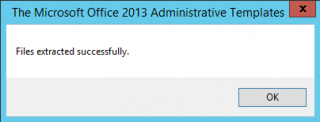
When completed, you should receive a message that everything was successfully performed
Click on Picture for Better Resolution
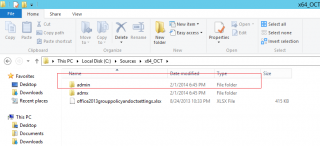
If you browse to the location where you have extracted the files, you will see that you have a folder called admin.
Click on Picture for Better Resolution
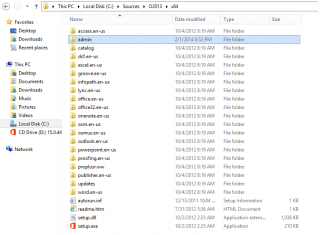
We will need to copy this folder to the office 2013 sources files. You folder structure should look like the following screenshot
Click on Picture for Better Resolution
If you import this Office 2013 folder structure into your MDT server, you will see that when you right-click the application and select the Office Products Tab, you will see the Office Customization Tool Button back at the bottom of the page
Click on Picture for better Resolution
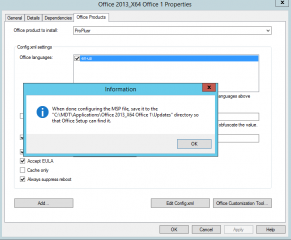
If you click on the Office Customization tool, you will get the following message displayed to you.
Click on Picture for better Resolution
The OCT will indeed create a msp package that need to be make available during the setup process. As you can see, you will simply need to copy the generated package in the folder structure containing your office 2013 source files.
Click on Picture for better Resolution
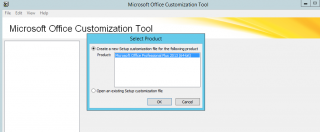
After clicking OK, you will see the OCT tool starting and you will presented with a dialog box asking you to select the appropriate product. Press OK.
Click on Picture for better Resolution
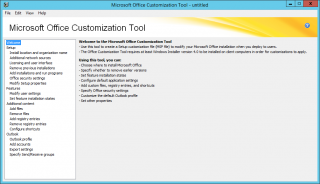
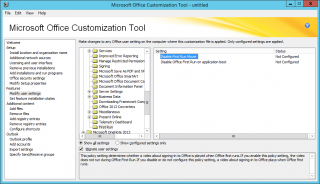
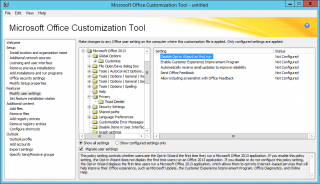
From the OCT Wizard, you can see that you can customize quite a lot of settings. We will simply focus on the First Time Wizard.
- Go to Feature Node > Modify User Settings.
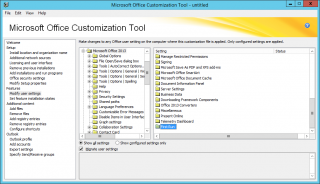
- In the treeview, Select the node Microsot Office 2013
- In the treeview (right side), scroll down and select the option First Run
Click on Picture for better Resolution
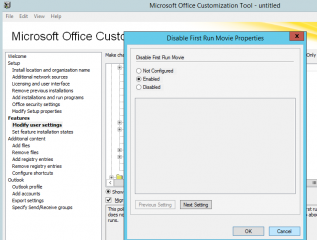
Click on Picture for better Resolution
Double-click the option you want to enable (in our case both of them) and select the enable option.
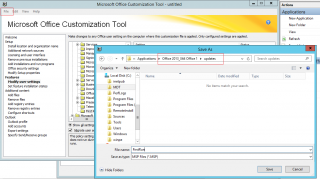
Click on Picture for better Resolution
In the menu, click File > Save and save the MSP file into the location mentioned above (Applications\Office 2013\Updates folders)
Click on Picture for better Resolution
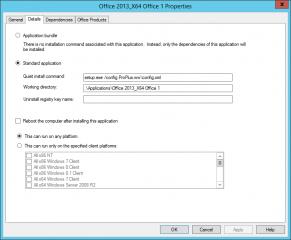
The final step is to configure the silent deployment of Office by adjusting the setup command to be used.
Click on Picture for better Resolution
Addendum
You might want to add an additional option/configuration in your MSP file. Indeed, when you first start you office suite product, you do not receive anymore the first run Wizard (if you have followed the instruction above) but you will get a popup about office updates. Again, this can be annoying for the users. Using the same approach (i.e. Office customization tool), you can specify that this popup should not be displayed.
Click on picture for better Resolution
Click on picture for better Resolution
With this configuration you should be good to go
Final Notes
In this post, we have seen how we could automate the installation of Office 2013 and get rid of the First-Time run Wizard. We had to perform some little extra configurations steps but after that we were able to create our MSP package, save it in the MDT folder and get the command line performing the installation for us.
That’s it for this post. I hope that this one was useful.
Till Next Time
Sources & References : http://technet.microsoft.com/en-us/library/ee460874.aspx
Thanks a lot, very nice and complete tutorial. Working nice for me
Hello There;
Thank you for the feedback and for your visit.
Always good to hear that our posts can be useful
Till next time
See ya