Hello World,
Recently, I’ve been working on a project where the customer was working on infrastructure and development projects using Virtual machines. Nothing unusual so far, right. This customer was hosting this virtual infrastructure into the cloud and was using the Windows Azure. I had never worked with the Windows Azure solution. So, I had to quickly see how the solution was working.
Overview
In order to know the Windows Azure solution, I have signed up for a free trial (30 days) through the Microsoft web site. The registration process went flawless and I was able to start right away to build up some virtual machines. The process is really easy but you have to get used to the interface.
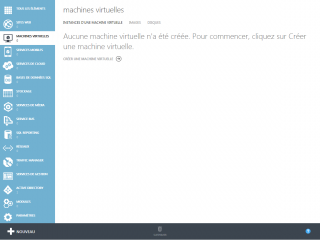
To access your Windows Azure infrastructure, you will need a browser and you login into the Windows Azure Web Page (https://account.windowsazure.com/Home/Index). When you access your workspace, you can click on portal and you should be presented with a screen similar to this
Click on Picture For Better Resolution
From this portal, you can create virtual machines, create web sites, check your storage, have access to the vhd files, and many more settings and options. Our focus for this post is to show how to create a virtual machine.
Create a Virtual Machine
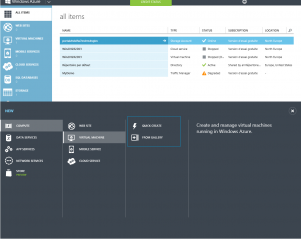
To create a virtual machine, you can either click on the menu on the left side and click on Virtual machines or at the bottom of the page, click on new and at the bottom a new menu will be displayed
Click on Picture For Better Resolution
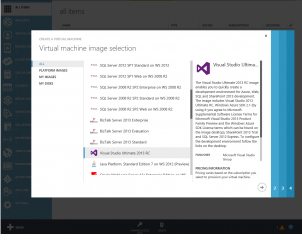
In the bottom menu, click on compute, virtual machines, and select quick create option or from Gallery. We have selected from Gallery. The following screen will be displayed.
Click on Picture For Better Resolution
In this post, we have deployed a Visual Studio 2013 virtual machine. Select your template and when done press next (the arrow at the bottom right).
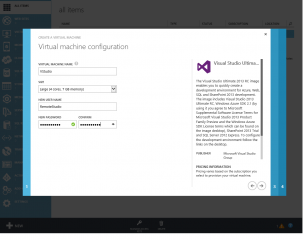
Then the following screen will be displayed
Click on Picture For Better Resolution
In this screen, you specify the name of your virtual machine, the name of the user that will be used to connect and the profile for the virtual machine (in our case we have put large) which define the cpu and memory settings.
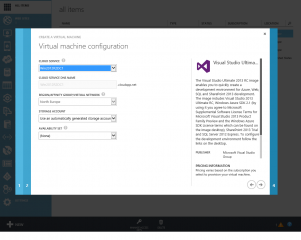
Press Next
The following screen will be displayed. Depending on your configuration, you will have to fill in the correct information. When done, Press Next
Click on Picture For Better Resolution
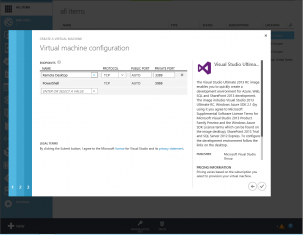
The final screen will allow you to create endpoints. Default endpoints are already defined for you. In this simple walkthrough, simply accept default and press Finish
Click on Picture For Better Resolution
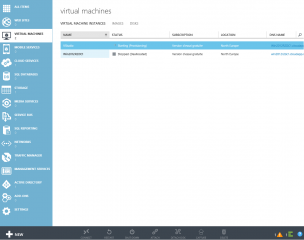
If you go back to the portal/dashboard view, you can see the virtual machine you have created (see screenshot below)
Click on Picture For Better Resolution
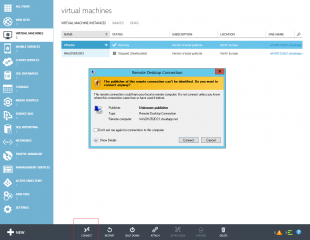
If you have just created your virtual machine, you will have to wait before being able to perform a remote desktop connection to your virtual machine. The system will first need to provision your machine. Once this is done, you can click on the virtual machine you want to connect to and click at the bottom on the Connect Button. A remote desktop client will start and you will need to provide the credentials you have set during the setup of the virtual machine.
Click on Picture For Better Resolution
Final Notes
As you can see, the process of creating a virtual machine is quite straight forward. I had really good connectivity and good performance of the virtual machine. The only problem I see is that you cannot specify the size of the disk (Default 127 GB) if you create a vm from the Windows Azure interface. If you create your own virtual machine (on hyper-v), sysprep it, you can then customize it and upload it easy on Windows Azure for use.
All in all, I think the solution is quite good but I do not like the fact that my data are stored somewhere in the cloud….
I’ll be back on this topic given that we have to help the customer to move the vm infrastructure they have on Azure into a local Hyper-V infrastructure.
Till next time
See ya
