Hello World,
In part I of this post, we have seen how you could install the Microsoft Virtual Machine Converter (MVMC) software. As described in the previous post, you could install the application on a standalone windows machine or if you prefer to centralize the operation from your vSphere client, you can choose to install the plugin version.
The MVMC tool has to meet some strict requirements in order to successfully convert a vmware virtual machine. Before starting you conversion process, ensure that the following requirements are met
- the virtual machine to be converted must be running
- the vmware tools needs to be loaded and installed on the virtual machine
- the virtual machine to be converted is joined into an Active Directory Domain
- ensure that you are using an account with the appropriate credentials
- ensure that the account used for conversion process has local administrative privileges on the virtual machine
- ensure that the account you are using has an access to the Active Directory Domain
- ensure that the account you are using has write access to the UNC path where the virtual machine files will be copied
- ensure that the WMI service is enabled on the source vm and on the hyper-v host
- ensure that you have enough disk space
- ensure that proper name resolution is in place. This will help the wizard to easily locate the virtual machines to be migrated
Finally, you have to ensure that your KMS infrastructure/internet is available. Indeed, when converting the vmware virtual machine to an hyper-v vm, we are creating a new instance of this virtual machine and thus we will need to re-activate the workstation.
Important Note
Be aware that the conversion process can take quite some time. For critical services, you might need to ask for maintenance window. Indeed, the conversion process will create a snapshot of the virtual machine and export the VM into an OVF File. During this process, the virtual machine will be shutdown.
Migrating the Virtual Machine Step by Step
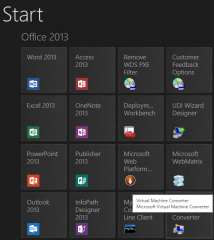
As mentioned, based on your installation choice, you can start the tool via the Windows machine as a stand alone application or,
Click on picture for better resolution
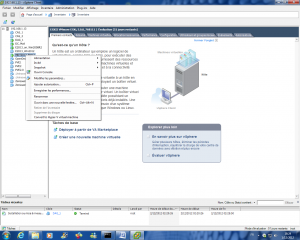
from the VSphere client if you have installed the MVMC plugin.
Click on picture for better resolution
Whatever the way you start the converter tool, you will be presented with the same wizard.
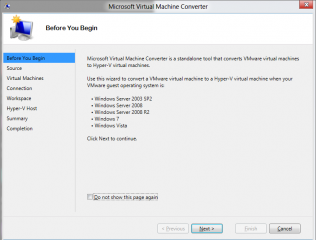
After launching the tool, you will be presented with the Before You Begin Page. Press Next
Click on picture for better resolution
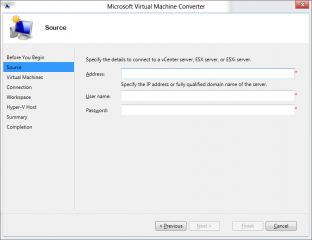
In the Source page, you have to specify the ip address (or name) of the ESX/ESXI/VCenter server where you want to connect to and you will need to provide the correct credentials. Press Next when ready
Click on picture for better resolution
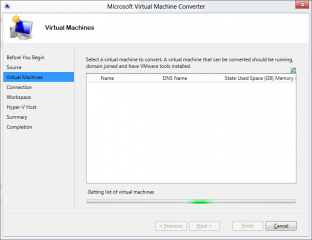
The Wizard will try to enumate your virtual machine. Be patient !
Click on picture for better resolution
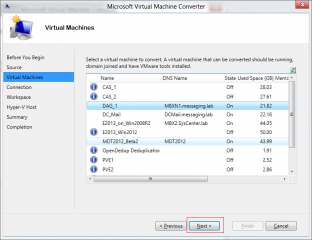
After some time; you should see the list of virtual machine present on the vmware infrastructure. In my screenshot, some VM are running some are turned off. If you click on a machine with a status set to Off, you will need be able to proceed as the next button will be greyed out. So in the Virtual machine page, ensure that you select a machine that’s running. Press Next
Click on picture for better resolution
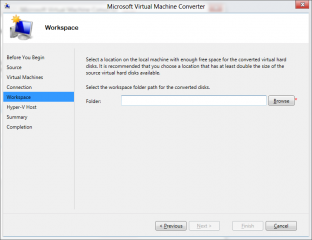
In the Workspace page; specify the location where the tool will store the vm files. Again, ensure that you have enough disk space in order to sucessfully perform the conversion. As recommendation, you should foresee the double of the size of a virtual machine as free disk space. When ready, press Next
Click on picture for better resolution
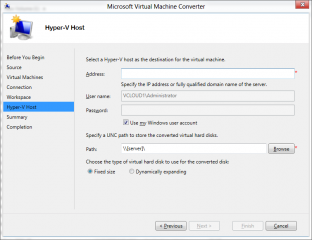
In the Hyper-V Host, provide the information about the target server (name and Credentials). For the credentials, you can choose to use the logged on account or specify another account. You will also need to specify where to store the converted virtual machine. Specify also if the target virtual machine will be using fixed disks or dynamic disks.When Ready, Press Next
Click on picture for better resolution
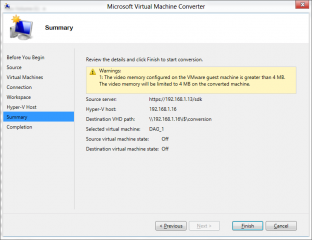
In the Summary Page, review your settings and Press Finish
Click on picture for better resolution
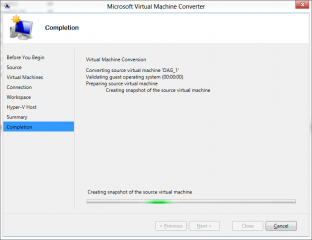
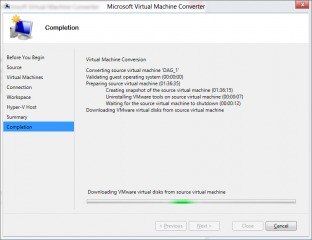
In the completion Page, you will see the operations performed by the Tool. In my screenshot, you can see that the tool is creating a snapshot of the virtual machine.
Click on picture for better resolution
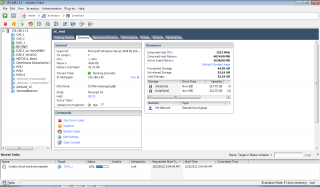
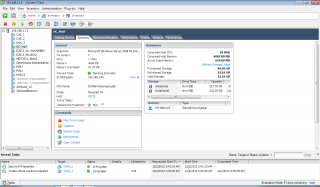
If you open you VSphere Client, you can see that indeed a snapshot is being taken by the Microsoft Tool
Click on picture for better resolution
To illustrate a little bit further the process, you can see that in the Completion page you are receiving information about the download of the source virtual machine.
Click on picture for better resolution
Again, you can see within the VSphere console which operations are running. In our case, an export to OVF file is being performed.
Click on picture for better resolution
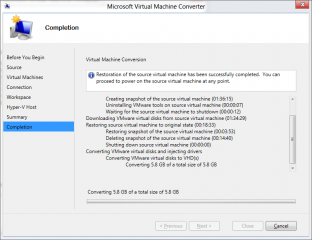
After some time (can be quite long) you will see information about converting the vmdk file into vhd files. The converstion process can be quite time consuming. Again, I would stress you to plan such operations because you will need a lot of time before the virtual machine can be up and running again. (It took me between 2 and 3 hours depending on the virtual machine).
Click on picture for better resolution
Note that during the conversion process, the tool will remove automatically the vmware tools and have the integration services installed as required.
Important Note :
If you need to automate the conversion process, you can also use command line approach. The Command line is again not difficult to use and can be helpful in many situations. If you want to use a command line to perform your conversion, you will use something like
MVMC.exe /SourceHost:ESX1 /SourceHostUser:root /SourceHostPwd:Passw0rd /GuestVM:DAG_1.C-nergy.be /TargetHost:ENTHV1.c-nergy.be /TargetVHDPath:\\ENTHV1\VMCOnversion
Final Notes
This conclude this post. As you can see, yes, you can migrate your vmware infrastructure into an Hyper-V based solution. You can use free tools such as the Microsoft Virtual Machine Converter. The process is again not too complex and if you have prepared your infrastructure accordingly, you should be able to successfully your infrastructure. The free solution is alright. Note, however that the conversion process can be time consuming and downtime should be foreseen.
In a coming post, we will see how you can use SCVMM 2012 console in order to perform the same operation. This post will show the standard way to perform the conversion and a small workaround when your infrastructure does not meet all the requirements
Till then
See ya
