Hello World,
Today, we will speak about virtualization (again !).
I’ve been working a lot with VMware products the last 2-3 years. In the beginning, VMware was the first choice when an organization wanted to virtualize their environmement. Recently, I had to implement virtualization solution for several customers and they’ve decided to use Hyper-V as the main virtualization solution. Main justification was an easier integration with their infrastructure and costs. Indeed, IT support team didn’t have real experience with virtualization and decided to keep an homogeneous windows infrastructure. I’ve noticed that people feel more comfortable when using the standardized MMC console than other custom management tools such “VirtualCenter”.
As you probably know, Microsoft provides a “free” version called Hyper-V Server. It’s basically a windows 2008 core edition with the dedicated Hyper-V role. This version is quite good for test and development. The downside of this “Free” version is that you need to get licenses for each virtual machines you want to run on top of it. With the paid versions and based on the version, you can run up to 4 Virtual machines on top of your Operating system and only paying for one license
- The Windows 2008/R2 Standard Edition allows you to run 1 Physical Windows 2008 Machine and 1 Virtual Machine.
- The Enterprise Edition of Windows 2008/R2 allows you to run 1 physical machine and 4 Virtual machines.
Note : You can install Hyper-V (and even build a cluster) on the Server Core edition if you want to. I’ll try to post something about that as well
In my case, the customer decided to go with the Windows 2008 R2 Enterprise Edition. So, let’s start installing the Hyper-V roles on the Servers
Installing Hyper-V role on Windows 2008 R2 Enterprise Edition
First, you have to check that your system can run Hyper-V component. You need a 64-bit machine (obvious given that windows 2008 R2 only exists for 64 bit) and you need to check if your processor support virtualization technology (AMD-V or INTEL-VT). Nowadays, most of the servers support such technology. The only thing you might need to do is to enable the CPU virtualization features in the BIOS of your server.
It’s recommended to have 2 network cards one for the Virtual machines access (Public LAN) and one for the management of the Hyper-V server (Management Lan). If you have only one network card, you can still perform the installation.
Note : In the past teaming of network cards was not supported with Hyper-V. I do not know if this has changed since. However, I know that HP teaming software can be used with Hyper-V servers (for more info see here)
So, let’ start the installation !
- Log into your windows 2008 R2 server and launch the Server Manager Console
- In the Server Manager Console, on the left pane, right-click Roles Node and select Add New Role or use the hyperlink on the right pane
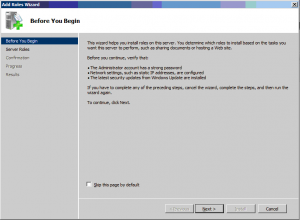
- TheFollowing Screen is displayed. Press Next
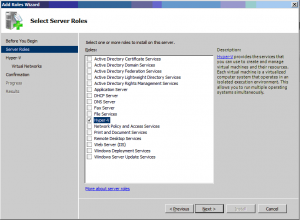
In the Select Server Roles page, select the option Hyper-V and press Next
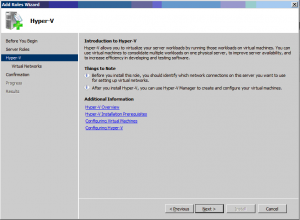
In the Hyper-V page, read the information and Press Next
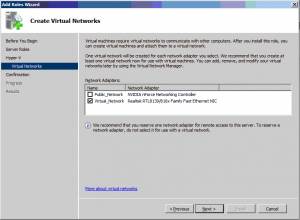
In the Create Virtual networks, Select the network card that will be used to create your initial virtual network. You can modify this afterward if needed. Press Next
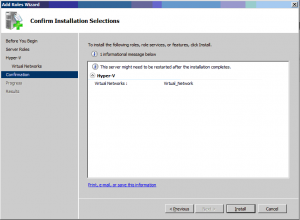
In the Confirm Installation Selection, Review your settings and Press Install
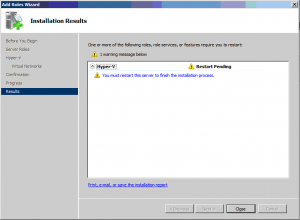
At the end of the Installation, the wizard will ask you to reboot the machine. Press Next and reboot your machine
After your machine is rebooted, login again and in the Server Manager Console, you can see that the new server role is available and you can see the Hyper-V Management console
You have Hyper-V server up and running. This is just the beginning of the journey. You need to configure it and create your virtual machines in order to get advantage of the technology.
In the next post, we will demonstrate how to create virtual machines
Till then


