Hello World,
In one of previous post, we have showed how to install Debian 12 on a computer. At that time, we wanted to try the Debian live ‘Edition’ which contains the Calamares Installer for Debian. When we wrote the post about Debian 12, the downloaded image didn’t work as expected and the Installer never started. So, we didn’t insist and just performed the classical Debian installation through the functional but rather outdated Default Debian Installer…
Recently, we have downloaded again the Debian Live installer and this time it worked as expected. So, in this post, we will provide a quick step by step guide about installing Debian Live “Edition”. Let’s do this ….
Overview
Debian distribution is getting more attention lately and it seems that the distribution is more popular than ever. This is related to all the announcements made by Red Hat & Ubuntu about either their licensing model or technological choices. Canonical, maker of Ubuntu, is really pushing more and more the Snap technology. Each new iteration relies more and more on the snap technology. This technology choice seems to be problematic for some users or organizations. Because of this, users/organizations are looking for other distributions that could replace their existing infrastructure based on Ubuntu distribution solution. One of the possible alternative is logically Debian distribution since Ubuntu is based on Debian solution.
Debian is viable solution and could be used as a replacement, indeed. However, Debian is often seen as more complex to install and deploy. The Ubuntu installer is really modern and provide a good user experience. On the other hand, Debian default installer, is fully working but looks outdated. Debian should be working on their installer and should modernize it. In an effort to perform this, there is a Debian live “Edition” that offer a more modern Installer based on Calamares solution and bring a more modern (and simplified ?) installation experience.
We never tried this installer and we will go through the installation process to see if this installer is really providing a better experience… So, let’s start this investigation….
Installation Step by Step
Assumptions
In order to successfully perform the installation, we have assumed the following
- your machine is connected to internet
- Debian 12 will be installed on a virtual machine. If you are installing on a physical machine, create a bootable device from the download iso file and ensure that your machine is configured to boot from the created device (DVD, USB, PXE…)
Step 1 – Download the Debian Live “Edition”
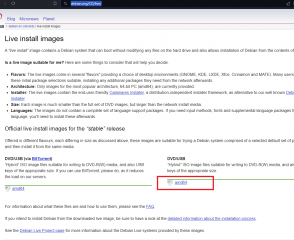
You will first need to download the Debian live image from this location
Click on Picture for better Resolution
Step 2 – Boot from the ISO File
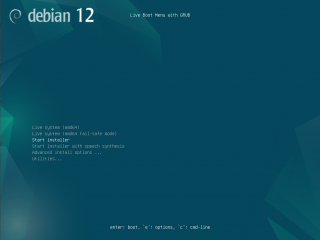
We have attached the Debian Live iso file to our virtual machine. We have ensured that the machine will boot from cd/dvd and we have started our virtual machine. If everything is configured accordingly, you will be prompted with the Debian Live Installer menu . Select your option (in our case Live System) and press enter to proceed with installation.
Click on Picture for better Resolution
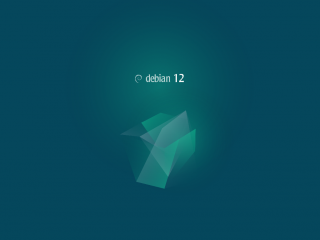
The following splash screen will be displayed for some time. Please be patient. When the system will be ready, it will move to the next step
Click on Picture for better Resolution
Step 3 – Start the Debian Installer
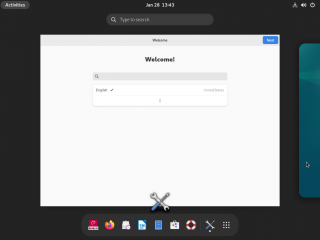
After the system is loaded and the live system is running on your computer, you should see something like this. On the Dock bar at the bottom, click on the Debian Installer icon
Click on Picture for better Resolution
Note : You might see the Initial Setup wizard. You do not need to go through this one. Simply click on activities and select again from the Dock bar the Debian installer Icon
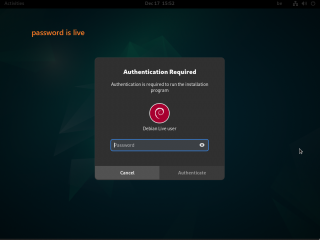
When you click on the Debian Installer Icon, you will be prompted for a password. The password to be used is live
Click on Picture for better Resolution
Step 4 – Perform the Debian Installation
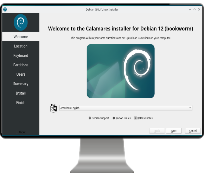
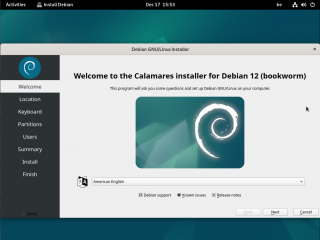
If the password is valid, you will see the Debian Calamares Installer showing up. Select the language you want to use and press Next
Click on Picture for better Resolution
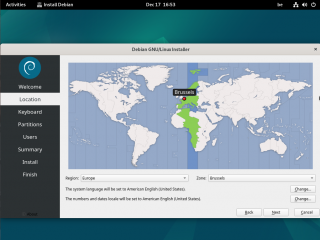
In the Location Page, select your location and Press Next
Click on Picture for better Resolution
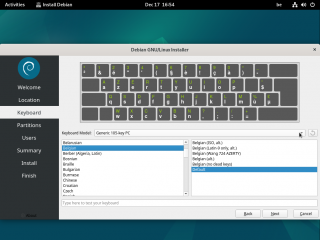
In the Keyboard page, select your keyboard layout and Press Next
Click on Picture for better Resolution
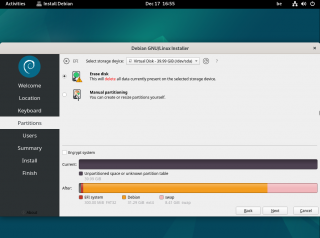
In the partition page, select your settings. In our case, we have accepted the default and Press Next
Click on Picture for better Resolution
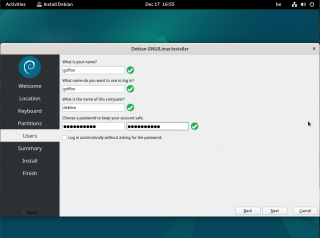
In the user Page, provide the requested information and press next when done
Click on Picture for better Resolution
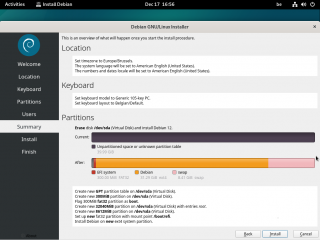
In the Summary page, review your settings and Proceed to the next step
Click on Picture for better Resolution
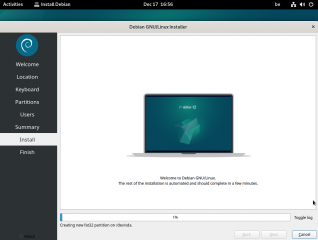
In the installation page, monitor the progress of the installation.
Click on Picture for better Resolution
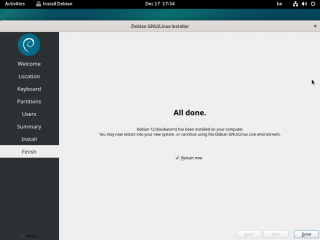
When the installation will be completed, the wizard will move to the Complete page and you will be required to restart the computer to finalize the installation
Click on Picture for better Resolution
After the reboot, you will be able to access your newly installed Debian 12 distribution….
Final Notes
That’s it for this post !
All in all, the Calamares is a step in the good direction. The installer simplifies the installation process and provide a better user experience. There are less questions asked in this wizard and the installation process is comparable to other distribution. This new installer is a step in the right direction. However, may be, Debian needs also to invest a little bit more time in developing a nice looking, modern installer interface that could attract more users to Debian Distribution.
We can understand that, writing a brand new Installer, might be time consuming but again this could change the way Debian is perceived by users. A new, modern, unique Debian installer would definitely help providing a more attractive user experience. We do not know if this will ever happens but this would be cool…
Till Next time
See ya
