Hello World,
In this post, we will quickly go through the installation steps for latest Debian release codename Bookworm. The Debian 12 has been out for a few months now and it’s time for us to see if any significant changes have been introduced in this release. The installation process of Debian has not changed that much compared to previous version.
The installation process of Debian is not straightforward as you would have with Ubuntu for example. Debian Installer is quite complex compared to other Linux Distributions. This is why we publish a quick step by step guide hereafter. This post will serve as base for any other post where we will be using Debian.
So, let’s do this quickly….
Overview
Debian is one of the oldest distribution around and serve as base of a large number of other Linux Distributions (i.e. Ubuntu). The distribution is quite popular and seems to still attract new people. In one hand, Debian is really focusing on rock solid releases. On the other hand, Debian might look and feel a little bit outdated compared to other Linux distributions. The installer is rather old and quite long to go through compared to other distributions. We have learned that a new installer is available if you download the Debian Live ISO… We wanted to try and the “CALAMARES” installer but it never launched :-(.
Not sure if this is related to Virtualization software or if there is a general problem. Looking on Internet, other people have encountered the same issue. It might be time to fill in a bug report about this one….
So, we went back to the old school installer to perform the installation and enjoy Debian 12 Operating System on our virtual infrastructure. So, let’s proceed with the installation steps…
Step by Step Installation Guide
Assumptions
In order to successfully perform the installation, we have assumed the following
- your machine is connected to internet
- Debian OS will be installed on a virtual machine. If you are installing on a physical machine, create a bootable device from the download iso file and ensure that your machine is configured to boot from the created device (DVD, USB, PXE…)
Download Debian ISO file
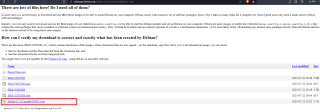
You will first need to obtain the Debian source files. You will have to download the latest stable version of Debian from this location and you have downloaded only DVD1 iso file
Click on Picture for better Resolution
Installation Process
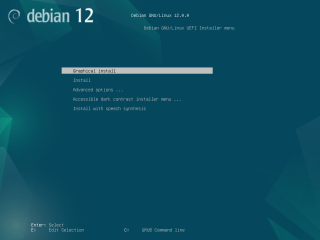
We have attached the Debian DVD1 iso file to our virtual machine. We have ensured that the machine will boot from cd/dvd and we have started our virtual machine. If everything is configured accordingly, you will be prompted with the Debian Installer menu. We have chosen the option Graphical Install and press enter to proceed with installation
Click on Picture for better Resolution
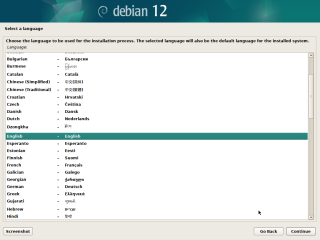
The Installation wizard will start. In the Select a language page, we have chosen English. Select accordingly your language settings and press continue when done.
Click on Picture for better Resolution
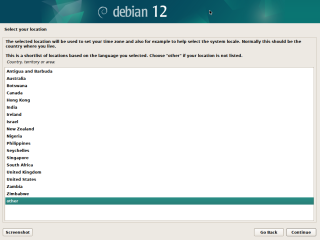
In the select your location page, select your country. If you do not see your country, click on other and Press continue.
Click on Picture for better Resolution
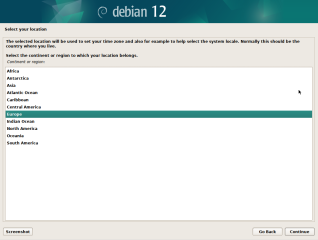
As I’m currently located in Belgium, I will select the option Europe and Press Continue. (Adapt the settings based on your needs !!!)
Click on Picture for better Resolution
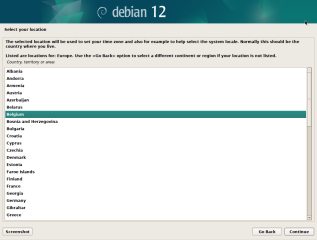
In the list of Country, select yours accordingly. In my case, I would select Belgium and Press Continue
Click on Picture for better Resolution
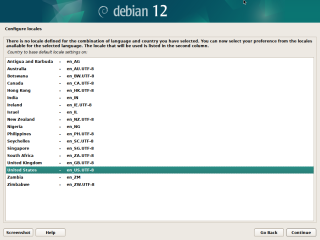
In the configure Locale page, select your option and Press Continue.
Click on Picture for better Resolution
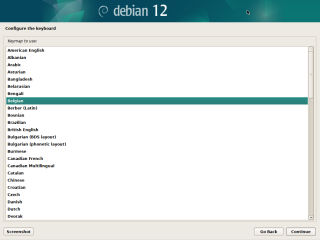
In the configure keyboard page, select the keyboard layout you need to use and Press Continue
Click on Picture for better Resolution
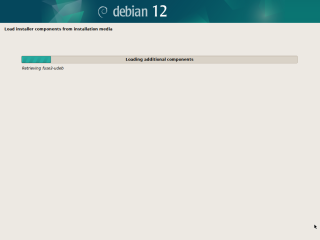
Wait for the load installer progress to complete
Click on Picture for better Resolution
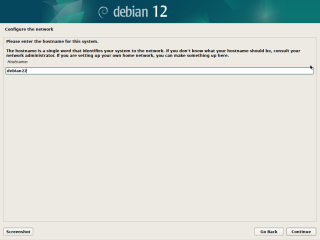
In the configure network page, specify the computer name you want to set and Press Continue
Click on Picture for better Resolution
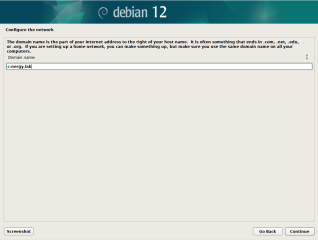
In the configure network page, specify the domain name you want to use and Press Continue
Click on Picture for better Resolution
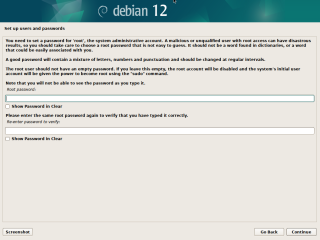
In the set up users and password page, you have to be careful. The first part of the wizard is targeting the root account.
——-Please read carefully the information provided below——
In our setup process, we have not provided any password for the root account which means that the root account will be disabled. We have chosen for this approach as this is security best practice (do not use root account on your system).
So, leave the password field blank and press Continue
Click on Picture for better Resolution
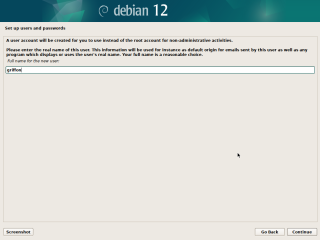
In the next page “Set up users and passwords” page, you can create a new user. Since we have not enabled the root account, this account will be granted the sudo rights….
Click on Picture for better Resolution
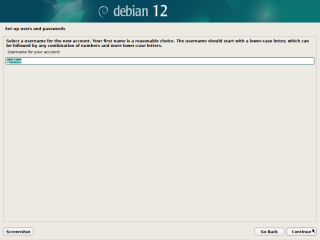
Press Continue to proceed
Click on Picture for better Resolution
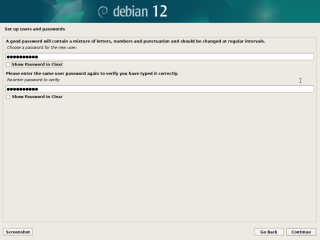
In the next page of the Wizard, you will be able to assign a password for the user account you have just created. Select a Password, confirm it and Press Continue
Click on Picture for better Resolution
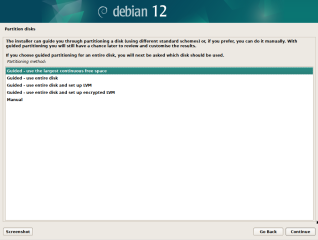
In the Partition Disk Page, Select the Guided mode and Press Continue. Use the Guided – Max disk free space Option
Click on Picture for better Resolution
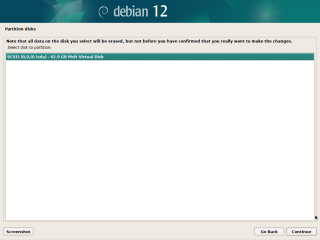
In the next page, select the disk to be partition and Press Continue
Click on Picture for better Resolution
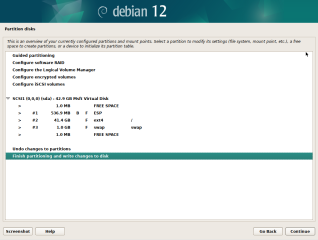
In the next page, select the option “all files in one partition” and Press Continue
In the next Page, review the settings and Press Continue
Click on Picture for better Resolution
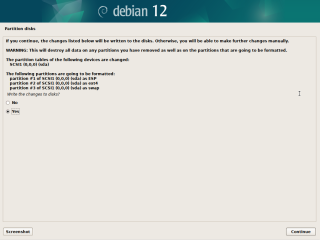
In the next page of the partition disk wizard, ensure that you select the yes option and write the changes to the disk. Press Continue
Click on Picture for better Resolution
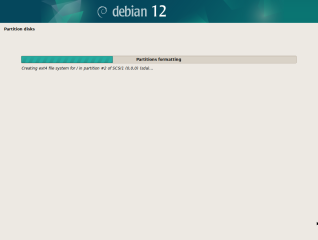
The install base page will be displayed. Wait for the process to complete
Click on Picture for better Resolution
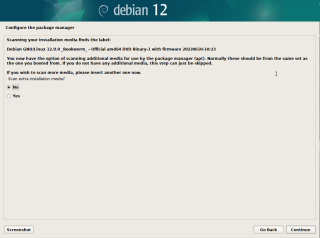
In the Configure package manager page, Select No, do not scan for additional CD or DVD. Press Continue
Click on Picture for better Resolution
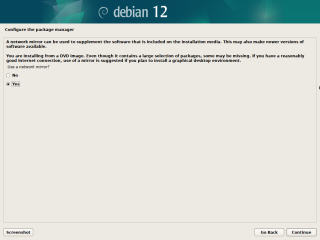
In the Configure package manager page, ensure that you select yes when asked to use network mirror. Press Continue
Click on Picture for better Resolution
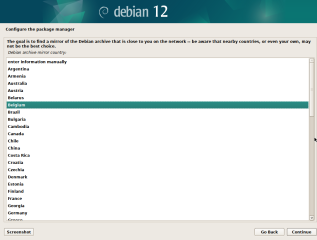
In the Debian archive country Wizard page, select the country that most fit your needs and Press Continue
Click on Picture for better Resolution
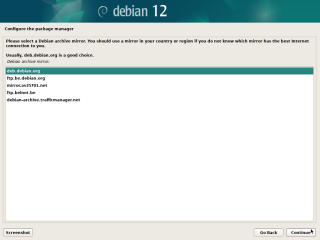
In the Debian archive mirror wizard page, select the url that most fits your needs and location. The list you will see will vary based on your Country selection. Press Continue
Click on Picture for better Resolution
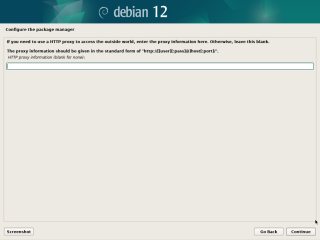
In the proxy settings page, specify your setting accordingly. Press Continue
Click on Picture for better Resolution
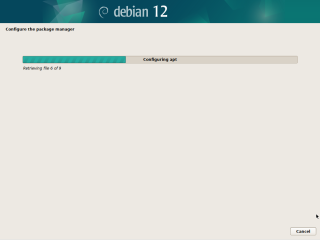
The Wizard will start installation activities. Wait for process to complete… Press Continue when ready
Click on Picture for better Resolution
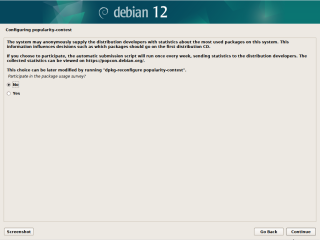
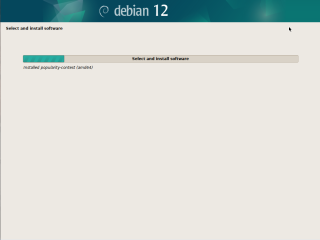
In the Configure Popularity-contest page, select your option accordingly and Press Continue
Click on Picture for better Resolution
The Wizard will start installation activities. Wait for process to complete…
Click on Picture for better Resolution
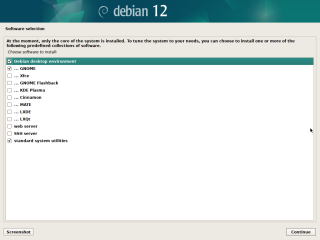
In the Software selection page, select the Desktop interface you would like to use with Debian.
Click on Picture for better Resolution
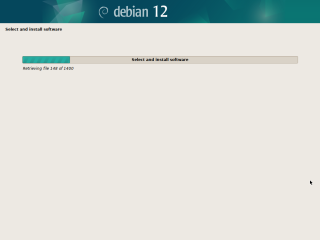
The select and Install Software Progress bar page will be displayed. Wait for completion
Click on Picture for better Resolution
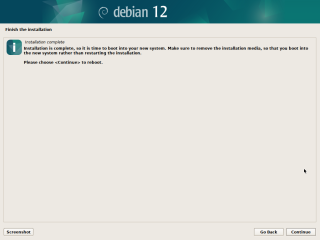
In the Finish installation page, read and review the displayed information. Ensure that you have removed the installation media and Press Continue to reboot
Click on Picture for better Resolution
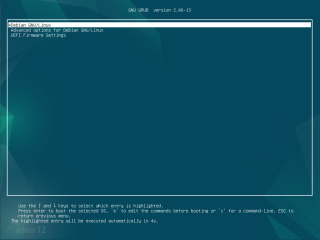
When the system reboots, you will see the new grub menu with the new color scheme adopted by Debian 12
Click on Picture for better Resolution
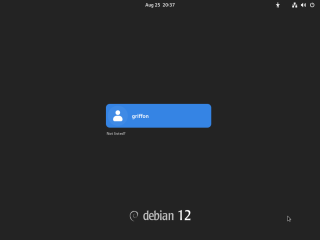
If you have selected like us the Gnome Desktop, you will see the following gray login screen. It’s time to login and start to use your newly installed Debian 12 machine….
Click on Picture for better Resolution
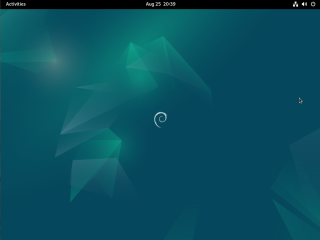
After the login process, you will end up on your well known Gnome Desktop (Vanilla one). At this stage, you can start customize it and install the necessary applications you would use in your day to day work…
Click on Picture for better Resolution
Final Notes
This is it for this post !
Debian installation process has not changed much compared to previous version. The Installer is quite long and feel a little bit old. You really have to pay attention to details when going through this Wizard. There seems to be a Calamares Installer version (for Debian 12 Live dvd) but so far it never worked for us…
At this stage, we have a running instance of Debian 12 with Gnome Desktop interface showing up. Debian is known not to use the latest version of software as they are targeting more stability than new features. This version ships with Pipewire sound server
We are ready to test our famous xrdp-installer script against this new Debian release and see how it behaves… So, in some coming posts, we will tackle the xrdp installation on Debian Operating systems.
Stay Tuned
Till next time
See ya
