Hello World,
We are continuing our journey into the Extended Security Updates (ESU) Program provided by Microsoft which allow organizations still running legacy operating system (windows 7, Windows 2008/R2) to obtain critical and security patches. The ESU program is not free and organization needs to subscribe on a yearly base to the program in order to obtain these additional patches.
In part I, we have provided a quick overview on how the ESU program works and what the organizations needs to do before being able to deploy these extra patches. As a quick reminder, these are the most important actions that an organization will need to follow
- Buy and Obtain ESU MAK key and calculate how many machines needs to be covered by this program
- Obtain and deploy required patches on these legacy machines needed to recognize the ESU Key (see part I)
- Install VAMT Tool
- Deploy and Activate the ESU MAK Product key
In this post, we will describe how to obtain the VAMT Tool and how to perform the installation.
So, let’s proceed…..
Overview
Microsoft recommended approach to distribute and activate the ESU MAK key through your organization is to install and use the Volume Activation Management Tool (or VAMT). VAMT offer a centralized tool that can be used to install the ESU product keys to target machines running legacy software. The VAMT tool can also be used to perform activation either online (if internet access is available) or offline using the Proxy Activation methodology.
VAMT is basically the key software when subscribing to the ESU program. The VAMT tool is free and is part of the Windows ADK software. The following section will describe how to install the tool and make it ready for ESU MAK Key deployment. You will see it’s quite straight forward
Download ADK Binaries Offline
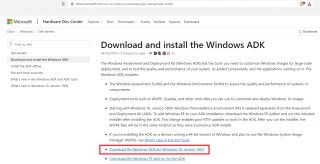
To install the VAMT Tool, you first need to download the latest Windows ADK software which can be downloaded from internet through this link ). You can decide to either download the adk source files or perform the installation immediatly. We have chosen to first download the source files…..
Step 1 – Click on the link Download ADK Windows 10 1903. This action will download the Setup bootstrap file…
Click on Picture for Better Resolution
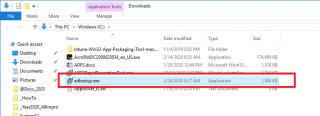
Step2 – Double-click the executable file.
Click on Picture for Better Resolution
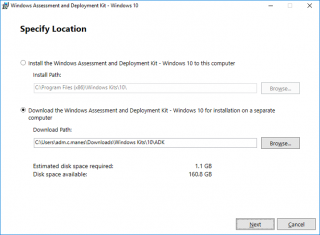
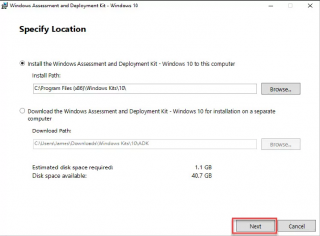
Step 3 – In the Specify location screen, specify that you want to download the package to be installed on a different computer and Press Next
Click on Picture for Better Resolution
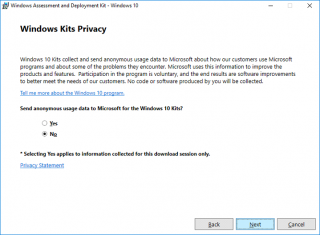
Step 4 – In the Windows Kits Privacy page, select the appropriate option and Press Next
Click on Picture for Better Resolution
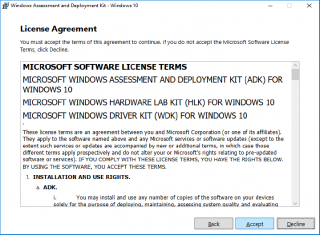
Step 5– In the license agreement page, review it and press the Accept Button
Click on Picture for Better Resolution
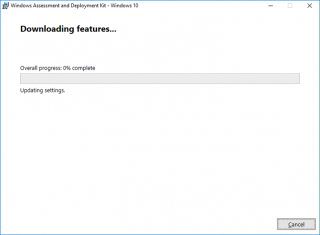
Step 6 – The Download Features page will be displayed… Wait for completion
Click on Picture for Better Resolution
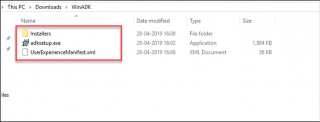
Step 7 – Go to the Download location you have specified and you can retrieve the offline installation sources to be used. You can decide to perform the installation on your machine or transfer these files to the machine that will be hosting the VAMT Role
Click on Picture for Better Resolution
Installing the VAMT Software
After obtaining the ADK source files, it’s time to perform the installation of the software. On the Server that will be hosting the VAMT software and where you have transferred the ADF offline installation file, perform the following actions in order to proceed with the installation of the software. Proceed with the following actions….
Step 1 – Locate the offline ADkSetup installer files (that you have transferred on the future VAMT Server)
Click on Picture for Better Resolution
Step 2 – In the Specify Location Page, Select the option “Install Windows…” Press Next
Click on Picture for Better Resolution
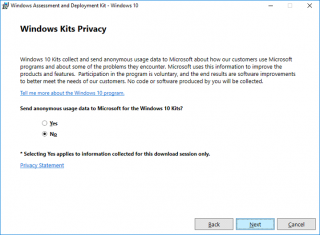
Step 3 – In the Windows Kits Privacy page, select the appropriate option and Press Next
Click on Picture for Better Resolution
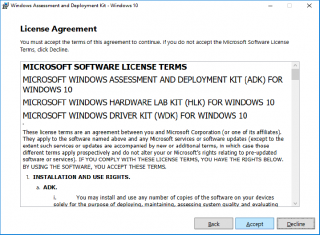
Step 4– In the license agreement page, review it and press the Accept Button
Click on Picture for Better Resolution
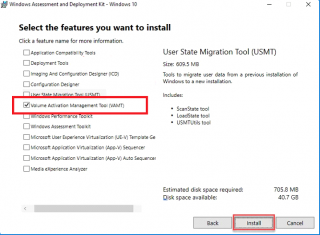
Step 5– In the Select Feature You want to install page, select the option Volume Activation Management Tool. Press Install
Click on Picture for Better Resolution
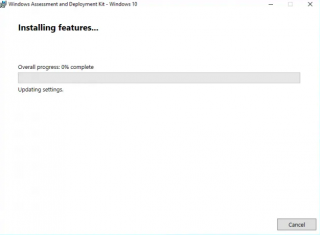
Step 6 – In the Installing features page, you can see the installation progress. Wait for completion
Click on Picture for Better Resolution
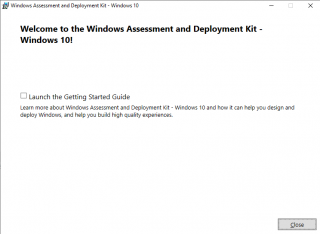
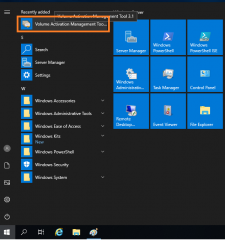
Step 7 – When installation is completed, you can click close. Using the start menu, you can see that a new link has been created and you can click on it to start the VAMT software.
Click on Picture for Better Resolution
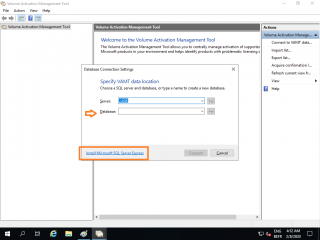
When the VAMT console opens, you will notice that the installation process is not completed yet. The VAMT Software needs to be connected to a SQL database in order to be fully functional. Based on your infrastructure and your processes, you can decide to download and install the SQL Express database on the VAMT server (co-hosted) or you might need to use the centralized database infrastructure that already exists within your infrastructure
Click on Picture for Better Resolution
Final Notes
This is it for this post !
We have demonstrated how to perform the basic installation of the VAMT Tool. However, as mentioned above, the installation is not fully completed. VAMT requires a database in order to be fully functional. SQL Express can be installed locally or a centralized database infrastructure can be used. Because we have encountered both situations, we have decided to proceed to describe how to finalize the VAMT installation in part III….
Till next time
See ya

