Hello World,
Today, it will be a quick post. We will basically perform a basic installation of Windows 2019 Server. This type of post is probably all around internet but we needed to test and check by ourselves if any major changes occurred. As you can guess, the installation nowadays is quite straight forward. The most difficult decision to take is which flavor/version of Windows 2019 Server to install. We will quickly go through some of the basics about Windows 2019 and then we will move on the installation part….
So,let’s start this !
Overview Windows 2019 Server
Windows Editions
As mentioned in our previous post, Windows 2019 server ship in 3 Editions
- Windows 2019 Essentials
- Windows 2019 Standard
- Windows 2019 Datacenter
When working on projects, most of the time the Windows 2019 Datacenter edition is used because there is no feature limitations and because it’s also a good choice when using it in highly virtualized environment. When using a Windows 2019 Standard edition, the licensing includes the right to run 2 additional Virtual machines while Datacenter allows you to run an unlimited of virtual machines without paying extra costs.
Windows Datacenter offers more features that the standard edition. Storage Replica, Storage Direct spaces, shielded virtual machines, software defined network… for example are not included in the Standard Edition.
Windows Servicing Channel Models
Another important element to take into account is the Windows servicing Channel a company want to use. As briefly explained in our previous post, a user can choose between two type of releases when working with Windows Server Operating system. You can choose between
- Long Term Service Channel (LTSC)
- Semi-Annual Channel (SAC)
This choice is important because it will define if a desktop interface can be used or not on top of your Server installation. Long Term service Channel (LTSC) would be the way forward if you need a desktop interface on your server and if you need to have a stable and predictable release cycle. Choosing LTSC release ensure that Desktop experience feature is available and you would benefit from a mainstream support for 5 years and extra 5 years for extended support.
Semi-annual Channel (SAC) release are made available twice a year and they will be supported for 18 months. The SAC release does not ship with any desktop interface and no option to install any. So, if you need a desktop interface (for example, you want to use Remote Desktop services), you should stick to the LTSC. SAC releases will probably include latest technology and features but no all companies can move to this aggressive cycle release
Step by Step installation
Assumptions
To perform this installation,
- we have downloaded the Windows 2019 Evaluation Edition which ships with Desktop Experience option.
- We have installed Windows 2019 and Hyper-v role on a physical machine (this is not explained on this post)
- We have created a virtual machine and installation will be performed on top of it
- We will install the Datacenter edition with Desktop experience in this guide
Quick Step by Step Guide
Step 1 – Your virtual machine is powered off
Step 2 – Open your virtual machine settings and mount the iso file, change the boot order if needed.
Step 3 – Boot your virtual machine
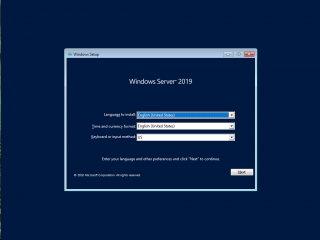
Step 4 – the windows installer will show up and will prompt you to Select your regional settings (Language and Keyboard layout)
click on picture for better resolution
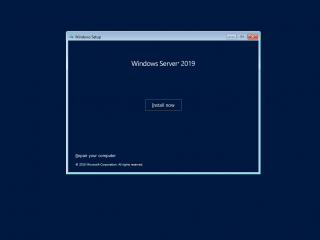
Step 5 – The Wizard start and you can see the Install now button. click on it to proceed with the installation.
click on picture for better resolution
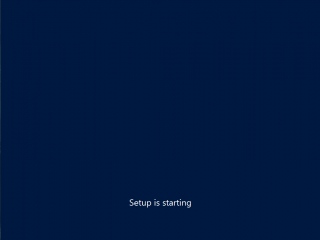
The setup wizard initialize and will prepare the next steps
click on picture for better resolution
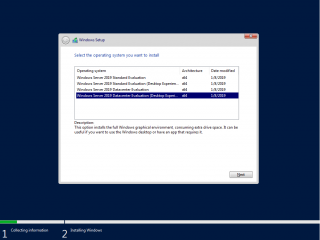
Step 6 – in the selection dialog box, you can choose which Windows 2019 edition you want to use and with or without desktop interface. We have selected Datacenter + Desktop Experience option
click on picture for better resolution
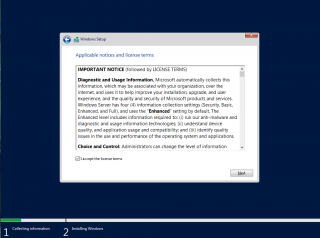
Step 7 – In the license agreement page, accept it and proceed
click on picture for better resolution
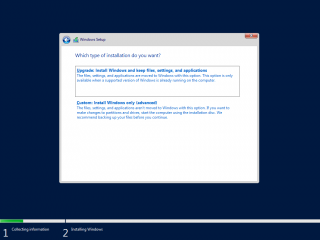
Step 8 – In the installation page, select the option custom.
click on picture for better resolution
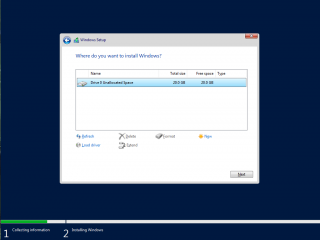
Step 9 – In the Disk page, accept default and proceed. The wizard will create all the necessary partition needed
click on picture for better resolution
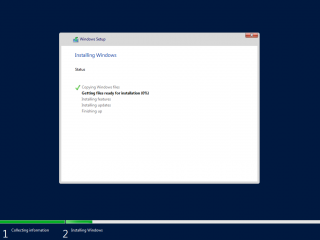
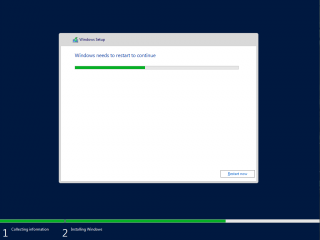
Step 10 – In the Installing Windows step, you can relax and wait for the machine to reboot
click on picture for better resolution
click on picture for better resolution
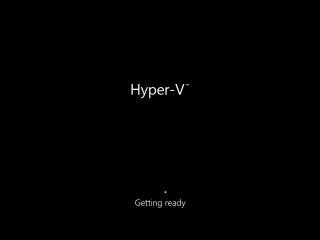
Step 11 – The system will reboot perform some post actions
click on picture for better resolution
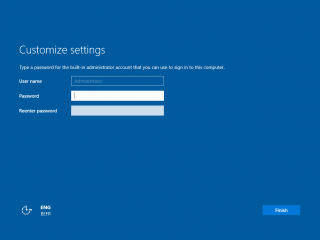
Step 12 – You will be presented with the Customize page where you basically need to provide password for the local admin account to be used
click on picture for better resolution
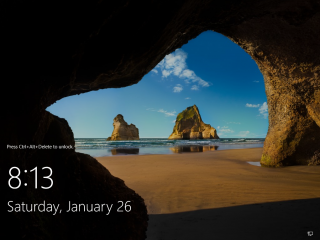
Step 13 – When done, you will be presented with the login page with the familiar background image used in Windows 2016 and Windows 10
click on picture for better resolution
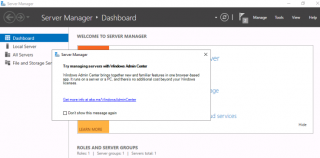
Step 14 – You can login and start customize your installation by providing computer name, join the machine to a domain, set network settings, install roles and anything you would need to do have a functional server that meets your requirements. When you open server manager (or when started automatically), you will see a popup messaging inviting you to test the Windows Admin Center.
click on picture for better resolution
We are planning to install and play around with the new web interface that will provide another set of tool that can be used to manage remotely a server box. We might share our findings in a future post….
Final notes
As you can see, the process has not changed much. Installation process is quite straight forward and seems even simplify as almost no questions or customization settings are shown during the installation. Now that the installation has been performed, we will need to dig a little bit to see what has been changed and/or improved in this release. This might be the subject of a future post as well.
Till next time
See ya
