Hello World,
With all the changes happening in the Ubuntu world (i.e. Unity interface is dropped, LightDM is dropped,…), we are focusing a little bit more on Windows technologies lately. In our previous posts, we looked at how to perform a simple SQL installation manually and in an unattended mode. This post will cover a product that a lot of people dislike : SCOM 2016 Server. SCOM (or System center Operation Manager) is the monitoring product offered by Microsoft to monitor basically almost any aspect of a Windows infrastructure. SCOM can also monitor Unix/Linux infrastructure. As SCOM is not an easy product to work with, a lot of people just tend to go away from it (including myself :-)).
This post will cover the necessary steps needed to perform a really simple SCOM 2016 deployment. So, let’s try this….!
Overview
SCOM 2016 Deployment Options
SCOM 2016 is based on multiple roles. These roles can be all co-located on a single server (usually for lab scenarios) or on multiple servers in a real production environment. SCOM 2016 architecture is based on the following roles :
- Management server
- Operational database
- Console
- Reporting Server
- Web Console Server
- Agent
- Gateway Server (optional)
- Audit Services (Audit collector,Audit Database & Audit Forwarder) (optional)
The purpose of this post is to explain how to perform the installation and not to explain each roles and what they are needed for. For this post, we will perform a simple installation of SCOM 2016 where 2 servers will be used. One server will be hosting the database infrastructure needed by SCOM. The other server will be hosting the SCOM management software.
Assumptions
This post will be based on the following assumptions
- an Active Directory infrastructure is available
- All servers are running Windows 2016 Server Operating System
- SQL 2016 Server software will be used
- All the machines are joined to the same domain
- SQL Server will be installed on a dedicated Server
- SCOM Management software will be installed on a dedicated server as well
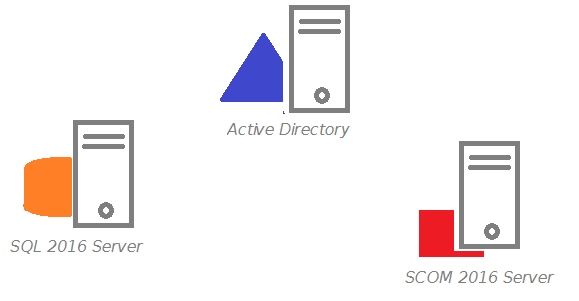
The following illustration shows the Infrastructure that will be used to perform the installation of SCOM 2016 in our test lab. As mentioned above, a dedicated SQL server will be deployed which will provide database services to the SCOM Infrastructure.
Prepare the environment for Installation
SCOM Service Accounts
Before deploying the SCOM software, it’s usually best practices to create beforehand service accounts needed by the SCOM infrastructure. When Deploying SCOM software solution, the wizard will basically ask for 4 service accounts :
- Management Server Action Account (svc_scom_aa)
- SCOM Data Access (svc_scom_da)
- SCOM SQL Reader (svc_scom_sqlread)
- SCOM SQL writer (svc_scom_sqlwrite)
Usually, a domain global group called SCOM Admins is also created before performing the installation. This group will be added to the local admin group of each servers being part of the SCOM infrastructure. The SCOM Server Action account and the SCOM Data access should be member of the SCOM Admins group.
SQL Service Accounts
Because we have installed SQL Server on a different server, we also need to have the necessary SQL service account created in the Active directory. The following 3 service accounts will be created :
- SQL Service (svc_SQL)
- SQL Agent (svc_SQLagent)
- SQL Reporting Service (svc_SQLReport)
Usually, we use a PowerShell script to create these accounts. We might share this script at a later stage….
SQL 2016 Installation
The SCOM infrastructure will be using SQL 2016 as database infrastructure. Because of our implementation scenario, we will first need to deploy a SQL serve 2016 in our environment. The installation can be performed manually or via an unattended procedure which has been described in our previous posts (see here for manual installation and here for unattended or here for command line)
We will not go again through the process of installing SQL Server 2016. The only two things that you would need to ensure is that
- firewall is open for port 1433
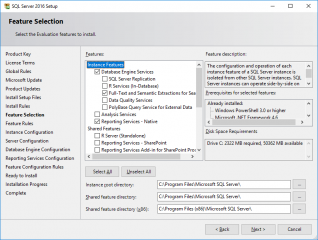
- the database engine, the full text search and the reporting services components of SQL needs to be installed in order to successfully install SCOM services
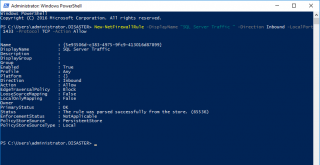
To open the firewall port 1433, use the following command (before or after installing SQL Server)
New-NetFirewallRule -DisplayName “SQL Server Traffic ” -Direction Inbound -LocalPort 1433 -Protocol TCP -Action Allow
Click on picture for better resolution
During the SQL Setup, in the feature selection page, ensure that the 3 following options (as shown in the screenshot) are selected and proceed with the installation.
Click on picture for better resolution
Prerequisites for SCOM Servers
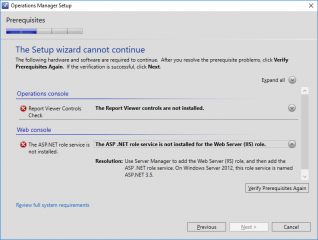
Report viewer
If any of your SCOM Server is to host operator console, you will need to install the report viewer runtime 2015 (which can be downloaded here). If you try to install the SCOM software without the report viewer, you will get the following error during the setup
Click on picture for better resolution
Moreover, the Report viewer has OS dependencies. To properly install the Report viewer, you need to perform the following actions
- step 1 – install .net framework 3.5
- step 2 – install the SQL CLR 2014 (which can be downloaded here )
- Step 3 – Install the report viewer runtime
Windows prerequisites
To have a successful installation of SCOM on a single server, the following components needs to be added. The following powershell command line will install all the necessary components needed by SCOM 2016 server in our deployment server
Add-WindowsFeature Web-Server, Web-WebServer, Web-Common-Http, Web-Default-Doc, Web-Dir-Browsing, Web-Http-Errors,`
Web-Static-Content, Web-Health, Web-Http-Logging, Web-Log-Libraries, Web-Request-Monitor, Web-Performance, `
Web-Stat-Compression, Web-Security, Web-Filtering, Web-Windows-Auth, Web-App-Dev, Web-Net-Ext45, Web-Asp-Net45,`
Web-ISAPI-Ext, Web-ISAPI-Filter, Web-Mgmt-Tools, Web-Mgmt-Console, Web-Mgmt-Compat, Web-Metabase, NET-Framework-45-Features,`
NET-Framework-45-Core, NET-Framework-45-ASPNET, NET-WCF-Services45, NET-WCF-HTTP-Activation45, NET-WCF-TCP-PortSharing45,`
WAS, WAS-Process-Model, WAS-Config-APIs,web-asp-net
Installing the SCOM Software (on the SCOM Server)
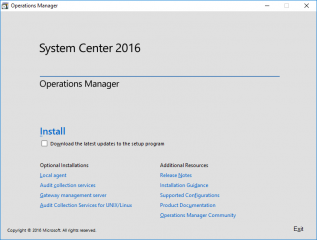
At this stage, we have all the necessary prerequisites needed to perform the installation of the SCOM Software on our SCOM server. Login into the SCOM Server using a Domain account and download the SCOM 2016 software, and click on the setup.exe file. The SCOM Wizard will be displayed.
Click on picture for better resolution
To perform a standard installation, you simply need to tick the checkbox. If you need to install optional components, you will need to click on the link in the bottom part of the dialog box. From there for example, you can install Gateway services or Auditing services. In our scenario, we simply want to perform a default installation so tick the box and press next
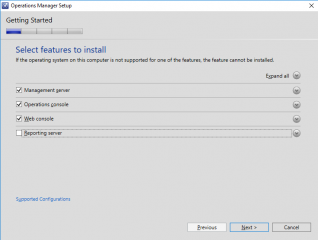
In the next page, you have to select which roles or components you want to install. Because we are performing an installation of SCOM where a Remote SQL Server is used, there is no need to tick the box next to the Reporting Services and Press Next.
Click on picture for better resolution
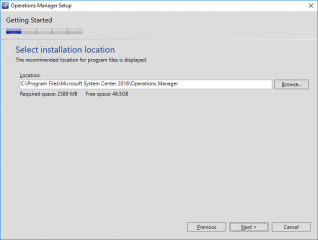
In the following setup page, specify the location for installation files and Press Next
Click on picture for better resolution
Click on picture for better resolution
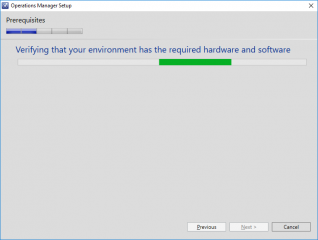
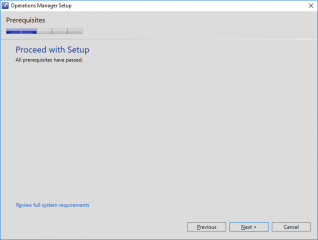
Wait for the Prerequisites check routine to complete. If all the prerequisites are met, you should see the following screenshot. Press Next.
Click on picture for better resolution
If the prerequisites are not met, fix any issues and restart the installation process…
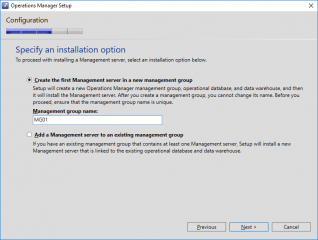
In the configuration page, specify the Management Group that you want to use. Ensure that this name is unique as this cannot be changed afterwards.
Click on picture for better resolution
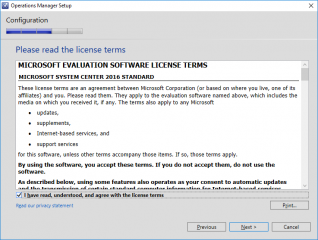
In the Agreement page, accept the license and Press Next
Click on picture for better resolution
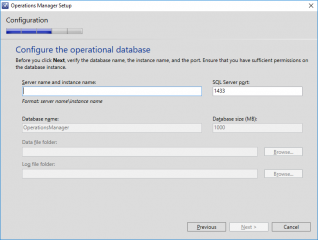
In the configure the Operational Database page, you will be asked to provide the name of the sql and instance name to be used
Click on picture for better resolution
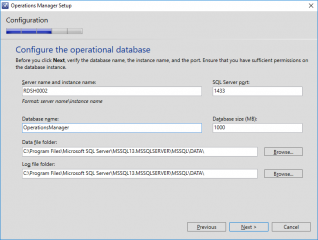
You can simply provide the name of the remote SQL (we have installed above) and accept the default. If the connection is allowed, you should see something like the following screen. Press Next
Click on picture for better resolution
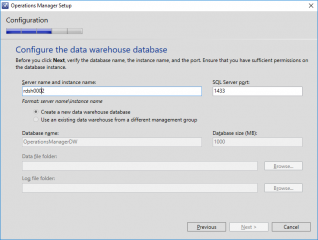
Perform the same operation in the Data warehouse page and Press Next when completed.
Click on picture for better resolution
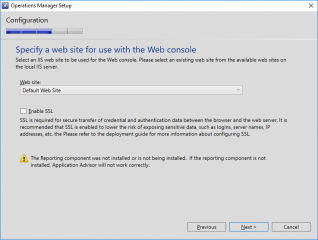
In the next screen, accept the default in order to configure the web components and Press Next
Click on picture for better resolution
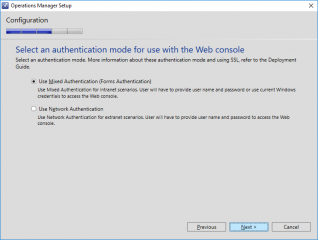
In the authentication page, accept default and Press Next
Click on picture for better resolution
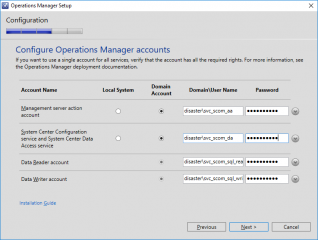
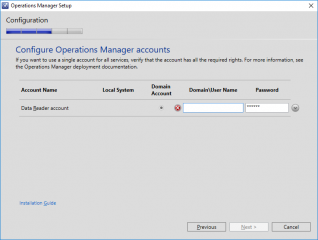
In the Account configuration page, provide the name and password of the user accounts you have created previously and press next. If everything is correct, you will move to the next screen. If there is any issue, fix them and proceed.
Click on picture for better resolution
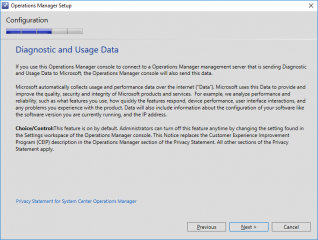
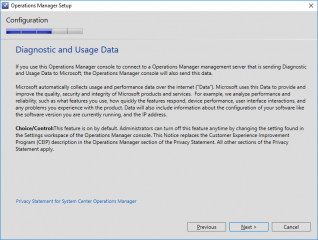
In the Data Usage Page, select your options and Press Next
Click on picture for better resolution
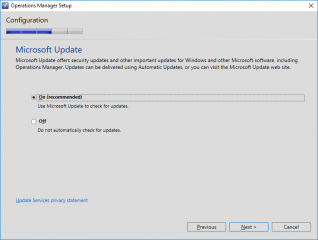
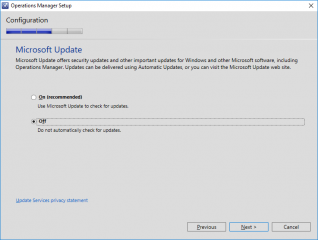
In the Update Pages, Select your preferred options and Press Next
Click on picture for better resolution
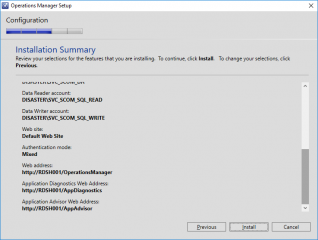
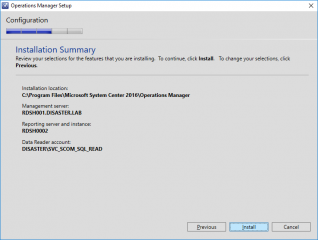
In the Summary page, review your installation and when ready Press Next
Click on picture for better resolution
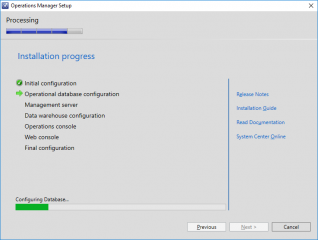
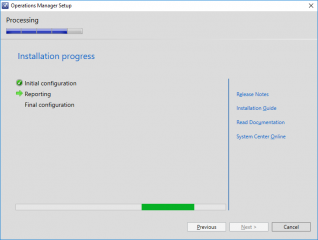
In the installation progress page, wait for the installation to complete. This can take some time
Click on picture for better resolution
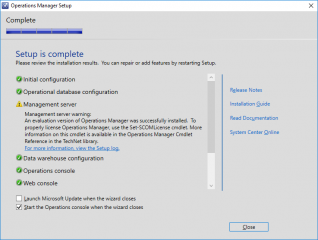
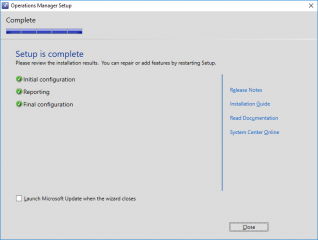
When the installation is completed, you should see the Setup Complete page. Press Close if everything looks correctly installed
Click on picture for better resolution
Installing the Reporting Role (on the SQL Server)
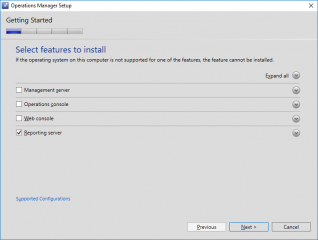
Again, because we have decided to install SCOM infrastructure on two servers (1 SCOM and 1 SQL), we still need to install the reporting Role of SCOM. To perform the Reporting Service installation, you will need to log into the SQL server and start again the SCOM Setup Files. When the Wizard starts, tick the install box and in the roles to be installed, select on the Reporting Server. Press Next
Click on picture for better resolution
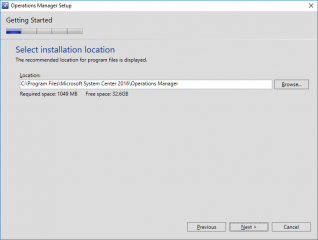
In the Installation location page, accept default of specify where to store the scom binaries files.
Click on picture for better resolution
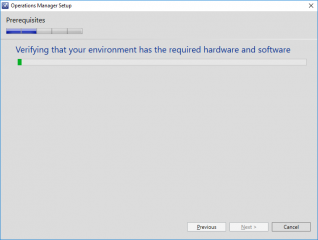
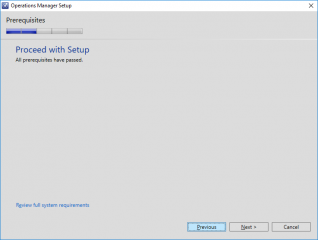
Wait for the prerequisites routine to complete
Click on picture for better resolution
If everything is OK, you will see the following screenshot. If there are some missing prereqs, fix them and proceed with the installation
Click on picture for better resolution
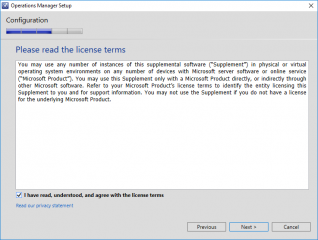
In the License Agreement page, Accept it and Press Next
Click on picture for better resolution
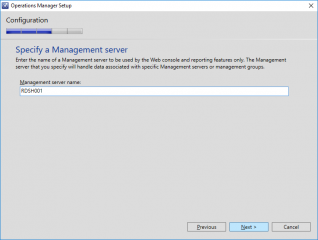
In the Management Server Page, Specify the management server to connect to and Press Next
Click on picture for better resolution
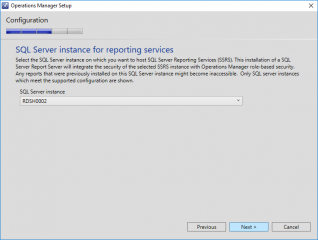
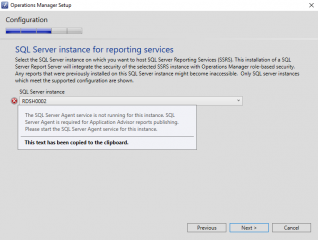
In the SQL Instance page, Select the SQL Server and instance to be used and Press Next.
Click on picture for better resolution
You might see the following error message if the SQL Agent service is not started. if this is the case, start the service and try again
Click on picture for better resolution
In the Account page, specify the correct service account to be used and Press Next
Click on picture for better resolution
In Data Usage page, select your options and Press Next
Click on picture for better resolution
In Update page, select your options and Press Next
Click on picture for better resolution
In the Summary page, ensure that everything is ok and Press INSTALL
Click on picture for better resolution
Wait for the installation to complete
Click on picture for better resolution
In the complete page, ensure that everything went fine and Press Close
Click on picture for better resolution
Open the SCOM Console
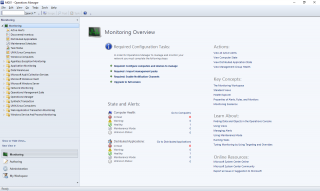
To perform a basic check of the installation, we can open the management console. If everything is ok, you should the console and you can start perform your configuration
Click on picture for better resolution
You can also test the web version which has been greatly improved compared to the previous version. Silverlight is fading away and html5 is coming….
Click on picture for better resolution
Final Notes
This is it for this post which is actually becoming quite long. We might proceed on this topic in the future and post some additional information. SCOM is not an easy product and so far we have only performed a really simple installation. No configuration has been performed. Configuring SCOM is really the challenging part because you need to know how to configure it and what to monitor within your infrastructure..
Till next time
See ya
