Hello World,
Today, we will have a first look at the new feature available within Windows 2016 Server edition. Microsoft is working hard on the next release of Windows Server (i.e. Windows 2016). This version comes with a lot of new features such as storage replica or containers. The Technical Preview 4 is available for download and people are starting to test all these new features.
This post will provide a quick overview of the new hyper-v capability to nest virtual machines. In Windows Server 2016, it’s possible to create a virtual machine and install the Hyper-V Role. Inside the Hyper-V virtual machine, it’s possible to create virtual machines and have them running. In Windows 2012 R2, It was possible to instal lthe hyper-v role within a Virtual machine but there was no way to start virtual machines within this virtualized hyper-v machine.
This feature has been introduced because of the new container technology and the hyper-v container Microsoft has introduced in order to provide stronger isolation when working with containers. This feature can be useful in test and lab environment where an Hyper-V infrastructure might be needed (ex. testing SCVMM features…)
Some Pre-requisites
In order to test and enable this feature, the following requirements must be met :
- Hyper-V host must be running Windows Server 2016
- Virtual machine where Hyper-V will be installed must be running Windows Server 2016
- The Hyper-V host must have a cpu that support SLAT feature
The SLAT requirement is not specific to the nested virtual machine but this is a requirement for Hyper-V feature in Windows Server 2016. In previous Hyper-V version, this feature was not enforced. Now, with Windows Server 2016, this is needed. If you CPU does not support this SLAT feature, you will not be able to install the Hyper-V role.
Process Overview
The following items summarize what needs to be done in order to test and play around with the Nested virtual machine capabilities.
- Step 1 – Install Windows Server 2016 on a physical machine (with a capable SLAT CPU)
- Step 2 – Check/verify that the cpu meets the necessary requirements (SLAT capable)
- Step 3 – Install Hyper-V role on the Host
- Step 4 – Enable the nesting VM Capability on the Virtual Machine
- Step 5 – Install Windows Server 2016 and Hyper-V role inside the virtual machine
- Step 6 – Create a Virtual machine and boot it in order to ensure that the nested virtual machine can actually run
Installing Windows 2016
In this post, we will be focusing on the installation process of Windows Server 2016 Operating System. The part 2 of this post will cover the SLAT detection and verification, and will describe how to enable the nesting virtual machine capabilities.
Step 1 – To install Windows Server 2016, you will need to get a copy of the latest version available (You can download evaluation version from here)
Step 2 – Insert the cd, usb, iso or boot from pxe network and start the installation process. You might see the message Press any key to start installation (or similar)
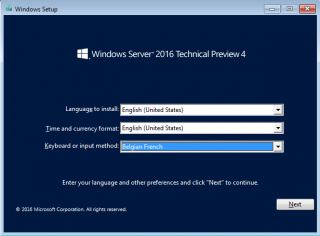
Step 3 – After booting from your media, the setup Wizard will start and you will see the following screen, choose your settings accordingly and Press Next
Click on Picture for better Resolution
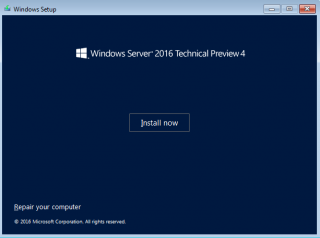
Step 4 – in this screen, you will see the big button install Now. Click on it to start the installation process
Click on Picture for better Resolution
Step 5 – You will see a dialog box that will inform you that the setup is about to start
Click on Picture for better Resolution
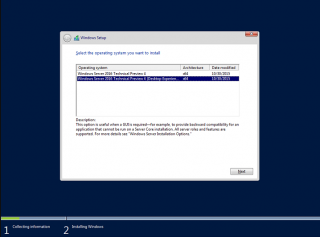
Step 6 – In the Operating System type selection, if you need to have a gui, click the last option (Desktop Experience) and Press Next This is important because at this stage, you cannot revert the installation mode like in Windows 2012 R2. This feature might be re-introduced back in the next update of Windows 2016.
Click on Picture for better Resolution
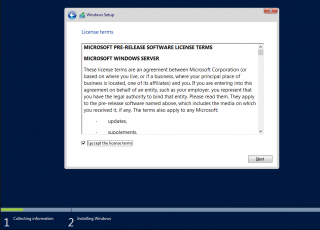
Step 7 – In the license Agreement, if you want to go further, you will need to accept it
Click on Picture for better Resolution
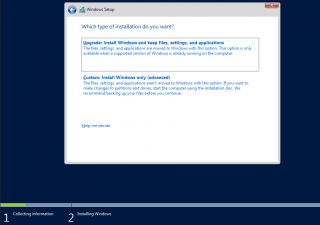
Step 8 – In the installation type dialog box, select the best option. In our scenario, we want to perform a clean installation
Click on Picture for better Resolution
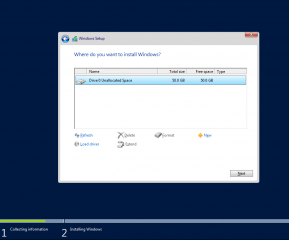
Step 9 – In this screen, you have to specify on which volume/partition, you want to install Windows 2016 Operating sytem. Make your selection and press next
Click on Picture for better Resolution
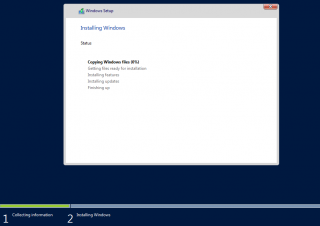
Step 10 – The windows installation will start. Wait for the process to complete and the machine will reboot automatically.
Click on Picture for better Resolution
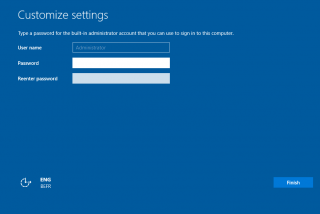
Step 11 – After the reboot, you will see the Customize settings and provide password for the Admin account. Press Next
Click on Picture for better Resolution
Step 12 – The wizard finalizes your settings
Click on Picture for better Resolution
Step 13 – At the end of the process, you will be presented with the login screen of Windows 2016.
Click on Picture for better Resolution
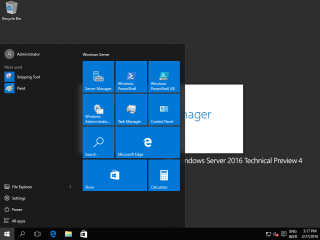
Step 14 – after login into the system (and if you have selected the GUI version), you will see the new Desktop version available with Windows Server 2016
Click on Picture for better Resolution
Final Notes
Voila. This is is for this first part of this post. In the next post, we will see how to check if the computer support SLAT feature and how to quickly install Hyper-V role on it. Finally we will demonstrate how to enable nested VM Feature.
Till Next time
See ya

