Hello World,
With the release of Windows 8/Windows 2012, Microsoft has released a “new” tool called Windows ADK (Assement and Deployment Kit). This tool aims to replace the previoulsy well know WAIK (Windows Automated Installation Kit). Actually, Windows ADK will include new release of WAIK plus a number of other tools that were used in the past to assess the readiness of the current infrastructure to support deployment of new OS releases.
The ADK tool provide a set of tools that can help preparing the deployment of Windows operating system on your network. ADK is basically a unified installer for the following products:
- Application Compatibility Toolkit
- Deployment tools (which include SIM)
- Windows Preinstallation environment (which includes winpe 4.0 feature powershell 3.0 support)
- User State Migration
- Volume Activitation Management tool (VAMT)
- Windows Performance Toolkit
- Windows Assessment services
- SQL 2008 Express (that can be used by VAMT or by MDT 2012 Update 1 if installed)
Installing ADK
Before installing
In order to sucessfully perform the installation of ADK, you should ensure that you meet the following requirements
- Windows Vista or later Operating System.
- .Net Framework 4 is installed.
- Powershel V3.0 should be installed on Windows 7 and earlier versions (if you need to use powershell cmdlets related to DISM or VAMT)
If you meet these requirements, you can start your installation.
In my lab, I have performed the installation on a Windows 2012 server. This server will become in a near future my new MDT 2012 Update 1 server. Hereafter, we provide small step by step installation guide of ADK on your Windows 8/windows 2012 system.
Step1 – Download the adk_setup.exe file from http://www.microsoft.com/en-us/download/details.aspx?id=30652
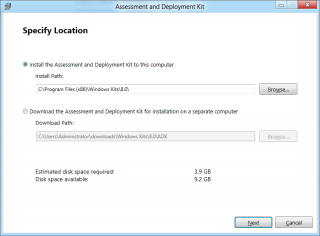
Step2 – Double-click the executable file and you will be presented with the Specify Location screen. If you have to install ADK on the computer you are working on and if you have internet connection, you can select the first option.
Click on picture for better resolution
Note : If you need to perform an offline installation, you will first need to download the ADK packages. You can perform this action by selecting the second option
Select the appropriate action and Press Next
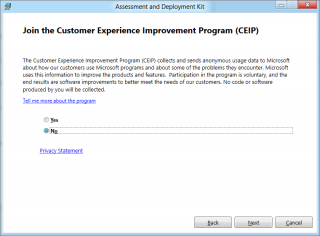
Step 3 – In the join program page, select the appropriate option and Press Next
Click on picture for better resolution
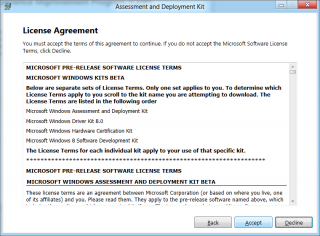
Step 4- In the license agreeement page, review it and press the Accept Button
Click on picture for better resolution
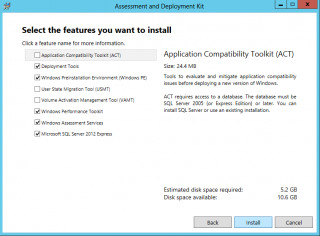
Step 5 – In the Select the feature you want to install, select the appropriate options. Press Install
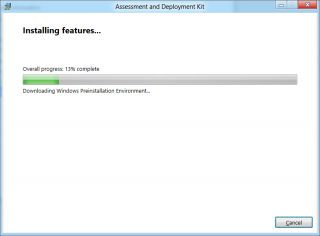
Step 6 – In the Installing features page, you can see the installation progress. Wait for completion
Click on picture for better resolution
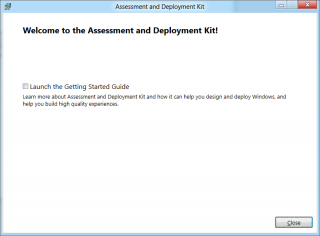
Step 7 – At the end, you will see the Welcome to ADK page. You have successfully isntalled ADK on your computer.
Click on picture for better resolution
Final Notes
In my scenario, I have decided to install only the Deployment tools and the WinPE package. In the future post, we will show you how to create a custom Winpe bootable media (usb or cdrom) and to use this winpe media as a recovery solution for some specific solutions. In a coming post, I’m planning to use adk in conjunction with MDT 2012 Update 1 in order to test Windows 8/Windows 2012 deployment scenarios.
It’s becoming late… so that will be it for tonight !
Till next time
See ya
For more information about ADK, you can have a look at http://msdn.microsoft.com/en-us/library/windows/hardware/hh825494.aspx
