Hello World,
I had the chance to get a copy of the Windows 8 server Developper Preview. The Server version is available through MSDN download. I started playing a little bit around with this early version of the software. So, this post will provide a quick step by step guide on how to install Windows 8 on a physical or virtual machine. Because I was testing this at work, the installation was performed on a virtual machine. In the coming days, I hope that I can perform the install on a physical box and see what’s has changed in terms of virtualization (aka hyper-v 3.0 and all the new features…)
Installing Windows 8 Server
The installation process is quite straight forward. I’m assuming that there is a lot of posts/video on the internet about that. This post might serve as a starting point for future posts. We shall see. Stop talking ! let’s perform this installation.
Step 1 – Insert the DVD/ISO/USB stick into your computer (physical or virtual) and ensure that the BIOS is configured to boot from your selected device (cd,usb)
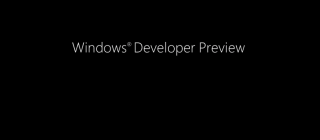
Step 2 – You will see the message : Press any key to start installation (or something similar). Press any key. You will then see the following black screen
Click Image for better resolution
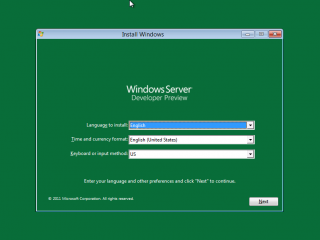
Step 3 – After some time, you have the green Install Windows Dialog box that will be displayed. Choose your settings and Press Next
Click Image for better resolution
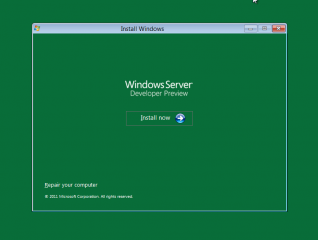
Step 4 – In the next scree, click on the install now to start your installation of Windows 8
Click Image for better resolution
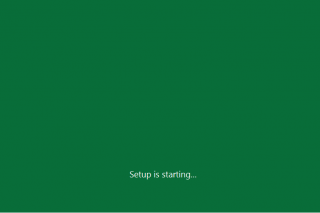
Step 5 – You will see that the setup is starting up
Click Image for better resolution
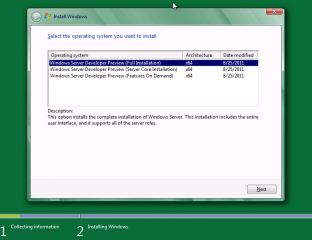
Step 6 – In the dialog box, you can select which version of the Operating system you want to install , Core or Full. We have selected Full. Then press Next
Click Image for better resolution
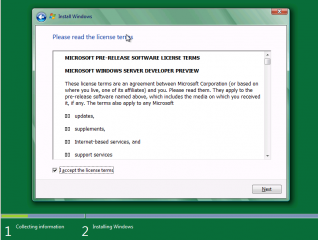
Step 7 – In the License Agreement Page, tick the check box (if you agree) and Press Next
Click Image for better resolution
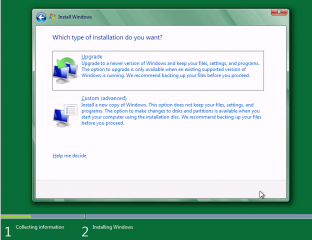
Step 8 – In the installation Type page, select the Advanced Option (we are doing a fresh install).
Click Image for better resolution
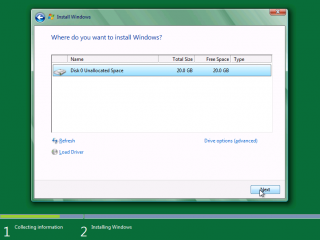
Step 9 – In the Disk page, select on which disk you want to install the operating system. Press Next
Click Image for better resolution
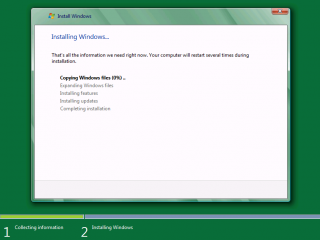
Step 10-Windows Installation is started. You have to wait for the setup routine to finish.
Click Image for better resolution
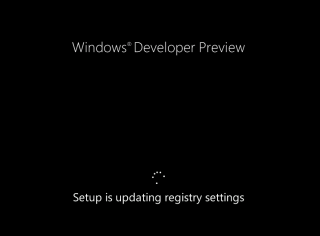
Step 11-Your system will then reboot and during the boot process you will see that the installation is on going
Click Image for better resolution
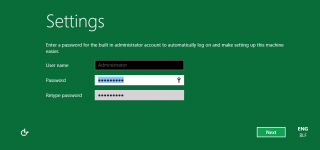
Step 12-During this phase, you have to create a user account and password. In the “Settings” Page, provide this information and press Next
Click Image for better resolution
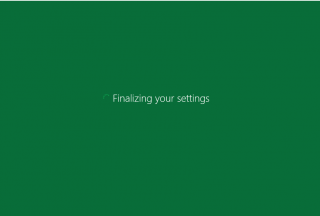
Step 13- Windows will notify you that the installation is finalizaling
Click Image for better resolution
Step 14- After some times, you will get access to your screen. The Welcome screen is quite different than the one we were use to .
Click Image for better resolution
Perform your first Login on Windows 8 Server
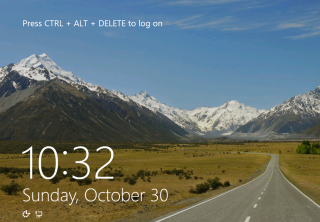
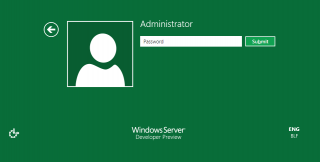
At this stage, you should have a running windows 8 server machine. To login, you simply need to press Ctrl+Alt+Del and you will be presented with the following login screen
Click Image for better resolution
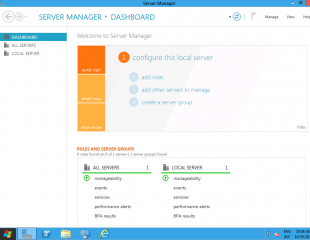
When your desktop has been prepared, you will notice that like in previous version, the server manager will be launched automatically and will look like this
Click Image for better resolution
I have to say that I was a litte bit lost in the beginning but after spending some times using it you start to understand how the Server Manager is working. I see good things with this new Server Manager console. You can indeed from one location manager multiple servers (you can create group of servers). On the other hands, there is so many options that sometimes I do not know where to look or click to perform the actions I wanted to do
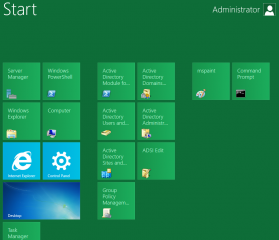
If you click on the start button, you are redirected to the new Metro Interface. This interface look like this.
Click Image for better resolution
I have to get used to it. I’m normally using the command line or run command when performing actions on servers. The new interface will probably change the way people are working. You can always pinup the command prompt tile and have a quick access to it. It’s just a different way of working with this new interface. I need to get used to it.
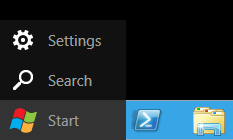
If you are looking for your applications, or the start menu, you will be disappointed. Each time you click on the start button, you will have the Start Menu of Metro Interface. If you need to access other applications than the one presented to you, you can place your mouse at the bottom left corner and you will see that you have more options.
Click Image for better resolution
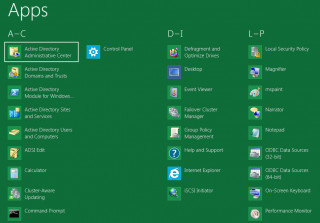
If you click on ‘Search”, you can have access to the search interface where you can have access to the Applications section and select the application you want to use. You can also pin the application into your start menu to ease the access of it.
Click Image for better resolution
Shutdown Windows 8 Server
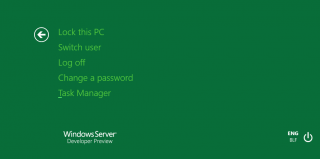
For people wondering how you can shutdown the server, you have 2 options. You can press the Ctrl+Alt+Del and you will be presented wit the following screenshot. Click on the appropriate option
Click Image for better resolution
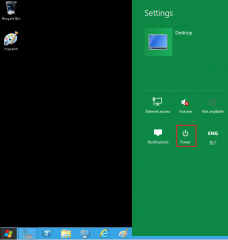
You can also click on the start menu and click on settings. You will see the following screenshot. Again, click the power button and select the appropriate option.
Click Image for better resolution
Similarities with Other Desktop Interface
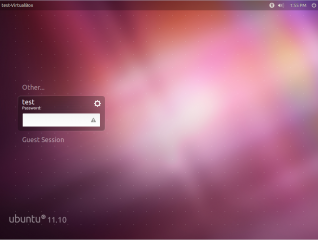
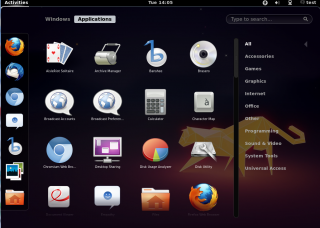
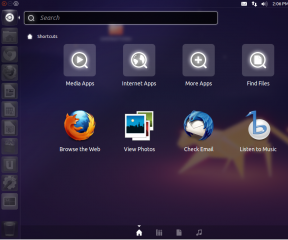
If you look at the new windows 8 interface, the design/logic/layout has some similarities with other operating systems. It’s clear the software makers are making their operating system interface ready for the tablets as well. If you compare Windows 8 interface with the newly released version of Ubuntu 11.10, you can see that the “concept” is kind of similar. Check out these screenshots
Click Image for better resolution
Click Image for better resolution
Click Image for better resolution
Final Notes
As you can see, the installation is similar to previous version. The new interface is a real change and you will need to get used to it if you have some working habits such as using command line. This post was just an introduction of Windows 8. I’m not sure I’ll be publishing a lot of information about this software, simply because there is a lot of other blogs that will provide far more information that I’ll be able to provide.
Till next time
See ya

