Hello World,
Load balancer are more and more in use within the enterprise. Companies needs to provide high availability and load balancing capabilities. Most of the projects I’ve been working on lately , there was always a request to have load balancing. Moreover, more and more software might requires the use of a Load balancer (i.e Lync 2010, Shareponit, Webs …)
I was wondering if there would be a free/opensource load balancer project out there. And Guess what ? Yes, there is. ZenLoadbalancer project aims to provide a load balancer software solution. On their web site, we can see that partnership with some companies offer you the possibility to have an hardware load balancer solution.
It’s really a new product for me. I’ll be testing the software and see in which situation this solution might fit. This post might be the first of a series as well. We shall see ! But for the moment, let’s perform a simple and basic installation.
1.Installing Zen Load balancer
To perform the installation of the software, I’ve created a virtual machine on my Proxmox VE test server. For this test, I have created a simple virtual machine with only 1 network card. The installation is rather straightforward and similar to a Debian installation
To perform the installation,you will need to grab the software from here. Download it (and choose to burn it or to install it as a virtual machine using whatever virtualization platform you want)
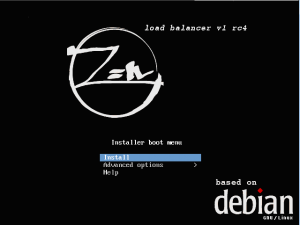
Boot your virtual machine from the iso file or cdrom and you will be presented with the zen Load Balancer Installer. Select the Option Install to start the process.
Click To Enlarge
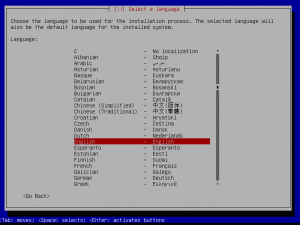
In the Language Page, select the appropriate and press enter
Click To Enlarge
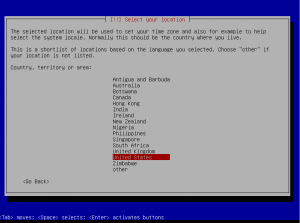
In the location page, select the appropriate location and press Enter
Click To Enlarge
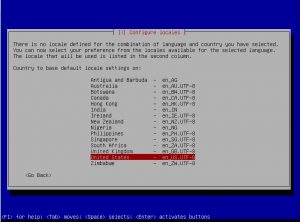
In the configure Locale Page, select your local and press enter
Click To Enlarge
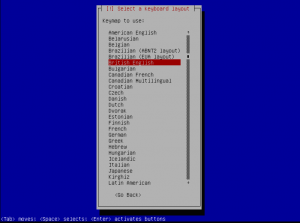
In the keyboard page, select the appropriate settings and press Enter
Click To Enlarge
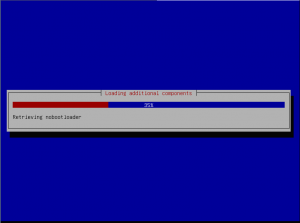
The Installer will load some components. Wait until you see the configure your network screen
Click To Enlarge
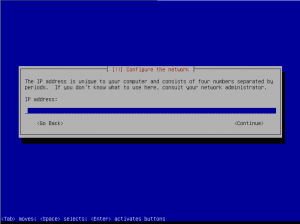
In the Configure the network, you will have to provide the IP address that you will be assigning to the Load Balancer. Move to continue and press Enter
Click To Enlarge
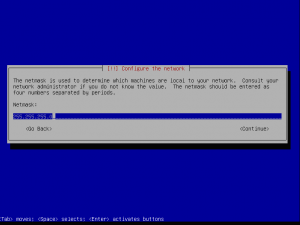
You will then have to provide the subnet mask to be used. Put the information and press continue
Click To Enlarge
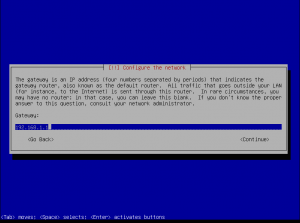
You will then need to specify a Default Gateway. Again, provide the appropriate information for you network and press the continue option
Click To Enlarge
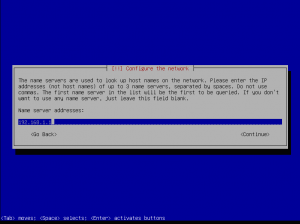
You can then specify Names Servers to be used. Press Continue
Click To Enlarge
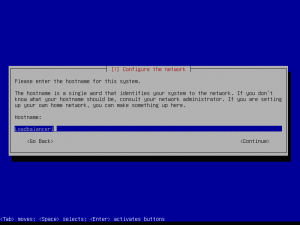
You have to provide the hostname that will be used by the load Balancer. Provide the appropriate info and press on continue
Click To Enlarge
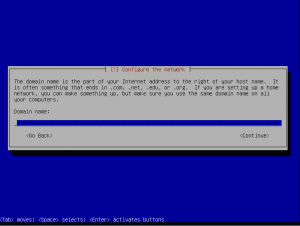
Final step in the configure the network settings, you can specify the DNS suffix that you want to use. Press Continue when done
Click To Enlarge
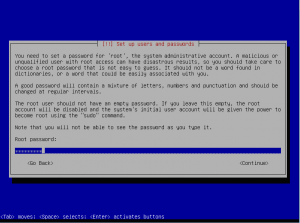
You will then need to provide password for the root account on the system. When this is done, Press Continue.
Click To Enlarge
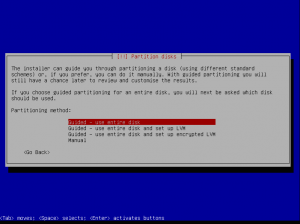
In the Partitioning disk, because we are new to the product, we have selected Guided – Use entire disk. Press Enter
Click To Enlarge
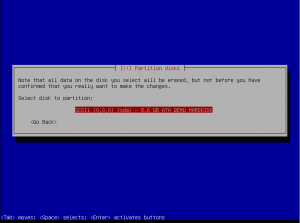
Select the disk/partition where you want to install the software and press next
Click To Enlarge
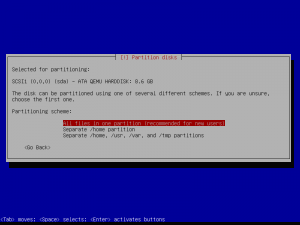
Accept defaults in this screen and simply create one big partition where the software will stores the files. press Enter
Click To Enlarge
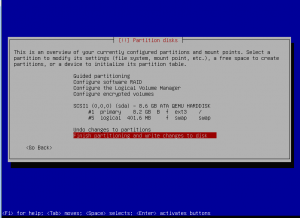
Accept the configuration you have performed by select Finish partitioning and Write changes. Press Enter
Click To Enlarge
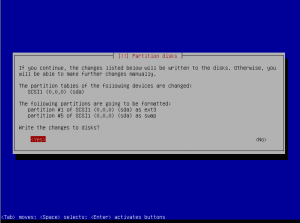
In the following screen, be sure to move to the yes “button” and press Enter.
Click To Enlarge
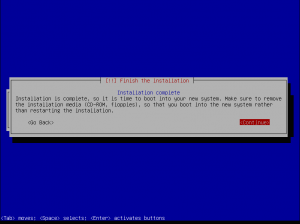
The Installer will start and you will see a progress bar. The installation process should be quite fast. At the end of the process, if you didn’t encountered any issues, you will get the Finish Installation screen. Press on the Continue and the system will reboot. Remember to remove the cd/iso or ensure you are booting from the hard disk
Click To Enlarge
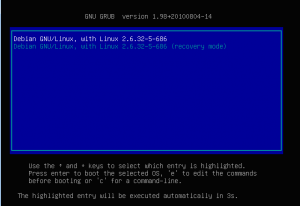
At the reboot, you should see that a Grub boot manager is available. The system will boot automatically
Click To Enlarge
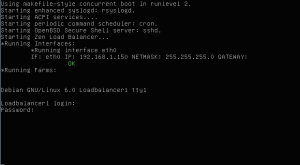
At this stage, you could login at the console using the root account and the password you have provided earlier but for the moment we are not really interested in that. We wanna see the Web Interface gui of the thing.
Click To Enlarge
2.Login to Zen Load balancer Web Interface
To login to the web interface, you have to open a browser and point to the following url
https://ip_address_of_load_balancer :444
You will then be prompted to provide some credentials, you have to use the following ones :
- User Account : admin
- Password : admin
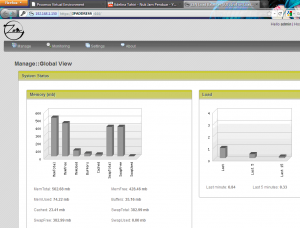
If you have provided the correct information, you will access the dashboard of the load balancer software
Click To Enlarge
As a quick example, you can create a “farm”. In Zen load balancer terminology, a farm is the virtual server (or ip address) where user will be connecting to and where zen load Balancer will be able to redirect the traffic to the most appropriate host. If you have 2 web servers that you want to load balance, you will create a Farm called for example LB_Web_Server. This Farm will be assigned a IP address to represent the load balanced service. This IP address will be then mapped to the “real” IP addresses of the web servers. Zen load balancer will then be able to redirect the traffic to the appropriate web server.
To create such a simple farm, you can perform the following actions.
On the dashboard page, you can see a menu bar. On this menu bar, click on Manage and then from the drop down box select Farms.
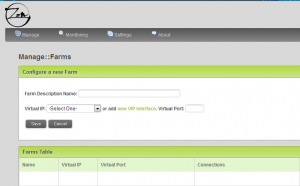
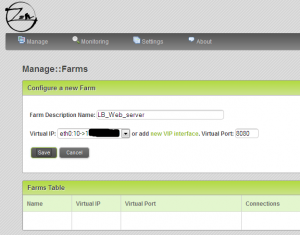
You will this page (or similar) that will open. Provide a Farm description and then click on the link “New VIP Interface”. For your first farm, you could probably use the default one.
Click To Enlarge
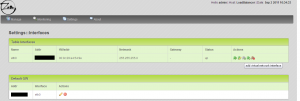
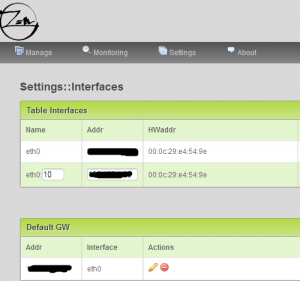
You will be redirected to the Settings>Interface page. In the table interface, in the action menu; click on the 3 icon in order to create an additional virtual network Interface
Click To Enlarge
You will be asked to provide a Name for the interface and an IP address. Save you settings. You can go back to your Manage Farms view
Click To Enlarge
In the Manage Farm page, you select the correct virtual IP and you set the virtual port to be used. You can press save when you are happy with the information you’ve provided
Click To Enlarge
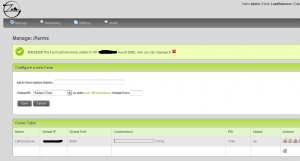
You will get a success message that will be displayed. In the farm table, you have to click on the edit icon.
Click To Enlarge
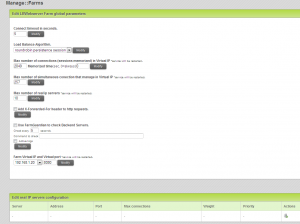
You will be redirected to another page, where you can configure some settings regarding the load balancer. And just below that, you will see a table where you can add the real IP addresses of the servers that needs to be load balanced.
Click To Enlarge
3. Final Words
I’ve just started playing with it and didn’t really use it in specific scenarios. We haven’t done much and we do not have enough experience yet with the software. The web interface is pleasant simply and quite easy to use. The load balancing process is working as expected for simple services such HTTP. We will need to work a little bit more with the software and see how it can be used in a more complex scenario (i.e. clustering the Zen Load Balancer)
If you think that the Zen Load balancer can fit your needs, you might want visit their web site and read the existing documentation available. I will probably follow up this software and play a little bit more with it in order to see if this might be a valid solution for some our projects
The next post related to the Zen load balancer (you will have to wait a bit), we will to go more in details regarding the configuration and which kind of services you could load balanced
Till next time
See ya

I have actually found this post from a gentleman who managed to solve Poodle for ZLB CE… I followed the steps and everything seems to be working fine… I have noticed that the management interface is bit slow, but that doesn’t affect the farms at all.
http://sourceforge.net/p/zenloadbalancer/mailman/message/32942558/
Cheers,
R
Hey Roger,
Thank you for sharing the info with us and our readers..
Actually, we were also looking into this issue and have found the same link but we didn’t test it 🙂
So, you can confirm that this is the fix and this is working fine ?
Again, Thank again
Till next time
See ya
No worries,
Yes, I have followed the steps in the link and everything worked fine… The farms are performing as expected with no issues at all… the only thing I have noticed is the management GUI running a bit slow that’s all… I ran SSL Labs test after that, it confirmed that SSL v3 has been disabled,
If you are running ZLB on VMware or Hyper-V, I say take a snapshot before doing the fix, just in case 🙂
Cheers,
R
ZLB comes on top of Debian 6 (Squeeze) with no support for (non-legacy) Hyper-v Network adapter,but You can upgrade to 7.0 (Wheezy), it’s so simple:
just answer Y every time.
apt-get update
apt-get upgrade
nano /etc/apt/sources.list replace every squeeze with wheezy, ctrl+x, Y,enter.
apt-get update
apt-get upgrade
apt-get dist-upgrade
reboot
your new kernel will be selected, login, then you can “lsmod | grep hv” and see the hyper-v modules loaded (hv_vmbus, hv_netvsc, hv_blkvsc, hv_storvsc), connect your non-legacy network adapter and do “ip show link” then you’ll see it (you can be sure by checking the MAC).
But why stay there?, now you can go to Debian 8 (jessie) by following the same instructions but this time use “jessie” on your sourcelist.
I wasn’t able to go directly from 6 to 8.
If you have trouble with “public key is not available” then follow instructions from here: http://stackoverflow.com/questions/1139127/how-to-trust-a-apt-repository-debian-apt-get-update-error-public-key-is-not-av
When running on Hyper-v it throws two errors:
Error: Driver ‘pcspkr’ is already registered
SMBus base address uninitialized – upgrade bios or use force_addr=0xaddr
to get rid of those errors just blacklist two modules by:
echo ‘blacklist pcspkr’ >> /etc/modprobe.d/fbdev-blacklist.conf
echo ‘blacklist i2c_piix4’ >> /etc/modprobe.d/fbdev-blacklist.conf
then do:
update-initramfs -u
reboot
Enjoy.
Hello There,
Thank you for providing this useful information. We will give it a try quite soon as we have new projects starting where a load balancer solution needs to be demonstrated
See you around
Till next time
is Zen Load balancer free software ?
Are you write Zen Load balancer the configuration for Microsoft Lync Server 2013/Skype for business Server 2015 ?
Thank you!
@i-Zhishi,
Zen Load balancer should still have a free version (community Edition) that you can use…never got the time to write the post about Skype
As we are quite busy for the moment; do not expect any info about this topic in the near future
Till next time
what for this Zen Load balancer?